PN9001114 Page 31
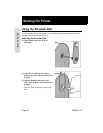
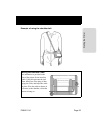
Starting the Printer
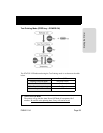
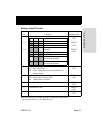
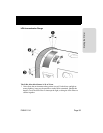
Setting up the DIP switch
Make sure the power is turned off before setting up the DIP switch.
• Unless directed otherwise, do not change the setup.
Switch
No. Function
Initial Factory
Default Setting
1-1
1-2
1-3
Interface setup DSW1-1
OFF
DSW1-2
OFF
DSW1-3
OFF
1-4 The automatic feed function
OFF : Press FEED key
ON : After closing the cover, the automatic feed
function starts.
DSW1-4
OFF
1-5 Head Check
OFF : Head check is not in effect.
ON : Head check is in effect.
DSW1-5
ON
1-6
Unavailable for use
DSW1-6
OFF
1-7
Unavailable for use
DSW1-7
OFF
1-8
Unavailable for use
DSW1-8
OFF
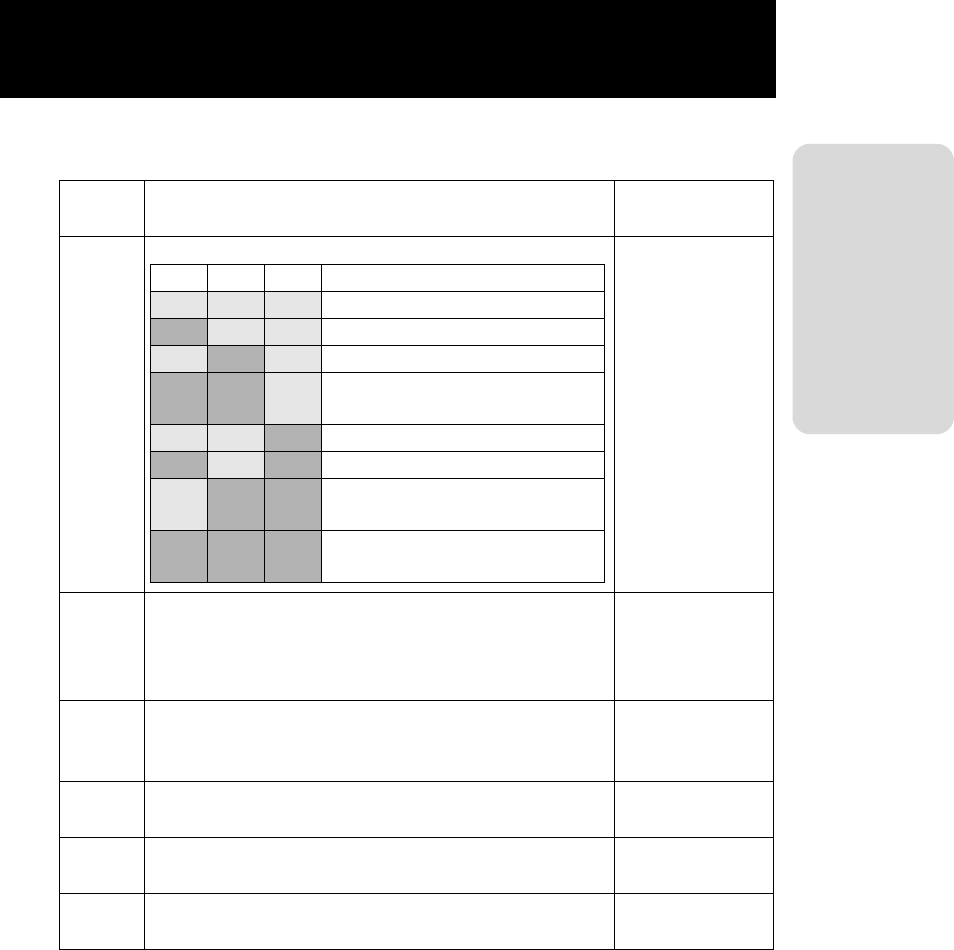
1-1 1-2 1-3 Action
OFF OFF OFF
RS-232C
ON OFF OFF
TTL
OFF ON OFF
IrDA transmission
ON ON OFF
Short range radio transmission
(optional)
OFF OFF ON
RS-232C, IrDA transmission
ON OFF ON
TTL, IrDA transmission
OFF ON ON
RS-232C, Short range radio
transmission(optional)
ON ON ON
TTL, Short range radio
transmission(optional)


