24 Hawk 2XL Family Installation Guide, Rev. C
_______________________________________________________________________________________________________________________
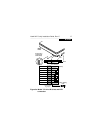
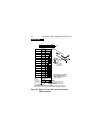
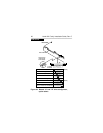
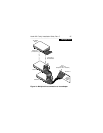
pin 1 on the Seagate disc drive is the pin closest to the
HDA, on the side closest to the four-pin powersupply con-
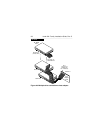
nector as shown in Figure 4a or 4b. Plug the interface cable
into the drive connector firmly but carefully. The connector
should cover both rows of pins.
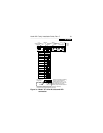
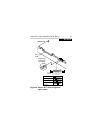
If you are installing a second or multiple disc drives, re-
peat this procedure using the additional drive connectors
on the interface cable, as shown in Figures 4c or 4d.
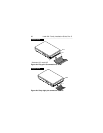
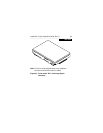
5. Mount the drive in a drive bay.
• Direct mounting:
The disc drive can be mounted in the drive bay in any
orientation permitted by the drive bay mechanical con-
figuration. Be careful not to over tighten the mounting
screws. Screws must not extend into the side drive
mounting holes more than 0.015 inches, (9/64 inches)
or into the bottom mounting holes 0.20 inches (3/16
inches). Purchase the four required 6-32 x 1/4 inch
screws at a hardware or drive supplier store. If needed,
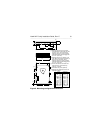
Figure 6 shows the drive mounting dimensions.
• Using drive rails:
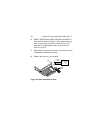
In some computers, you must attach drive rails to either
side of the drive, then slide the drive into the drive bay
on its drive rails. Be sure that the drive is securely
mounted within the bay. In computers that do not use
drive rails, screw the drive or the frame kit holding the
drive directly to the drive bay.


