


29
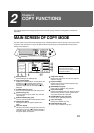
2
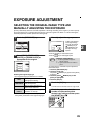
EXPOSURE ADJUSTMENT
SELECTING THE ORIGINAL IMAGE TYPE AND
MANUALLY ADJUSTING THE EXPOSURE
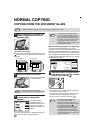
[AUTO] is selected by default for automatic adjustment of the image according to the original. If you wish to specify
the original image type or manually adjust the exposure, place the original in the RSPF or on the document glass,
check the paper size, and then perform the following steps.
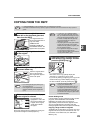
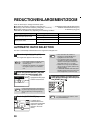
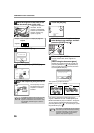
1
Touch the [EXPOSURE] key.
2
Select [TEXT], [TEXT/PHOTO],
[PHOTO], or [SUPER PHOTO] as
appropriate for the original.
Selecting the original image type
• Four original image type selections are available.
• Automatic exposure adjustment can only be selected
when [TEXT] is selected for the original image type.
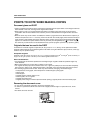
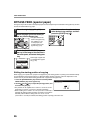
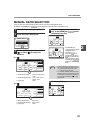
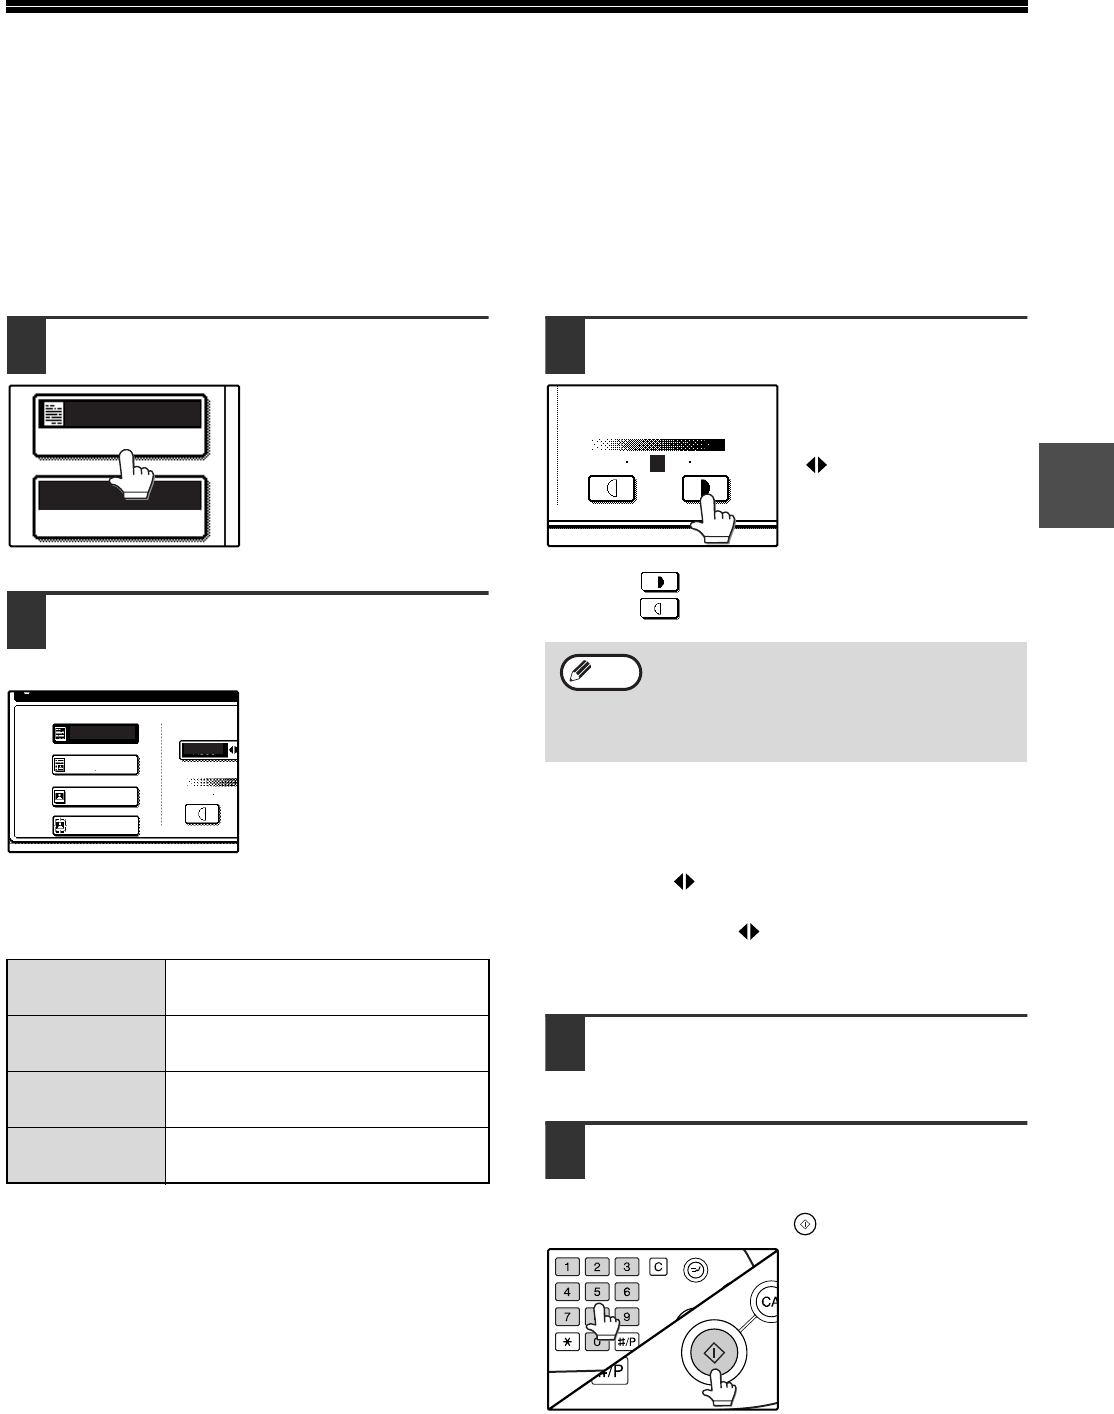
3
Manually adjust the copy exposure.
If [TEXT] was selected
for the original image
type, touch the [AUTO
MANUAL] key to
select [MANUAL] and
then adjust the copy
exposure.
Touch the key to make darker copies.
Touch the key to make lighter copies.
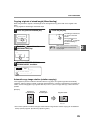
To change back to automatic exposure adjustment,
follow these steps:
1 Touch the [EXPOSURE] key.
2 Touch the [TEXT] key.
The [AUTO MANUAL] key appears when [TEXT]
is selected.
3 Touch the [AUTO MANUAL] key so that
[AUTO] is highlighted.
4 Touch the [OK] key.
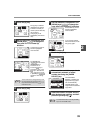
4
Touch the [OK] key.
You will return to the main screen of copy mode.
5
Check the paper size, select the
number of copies and any other
desired copy settings, and then press
the [START] key ( ).
6
TEXT
Use for regular text, blueprints,
and light pencil writing.
TEXT/PHOTO
Use for mixed text/photo originals
and printed photos.
PHOTO
Use for photos and when you
desire clearer halftones.
SUPER
PHOTO
Use to copy photos at a high
resolution of 1200 dpi.
AUTO
EXPOSURE
AUTO A4
PAPER SELECT
AUTO
ORIGINAL IMAGE TYPE
SUPER PHOTO
PHOTO
TEXT/PHOTO
TEXT
1 3
Exposure value guidelines
1 - 2 Dark originals like newspapers
3 Normal originals
4 - 5 Light coloured text or text written in
pencil
AUTO
MANUAL
1 3 5
Note
ACC.#-C