


2-4
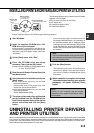
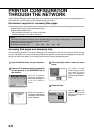
INSTALLING PRINTER DRIVERS USING PLUG &
PLAY OR THE “ADD PRINTER WIZARD”
Before installation
Before installing the printer drivers, check the following items.
●
Ensure that your computer system meets the following requirements.
Computer type:
IBM PC/AT or compatible computer
Hardware requirements of the operating system must
be satisfied.
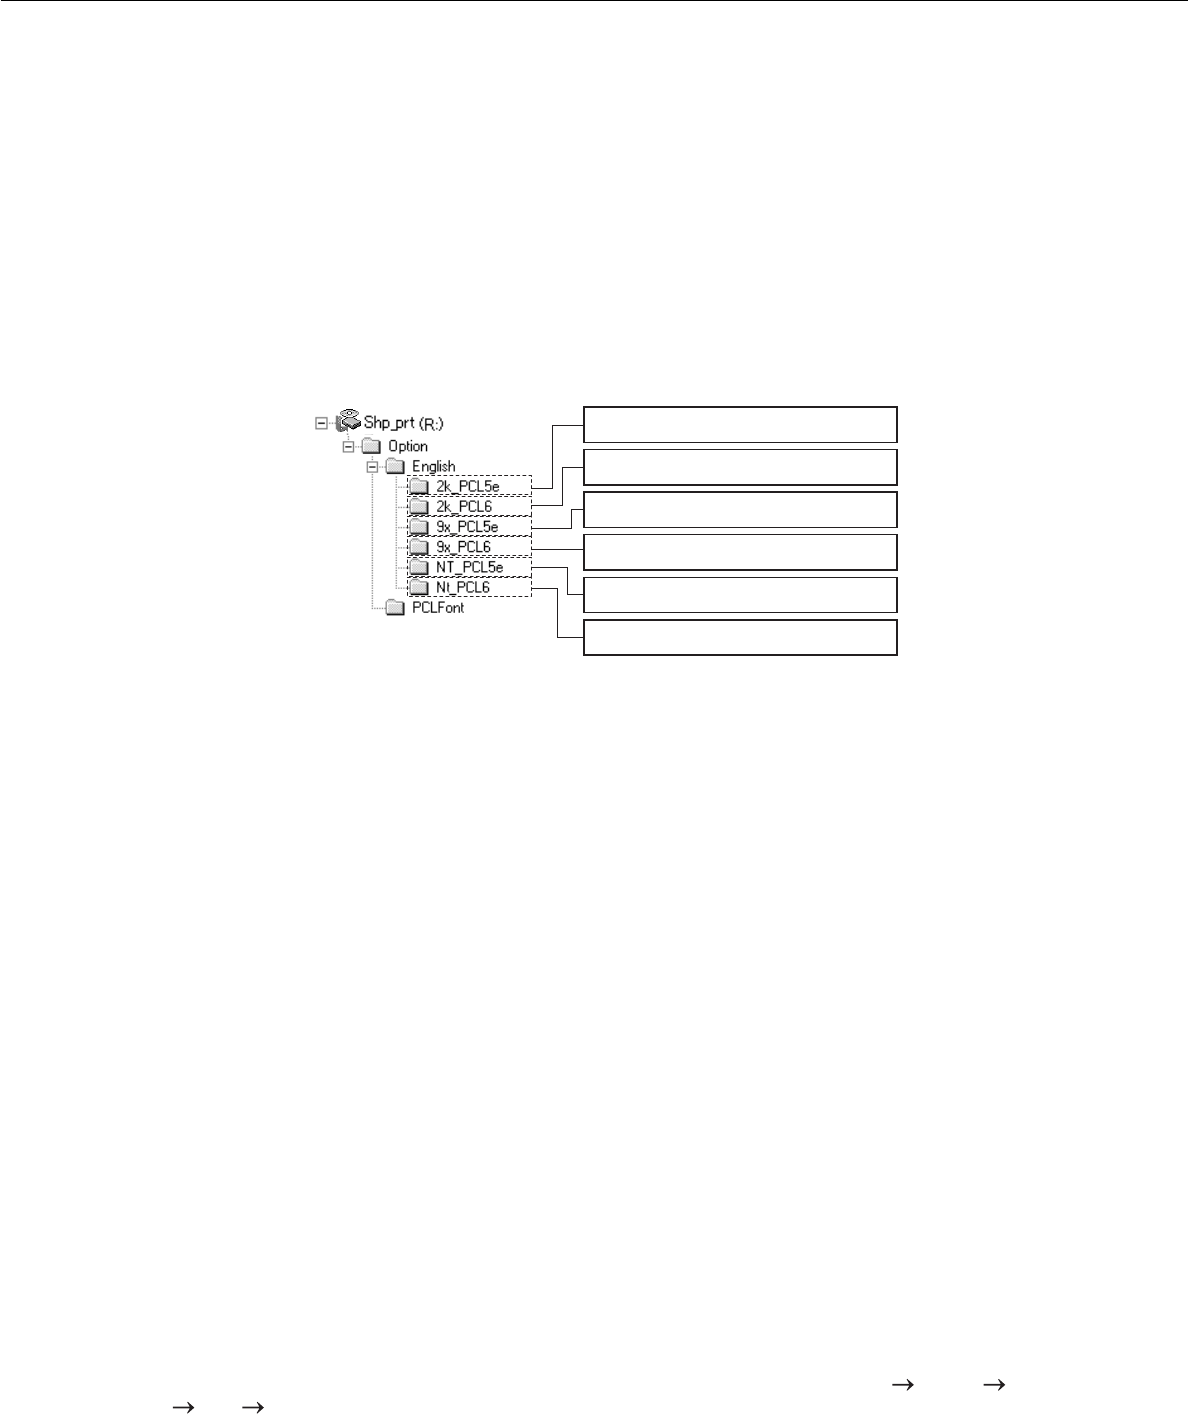
When using Plug and Play or using the “Add Printer Wizard” to install printer drivers, enter the directory name
indicated below as a source directory.
Path for using PCL5e driver under Windows 2000
R:\Option\English\2k_pcl5e
Path for using PCL6 driver under Windows 2000
R:\Option\English\2k_pcl6
Path for using PCL5e driver under Windows 95/98/Me
R:\Option\English\9x_pcl5e
Path for using PCL6 driver under Windows 95/98/Me
R:\Option\English\9x_pcl6
Path for using PCL5e driver under Windows NT
R:\Option\English\Nt_pcl5e
Path for using PCL6 driver under Windows NT
R:\Option\English\Nt_pcl6
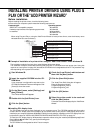
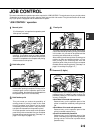
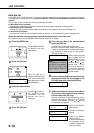
■ Example of installation of a printer driver using the “Add Printer Wizard” under Windows 98
The installation method of a printer driver under Windows 98 is shown below.
The installation example is described assuming that the printer is connected as a local printer (see “Using this
machine as a local printer” on page 2-2) and that the CD-ROM drive is designated as drive R. The procedure may
differ depending on the system environment.
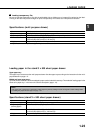
1
Start Windows 98.
2
Insert the supplied CD-ROM into the CD-
ROM drive.
If your computer is configured for auto start on the
CD-ROM, the Readme First screen will appear. Click
[Cancel] to close the screen.
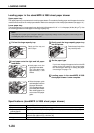
3
On the [Start] menu, select [Settings] and
then [Printers].
The Printer window will appear.
4
Double-click the [Add Printer] icon.
5
Click the [Next] button.
6
Check the [Local Printer] radio button and
then click the [Next] button.
7
Click the [Have Disk] button.
The “Install From Disk” dialog box will appear.
Enter the file path as follows:
R:\Option\English\9x_pcl5e or
R:\Option\English\9x_pcl6
8
Click the [OK] button.
9
Select the printer model to be used and
click the [Next] button.
Follow the instructions displayed by the “Add Printer
Wizard.”
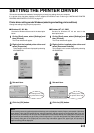
■ Installing PCL display fonts
The PCL display fonts are the fonts displayed on your computer screen. The CD-ROM supplied with this product
contains the PCL display fonts that correspond to the resident fonts of this product. These display fonts can be
installed to your computer (Windows 95/98/Me/NT/2000) from the installer. Installation of the PCL display fonts can
be specified in step 6 of “INSTALLING PRINTER DRIVERS AND PRINTER UTILITIES” on page 2-3.
To install the PCL display fonts by Windows basic operation without using the installer(Start Settings Control
Panel Fonts Install New Font), specify the following path.
R:\Option\PCLFont
The CD-ROM drive is designated as drive R as an example.
Operating system:
Windows 95
Windows 98
Windows 2000
Windows NT 4.0
Windows Me