


19
2
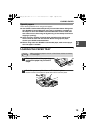
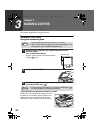
CHANGING A TRAY'S PAPER SIZE SETTING
Follow these steps to change a tray's paper size setting.
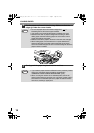
1
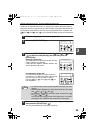
Press the [MENU] key.
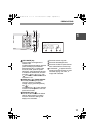
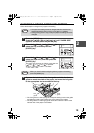
Press the [ ] key ( ) or [ ] key ( ) until "PAPER SIZE"
appears, and then press the [ENTER] key.
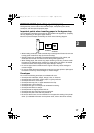
2
Press the [ ] key ( ) or [ ] key ( ) to
select the tray, and then press the
[ENTER] key.
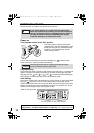
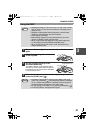
3
Press the [ ] key ( ) or [ ] key ( ) to
select the paper size, and then press the
[ENTER] key.
The paper size changes as follows each time the
[ ] key ( ) or [ ] key ( ) is pressed:
"8.5x14"→"8.5x13"→"8.5x11"→"5.5x8.5"
→"A4"→"B5"→"A5".
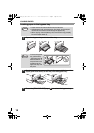
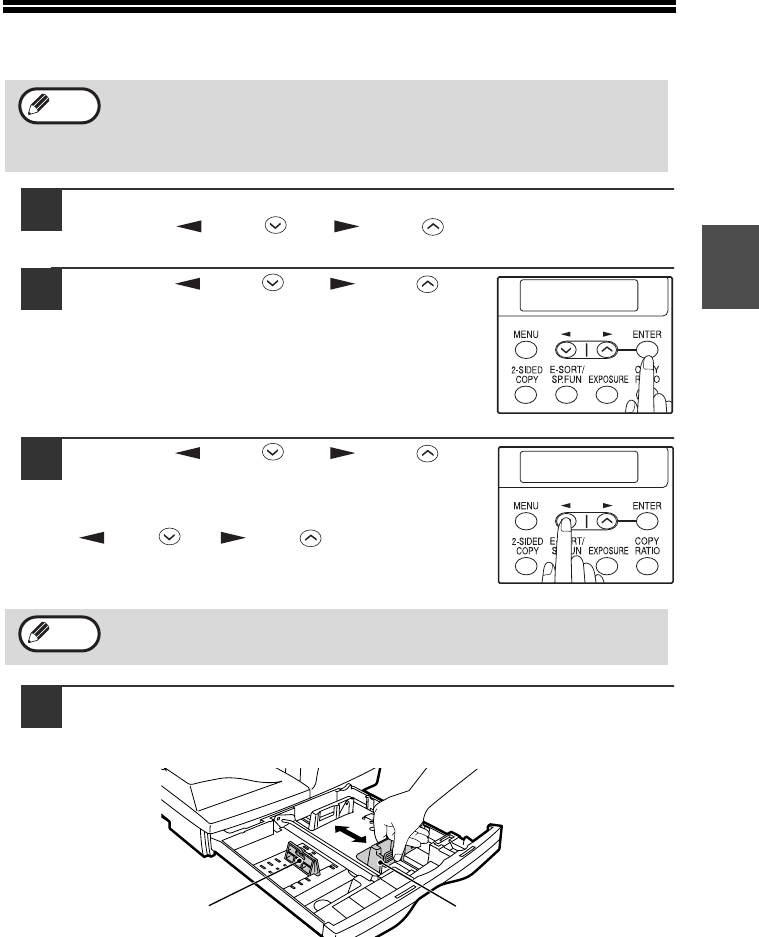
4
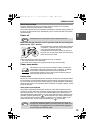
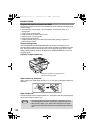
Squeeze the lock lever of the front guide and slide the front
guide to match the width of the paper, and move the left guide
to the appropriate slot as marked on the tray.
• The front guide is a slide-type guide. Grasp the locking knob on the guide
and slide the guide to the indicator line of the paper to be loaded.
• The left guide is an insert-type guide. Remove it and then insert it at the
indicator line of the paper to be loaded.
• The paper size setting cannot be changed when the machine has
stopped temporarily due to running out of paper or a misfeed.
• During printing (even in copy mode), the paper size setting cannot be
changed.
When you have finished configuring the tray's paper size setting,
press the [MENU] key.
Note
PAPER SIZE
1:TRAY1
TRAY1
1:8.5X14
Note
Left
guide
Front
guide
FO-DC550_Copy(Sec).book 19 ページ 2004年3月25日 木曜日 午後3時44分