


SET UP THE SOFTWARE
39
5
5
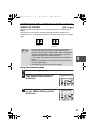
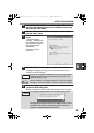
The "SOFTWARE LICENSE" window will appear. Make sure
that you understand the contents of the software license, and
then click the "Yes" button.
6
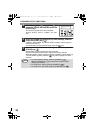
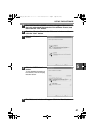
Read the "Readme First" in the "Welcome" window and then
click the "Next" button.
7
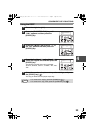
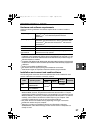
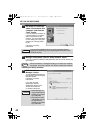
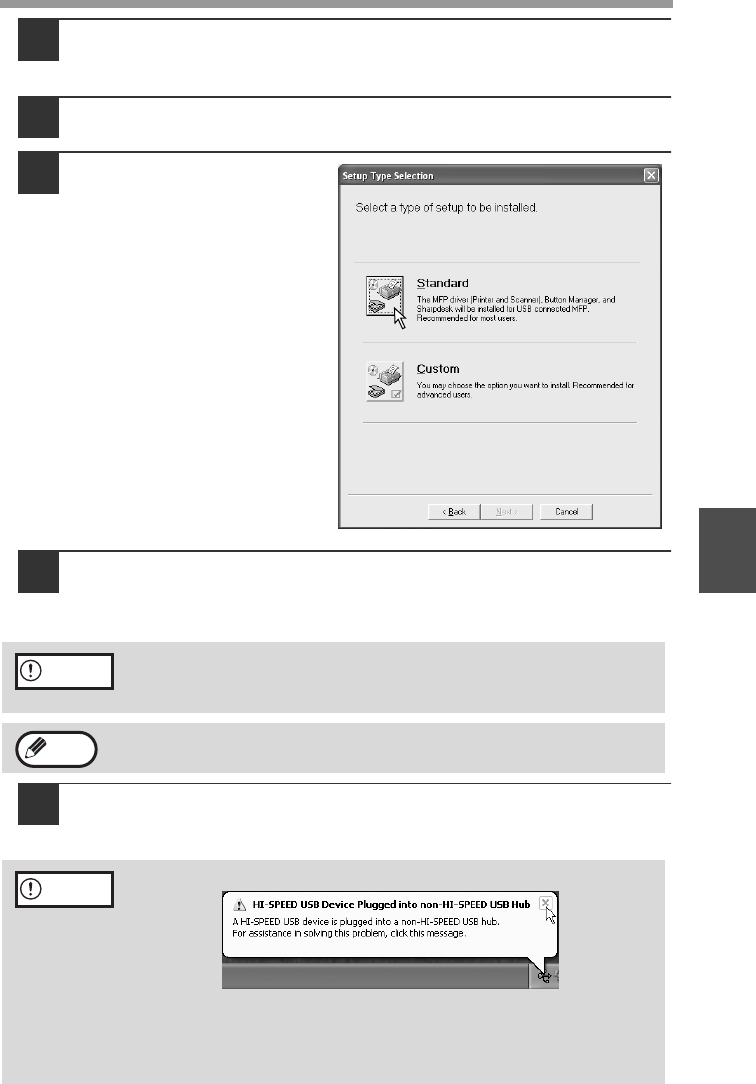
Click the "Standard"
button.
"Integrated Installer is
preparing..." will appear and
then installation of the MFP
driver, Button Manager, and
Sharpdesk will begin
automatically.
Follow the on-screen
instructions.
8
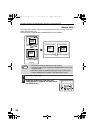
When the "Finish" screen appears, click the "Close" button.
A message will appear instructing you to connect the machine to your
computer. Click the "OK" button.
9
Make sure that the power of the machine is turned on, and then
connect the USB cable (p.55).
Windows will detect the machine and a Plug and Play screen will appear.
If you are running Windows 2000/XP and a warning message appears
regarding the Windows logo test or digital signature, be sure to click
"Continue Anyway" or "Yes".
After the installation, a message prompting you to restart your computer
may appear. In this case, click the "Yes" button to restart your computer.
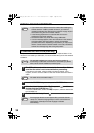
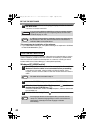
If the following message appears on your computer screen, close it.
A window regarding "HI-SPEED USB Device" will then appear. Close the window.
This message appears when the machine's USB 2.0 mode is not set to
"HI-SPEED". For information on switching the USB 2.0 mode, see
Chapter 6, "PRINTER/SCANNER FUNCTIONS".
Caution
Note
Caution
FO-DC550_Copy(Sec).book 39 ページ 2004年3月25日 木曜日 午後3時44分