


129
6
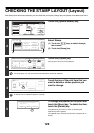
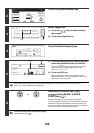
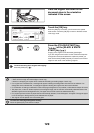
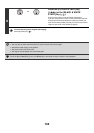
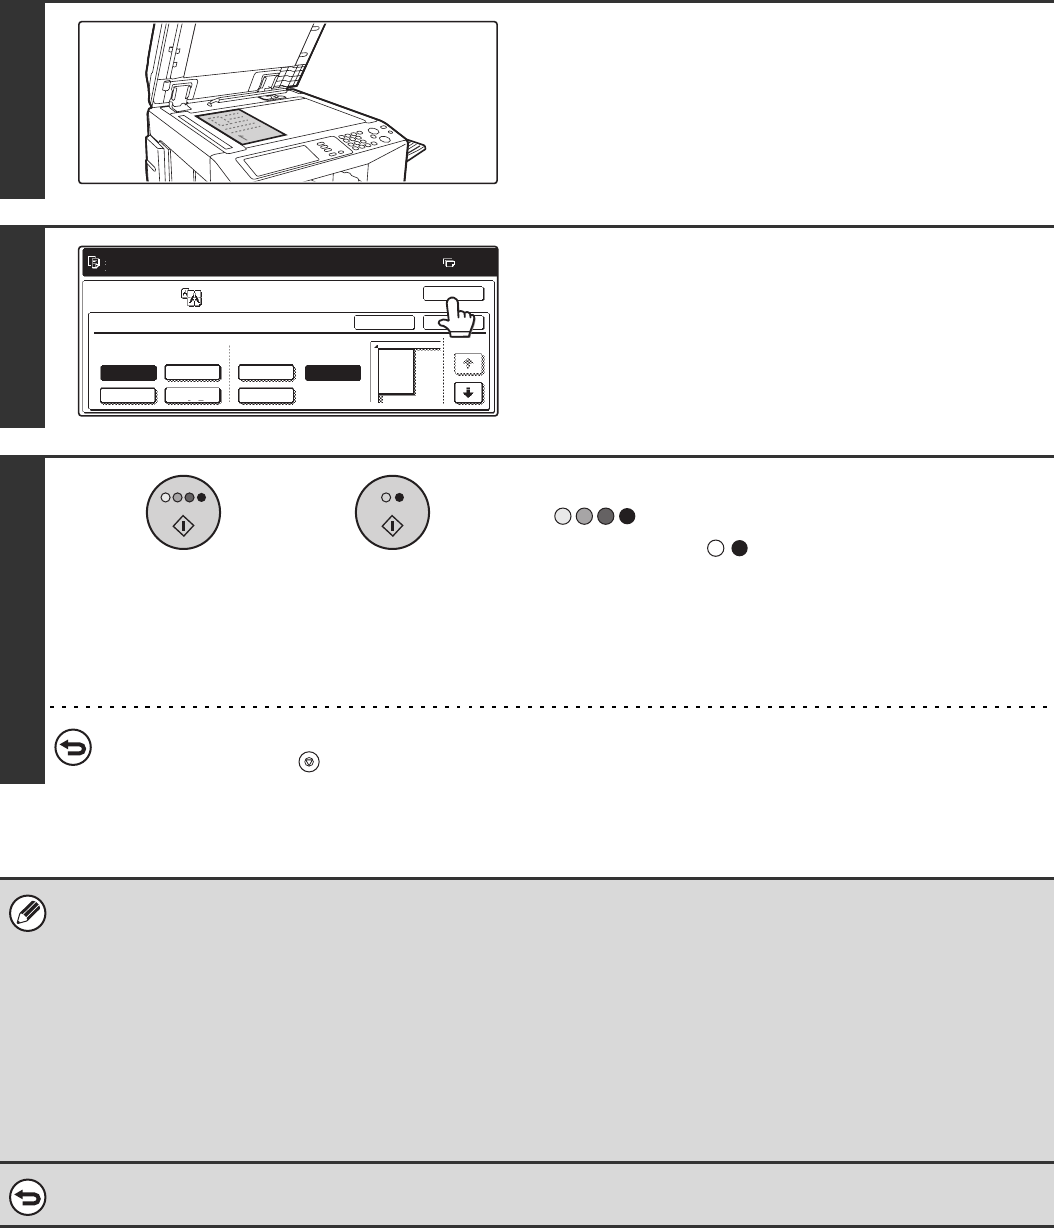
Place the original face down on the
document glass in the orientation
indicated in the screen.
7
Touch the [OK] key.
When the [OK] key is touched, you will return to the special
mode screen. Touch the [OK] key to return to the base screen
of the copy mode.
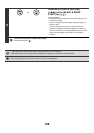
8
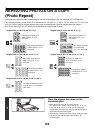
Press the [COLOUR START] key
( ) or the [BLACK & WHITE
START] key ( ).
Copying of the original on the document glass begins.
If you are using the sort function or other function that requires
all originals to be scanned before the copies are printed, you
must use the same [START] key that you used to scan the first
original to scan each of the remaining originals.
To cancel scanning of the original and copying...
Press the [STOP] key ( ).
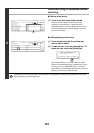
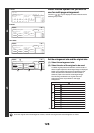
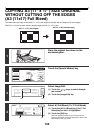
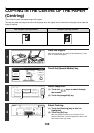
• Overlap of sections of image
• There will be a margin around the edges of each copy.
• Areas for overlapping the copies will be created at the leading and trailing edges of each copy.
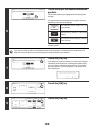
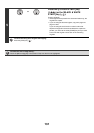
• If an original size is selected first, a message will appear indicating the enlargement sizes that can be selected. If an
enlargement size is selected first, a message will appear indicating the original sizes that can be selected.
• If a combination of settings is selected for which multi-page enlargement is not possible, invalid selection beeps will sound.
• The paper size, number of sheets required for the enlarged image, and the ratio are automatically selected based on the
selected original size and enlargement size. (The paper size and ratio cannot be selected manually.)
• If no paper trays have the size of paper that was automatically selected, "Load XXX paper" will appear. Change the paper
in one of the trays or the bypass tray to the indicated size of paper.
• The original must be placed on the document glass.
To cancel the multi-page enlargement setting...
Touch the [Cancel] key in the screen of step 5.
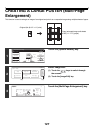
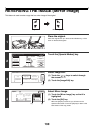
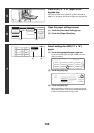
Ready to scan for copy. Copies will be
delivered in 2 parts.
0
Image Edit
Multi-Page Enlargement
Enlargement Size
(A Size)
OK
OKCancel
1/3
Original Size &
Orientation
A4
A3
A5
A1
A0x2
A2
A0
or