


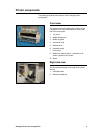
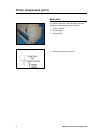
10 Getting to Know Your ColorgrafX X2
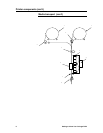
Printer components (con’t)
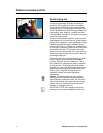
Operations panel (con’t)
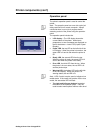
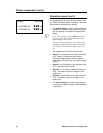
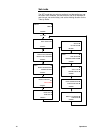
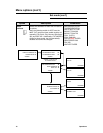
The ColorgrafX X2 has three top-level menus, and
four if the Color Direct option is installed. The button
functionality is indicated by the display.
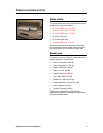
1. The default display, which is initially displayed,
identifies the installed media (type and size) as
well as provides an illustration of approximate
usage.
Note: The media type and size MUST be set at the
operation panel, and the media must be installed
before setting further options
Also, note that the illustration to the right is what
will appear if 360 Presentation Paper is set on the
rear roll and 720 Presentation Paper on the front
roll.
.
This display has the following functionality:
•
Button 1, the top button on the right side of the
LCD. Button 1 provides the Menu button.
Pressing the Menu button shifts the printer to
menu mode, from which you can select printing
options.
•
Button 2, the 2nd button on the right side of the
LCD is not used for this display.
•
Button 3, the 3
rd
button on the right side of the
LCD. This button is used to change the front
media type.
•
Button 4, the 4th button on the right side of the
LCD. This button is used to change the rear
media type.
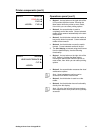
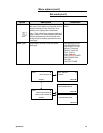
2. The second display, accessed using the right
arrow from the default display, has the following
functionality:
READY MENU
Î
R: 360 PRES 36
ggg Î
F: 720 PRES 54
ggg
Î