SMART Technologies
The LightRaise 40wi is a wall-mounted interactive projector that
enables you to write and draw over any application in digital ink
and perform regular mouse functions with its interactive pen.
The interactive pen functions like a point and click mouse. You use
the pen tip to interact with the projected image at close range,
and you can use the Left-Click button to interact from a distance.
The projector includes a built-in 10W speaker, and easily connects
with DVD players, cameras or game consoles. You can switch
between different media using the projector remote control.
The projector system includes:
• A LightRaise 40wi projector (with a built-in 10W speaker), an
interactive pen, a remote control and a pen holder
• Supplied cables: USB (Type A to B), VGA video, 3.5mm audio
and a USB charging cable (Type A to mini-B)
• SMART Notebook
™
collaborative learning software
What do you need to get started?
• A Windows
®
or Mac
®
OS computer that meets the minimum
system requirements for SMART software and has a full
speed USB port (USB 1.1 or higher)
• A broadband Internet connection to access the SMART
Exchange
™
website
Turningontheprojector
Turn the projector on or set it to standby by pressing the Power
button on the remote control, or by pressing the Power button on
the bottom of the projector. You may not see an image for up to
60 seconds because the projector needs to warm its lamp.
The power button on the projector also serves as a status light.
Status light conditions include:
• Solid amber – standby (off)
• Solid green – on
• Flashing amber – shutdown in progress
• Flashing green – start up in progress
June 2012
LightRaise
™
40wi Quick Reference Guide
Connectingacomputer
To use all the features of the interactive projector,
your computer must have SMART Notebook software
or SMART Product Drivers installed. SMART Notebook
software is included with the projector and you can
download SMART Product Drivers for free.
1. Connect the projector’s USB, VGA and 3.5mm
stereo cable to your computer
2. Turn on the computer. Laptops may require a keyboard
short-cut to initiate video out.
3. Turn on the interactive projector. If necessary, cycle the
projector’s input to VGA 1 by pressing the Input button on
the remote control.
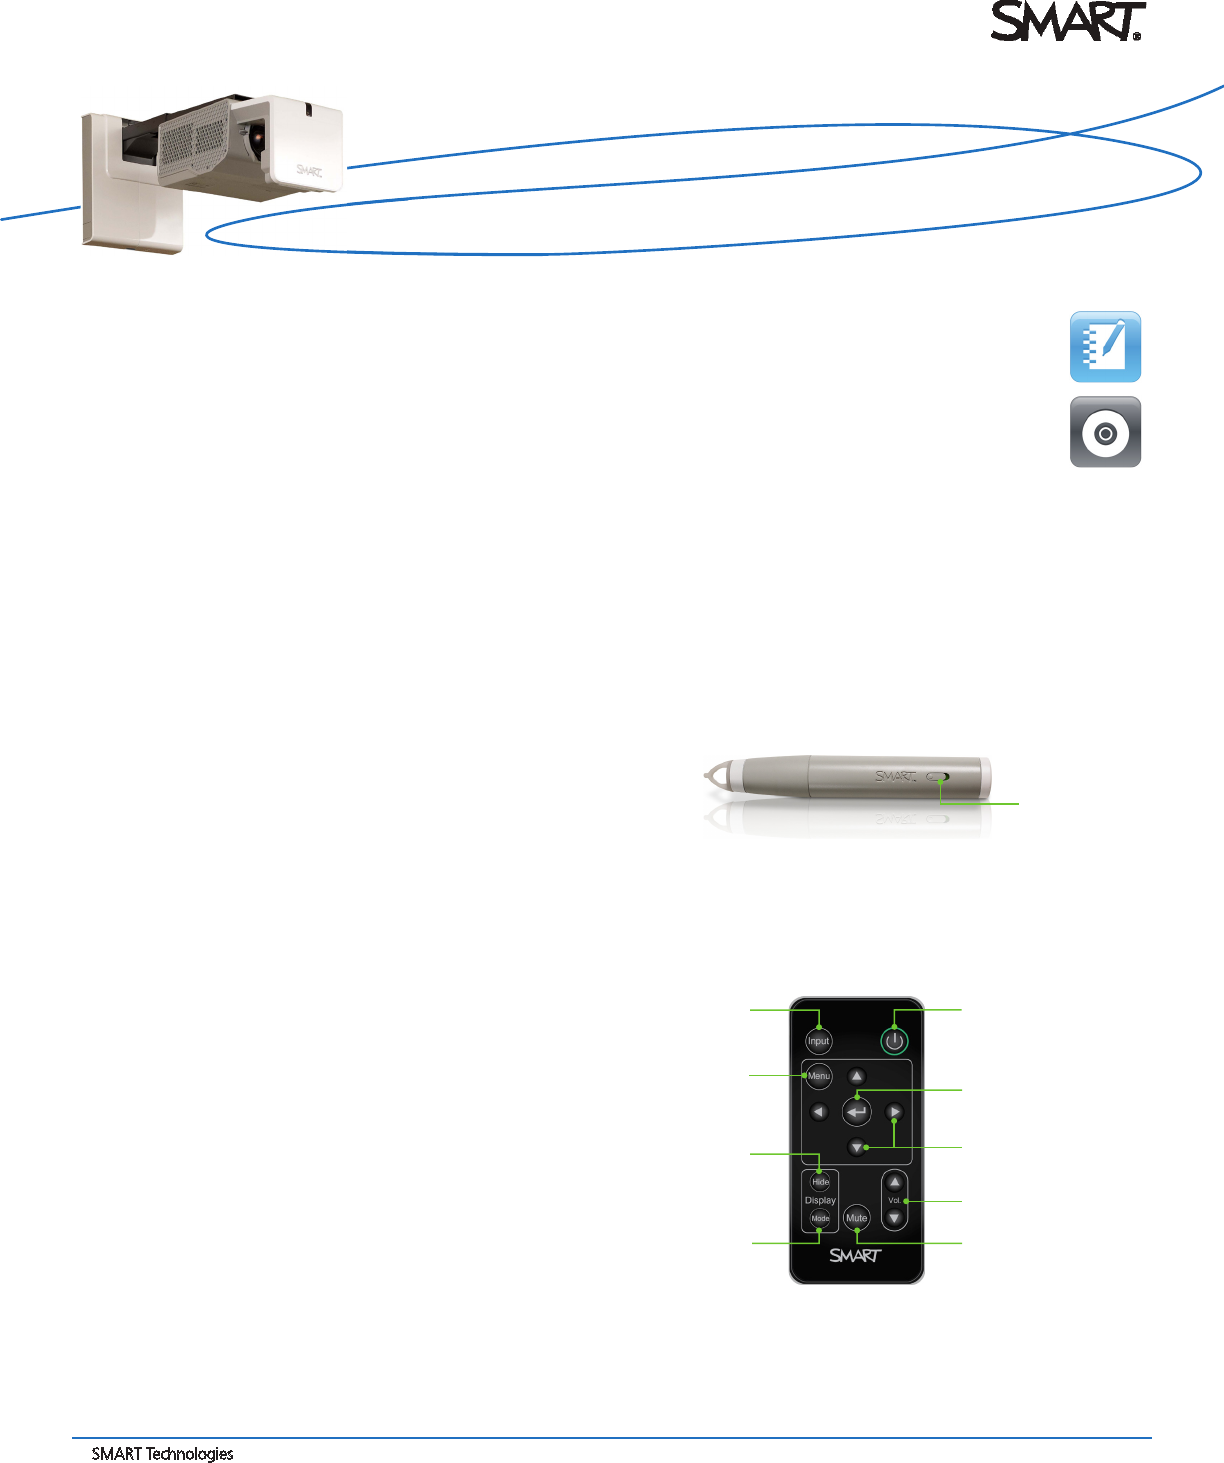
4. Turn on the interactive pen. The interactive pen’s on/off
switch is located along the pen handle.
Usingtheremotecontrol
The remote control enables you to access on-screen projector
menus and change projector settings.
On/off
Power
Turn on the projector or
put it into Standby mode
Enter
Accept the selected
mode or option
Mute
Mute audio levels
Mode
Select a display mode
Hide
Freeze, hide or
display the image
Menu
Show or hide the
projector menus
Input
Select a video and
audio input source
Volume
Increase / decrease audio levels
Arrows
Change the menu selections
and adjustments


