


37
GB
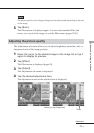
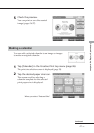
Advanced printing operations
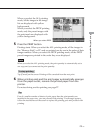
To print the edited image
Tap [+] or [–] to set the copies to be printed and then press the PRINT button.
The currently displayed image will be printed. To cancel printing, tap [Cancel]
in the screen. When multiple copies are printed, printing from the next print
will be canceled.
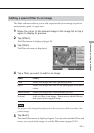
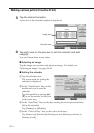
To save the Creative Print image
You can save the edited image as a new image in the “Memory Stick” or PC
card. The original image remains as it is.
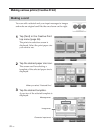
1
Tap [Save].
A dialog box to choose the destination where you save an image either
from “Memory Stick” or PC card is displayed.
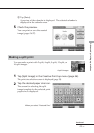
2
Tap the desired media to save an image.
The edited image is saved as a new image with a new image number.
When saving completes, the new image number is displayed.
3
Tap [OK].
The image is saved in JPEG format without regards to the original image
file format.
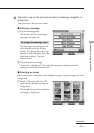
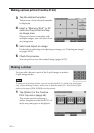
To change the printer settings midway
Tap [Menu]. The Menu screen is displayed and you can change the printer
settings (page 57).
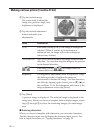
To exit the Creative Print menu
Tap [Exit]. When you have edited an image, the confirmation dialog box for
saving the image is displayed. Tap [Yes] to proceed with the saving
procedures mentioned above or [No] to abandon edition and exit the Creative
Print menu. Tap [Cancel] to return to the Creative Print menu.
Notes
•While saving the image, do not turn off the power or remove the “Memory Stick” or
PC card from the insertion slot. The “Memory Stick” or PC card may be damaged.
•If the “Memory Stick” or PC card is in write protect status, you cannot save an image
in the “Memory Stick” or PC card.
• For the “Memory Stick”, see page 86. For the PC card, see page 89.