


80
GB
Using your printer with Macintosh computers
10
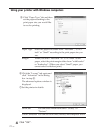
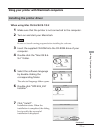
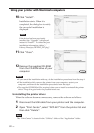
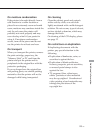
Click “Install”.
Installation starts. When it is
completed, the dialog box to notify
the successful installation is
displayed.
Note
If the driver has been previously
installed, the “Upgrade” is displayed
instead of “Install”. To delete the past
installation information, delete “/
Library/Receipts/DPPEX5_EX7.pkg”.
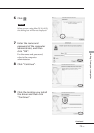
11
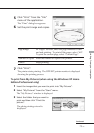
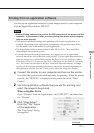
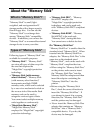
Click “Close”.
12
Remove the supplied CD-ROM
from the CD-ROM drive of your
computer.
Notes
•If you cancel the installation midway, do the installation procedures from the step 4.
•If the installation fails, remove the printer from your computer, restart your
computer, and then do the installation procedures from the step 4
•The supplied CD-ROM will be required when you re-install or uninstall the printer
driver. Keep it in good order for possible future use.
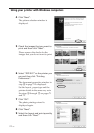
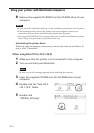
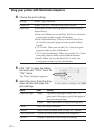
Uninstalling the printer driver
When the software becomes unnecessary, remove the software as follows:
1 Disconnect the USB cable from your printer and the computer.
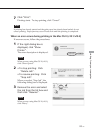
2 Open “Print Center”, select “DPP-EX7” from the printer list and
then click “Delete”.
Note
The “Print Center” is located in the “Utilities” folder of the “Application” folder.