


24
GB
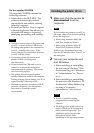
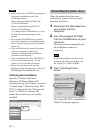
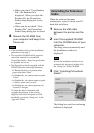
• When you check “View Readme
File”, the Readme file is
displayed. When you close the
Readme file, the PictureGear
Studio Setup dialog box is also
closed.
• When you do not check “View
Readme File”, the PictureGear
Studio Setup dialog box is closed.
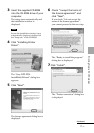
8 Remove the CD-ROM from
your computer and keep it for
future use.
Notes
• If the installation fails, do the installation
procedures from step 2.
• The supplied CD-ROM will be required
when you uninstall or re-install the
PictureGear Studio. Keep it in good order
for possible future use.
• The PictureGear Studio supplied with the
DPP-FP30 has the following limitations:
–In PhotoCollection, you cannot select
paper other than “Sony”.
–In PrintStudio, you cannot create or print
“Label”.
–In PrintStudio, you cannot create or print
a “Sticker, name card, or card”.
–In PrintStudio, you cannot print part of
“Postcard” designs.
To delete the above limitations and
upgrade the software to the version
supplied with VAIO computer or CLIE
handheld, execute the “Setup.exe” in the
“pgs.add” folder.
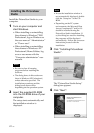
Uninstalling the PictureGear
Studio
When the software becomes
unnecessary, remove it from your PC
hard disk as follows:
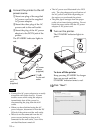
1 Remove the USB cable
between the printer and the
PC.
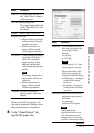
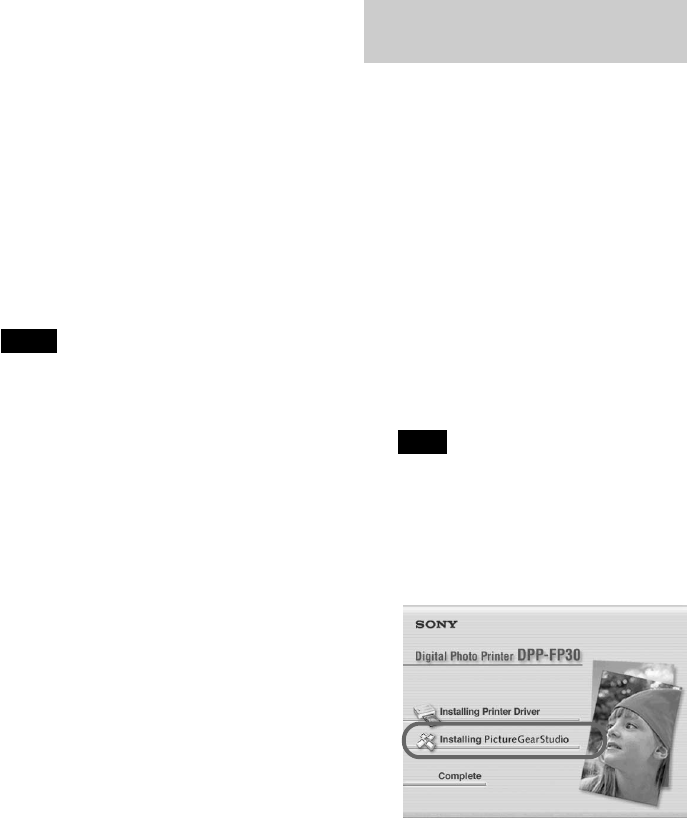
2 Insert the supplied CD-ROM
into the CD-ROM drive of your
computer.
The setup starts automatically and
the installation window is
displayed.
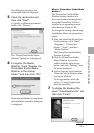
Note
In case the installation window is not
automatically displayed, double-click
the “Setup.exe” of the CD-ROM.
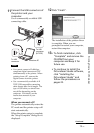
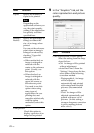
3 Click “Installing PictureGear
Studio”.
The dialog box used for confirming
deletion is displayed.