


Operation
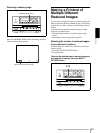
Making a Printout of Multiple Different Reduced Images
26
1
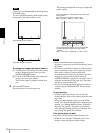
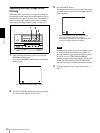
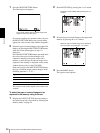
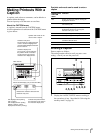
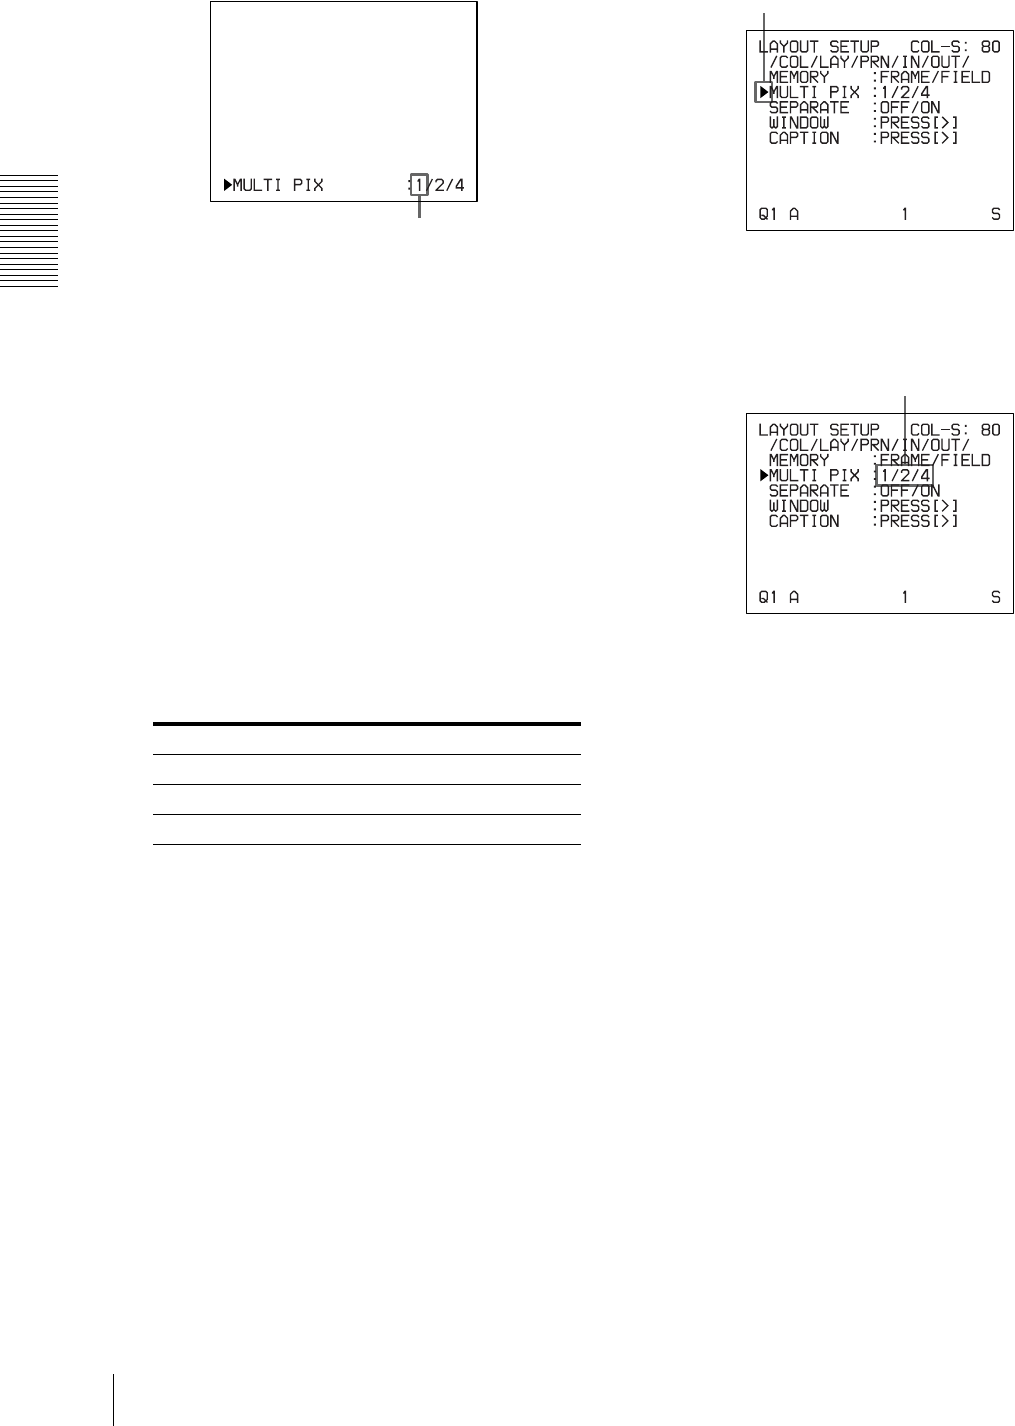
Press the MULTI PICTURE button.
The following screen appears.
If you do not perform any operation after you press
the MULTI PICTURE button, the current setting
appears for a few seconds, after which it disappears.
2
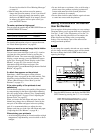
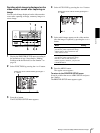
Select the type of reduced images to be captured in
memory by pressing the MULTI PICTURE button,
while the screen which appears in step 1 is
displayed.
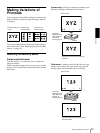
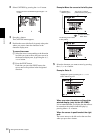
Press the MULTI PICTURE button repeatedly until
the color of the type of reduced images to be
captured in memory turns green on the video
monitor, or until the type of reduced images to be
captured in the memory is displayed on the printer
window display (only for the UP-21MD).
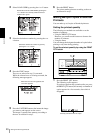
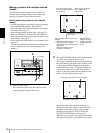
Each time you press the MULTI PICTURE button,
the type of reduced-image printout changes in the
following sequence: 1, 2, 4, 1....
The screen is reset to the regular screen after a few
seconds.
To select the type of reduced images to be
captured in the memory using the menu
1
Display the LAYOUT SETUP menu according to
the operations of step 1 described in “Selecting the
memory mode” on page 24.
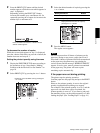
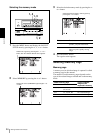
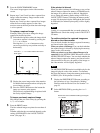
2
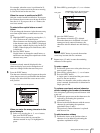
Select MULTI PIX by pressing the F or f button.
3
Select the type of reduced images to be captured in
memory by pressing the G or g button.
4
Press the MENU button.
The regular screen appears.
Type Number of reduced images
1 1 (Full-size image)
2 2 (Two reduced images)
4 4 (Four reduced images)
The currently selected type of reduced images to be
captured in memory is lit in green.
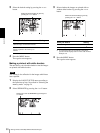
Position the cursor at MULTI PIX by pressing the F or
f button.
Switch the type of reduced images to be captured in
memory to green by pressing the G or g button.