


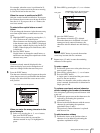
Operation
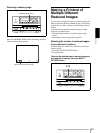
Making a Printout of Multiple Different Reduced Images
29
3
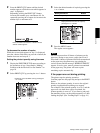
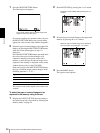
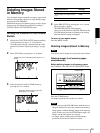
Press the SOURCE/MEMORY button.
The source image appears on the video monitor
screen.
4
Repeat steps 2 and 3 until you have captured four
images when the memory image remains on the
video monitor screen.
Repeat step 2 until you have captured four images
when the source image appears on the video
monitor screen at the next position where the image
is to be captured.
To replace a captured image
Example: When you want to change the image
captured in the third position.
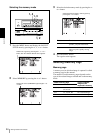
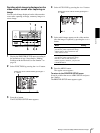
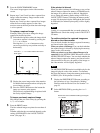
1 Select the third position where the image which
you want to replace is located by pressing the
F, f, G or g button.
Pressing the F, f, G or g button moves the
cursor one position by one position vertically or
horizontally.
2 Display the source image on the video monitor.
For detailed informataion on how to display the
source image, see step 3.
3 Press the CAPTURE button at the instant the
image you want to print appears.
The previously captured image is replaced with
the newly captured image.
To keep a previously captured image
Skip images that you want to keep by pressing the
F, f, G or g button.
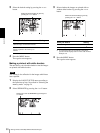
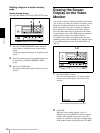
5
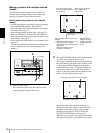
Press the PRINT button.
The four reduced images are printed on one sheet of
paper.
Whether white borders are attached depends on the
setting of SEPARATE in the LAYOUT SETUP
menu. (See page 30.)
If the printout is blurred
When you make a printout of a full image, or two or four
reduced images captured in memory in FRAME mode,
the images on a printout may be blurred. Should this
occur, change the memory mode setting to FIELD on
LAYOUT SETUP menu (“Selecting the memory mode”
on page 24), then print it again. Although the blur should
be eliminated, the ultimate print quality will be slightly
degraded.
Note
Usually, it is recommended that you make printouts in
FRAME mode. Check the setting on the LAYOUT SET
UP menu.
To confirm whether the captured images are
blurred on the video monitor
You can check whether the images captured in memory
are blurred on the video monitor.
When you select a full image: You can check whether
the captured image is blurred by displaying the memory
image on the video monitor.
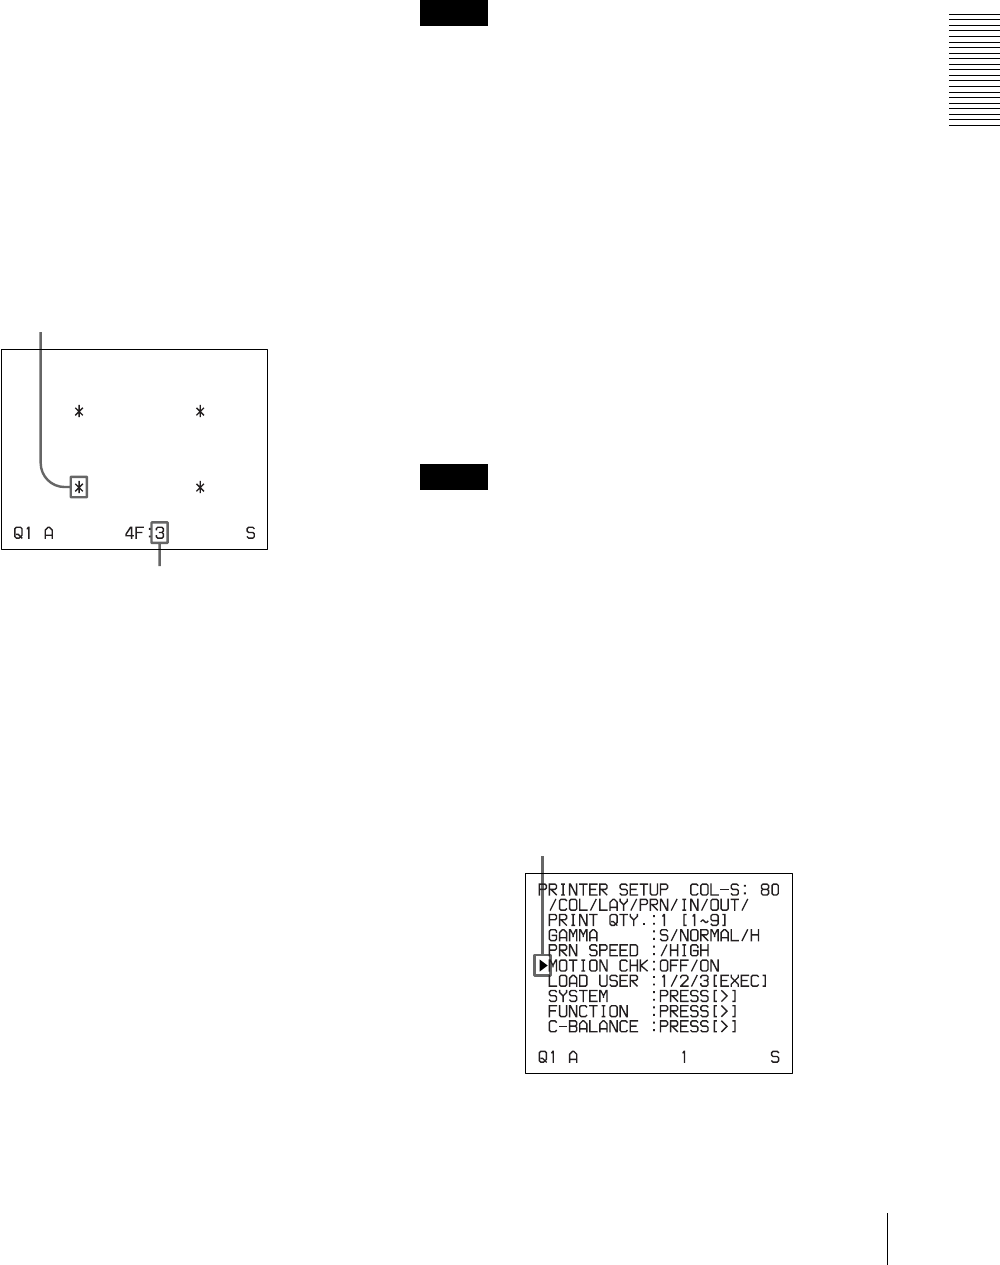
When you select two or four reduced images to be
captured: Set the MOTION CHECK function to ON on
the PRINTER SETUP menu. You can check whether the
reduced images captured in memory are blurred on the
video monitor. In this case, the quality of the image on
the video monitor will be slightly degraded.
Note
The MOTION CHECK function is available only for the
images displayed on the video monitor. To eliminate
blur from the printout, change the memory mode setting
to FIELD. (See “If the printout is blurred.”)
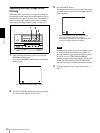
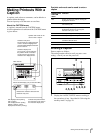
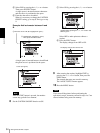
1
Display the PRINTER SETUP menu according to
the operations of step 1 described in “Making
Printouts with the Desired User Set Number” on
page 19.
2
Select MOTION CHK by pressing the F or f
button.
Press the F, f, G or g button until the third cursor
blinks green.
Press the G, f, G or g button until a 3 appears.
Position the cursor at MOTION CHK by pressing the
F or f button.