


106
Installation and Adjustment
Setting Up the Printer (Continued)
I
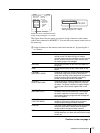
MMED . C A P :
FUNCTION SETUP COLOR : 200
PRN SETUP
AUTO LIVE : OFF / ON
: OFF / ON
RM2 FUNC : / C&PRINT /
RM3A FUNC : / PRINT&PAGE
RM3B FUNC : / BACK - SP /
RM3C FUNC : / CAP/SRC /
RM3E FUNC : / GRAB /
: PRESS [ > ]
: / ALL /
Q1 A 1
S
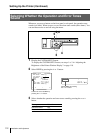
IMMED. CAP.
CLEAR
off /ON
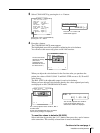
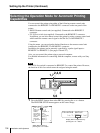
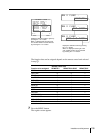
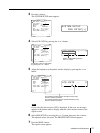
5 Select the timing to capture the image by pressing the G or g button.
when you want to
Capture the image just after the trigger pulse is
input to REMOTE 2 connector.
a)
Capture the image a certain interval after the
trigger pulse is input to the REMOTE 2 connector.
b)
a) When IMMED. CAP is set to ON, display the source image on the video monitor when
sending the trigger pulse to the printer. The printer operation is set only to capture the image
when receiving the trigger pulse.
b) The timing is decided at the factory.
For detailed information on the timing for the REMOTE 2 connector, see page
126.
Notes
• Select ON when you want to capture the image at the precise timing
controlled from the computer.
• To assign the function to the remote control unit connected to the REMOTE
2 connector on the FUNCTION SETUP menu, set the IMMED.CAP item on
the FUNCTION SETUP menu to OFF.
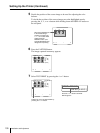
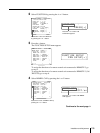
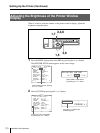
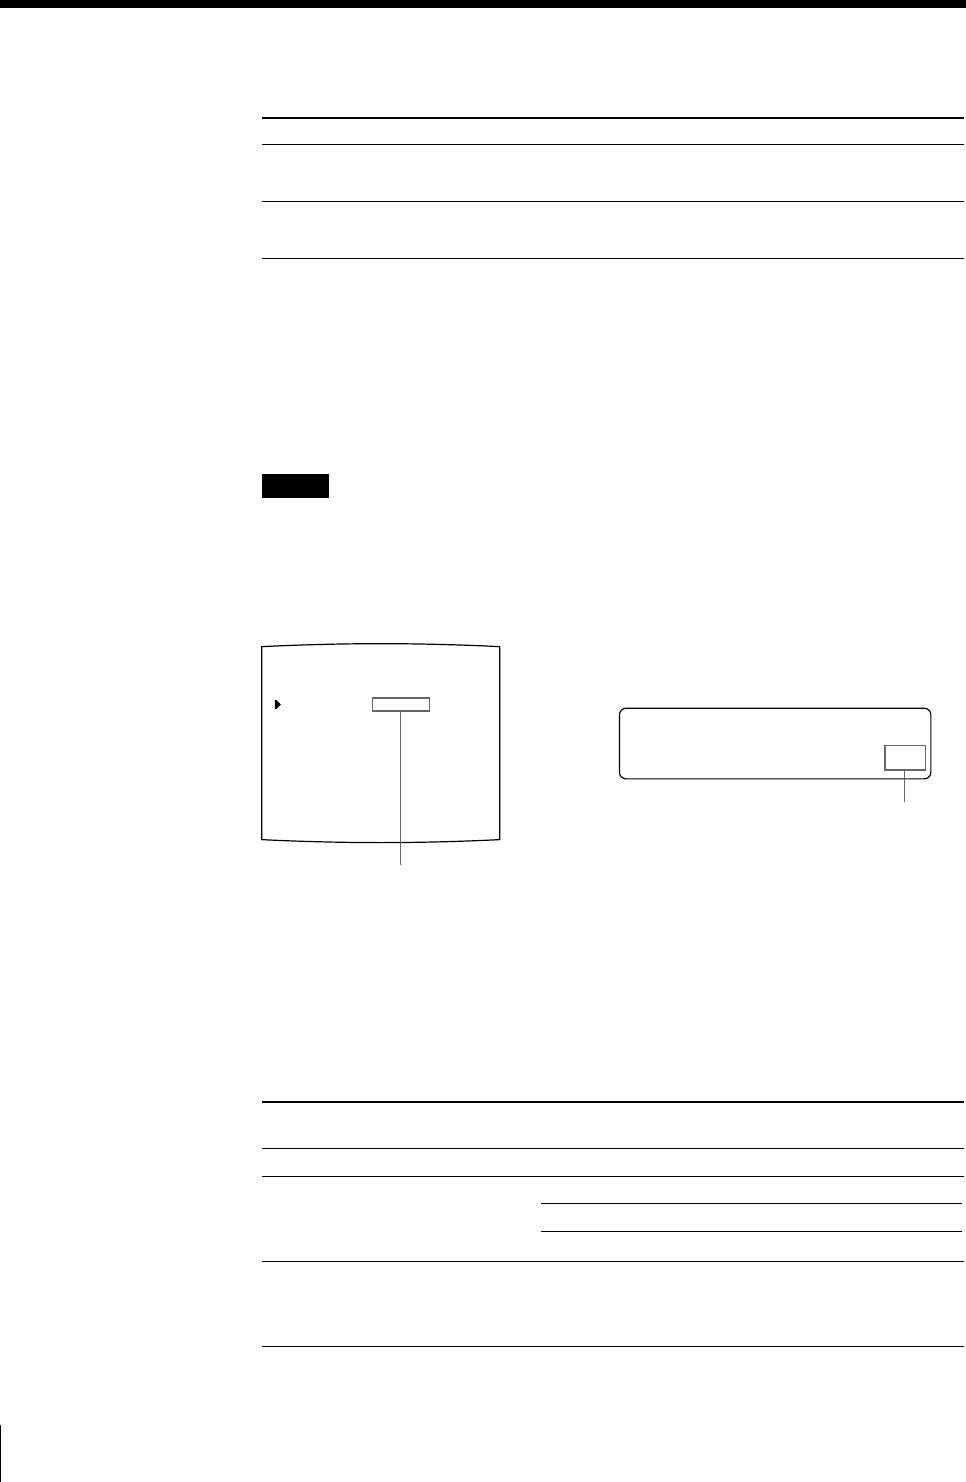
6 Select the remote control unit and assign the function to the selected remote
control unit.
1 Select the remote control unit to which you want to assign a function by
pressing the F or f button.
Remote control unit to
which the function is assigned
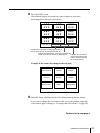
RM-91 connected to REMOTE 2
FS-30 connected to REMOTE 3
Remote control unit that sends
the trigger pulse to Pin No.5 of
REMOTE 3
Selection
ON
OFF
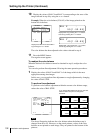
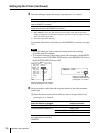
Switch the desired timing selection to
green by pressing the G or g button.
Display the desired timing
selection in capital letters by
pressing the G or g button.
Button A of FS-30
Button B of FS-30
Button C of FS-30
Remote control unit name
written on the menu
RM2 FUNC
RM3A FUNC
RM3B FUNC
RM3C FUNC
RM3E FUNC