


94
Installation and Adjustment
Setting Up the Printer (Continued)
L
/c/LAY/p/ i /o/
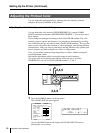
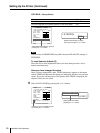
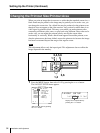
AYOUT SETUP
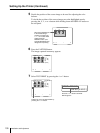
LAYOUT SETUP COLOR : 200
/ COL / LAY / PRN / IN / OUT /
MEMORY : FRAME / FIELD
MULTI PIX : 1 / 2 / 4 / 8 / 16
SEPARATE : OFF / ON
MIRROR : OFF / MIRROR
LAMINATION : GLOSSY /
WINDOW : PRESS [ > ]
CAPTION : PRESS [ > ]
Q1 A 1
S
Changing the Printout Size/Printout Area
When you print an image that is narrower or wider than the standard screen size, a
black frame may be printed or the image may be partially cut. In such a case, you
can change the screen size. Or, a black line may be produced on the printout even
though it does not appear on the video monitor. Any portion for which there is no
video signal is printed in black. This may occur when you make printouts after
connecting a different video source or play back using different video software. In
such a case, you can adjust the printout area by moving the screen either
horizontally or vertically. When a black frame appears around the printout, even
after the printout area has been shifted, narrow the printout size because the image
has been overscanned beyond the range of the regular screen.
Note
This adjustment affects only the input signal. This adjustment does not affect the
image captured in the memory.
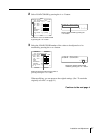
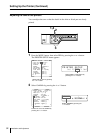
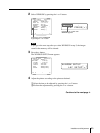
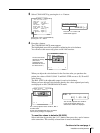
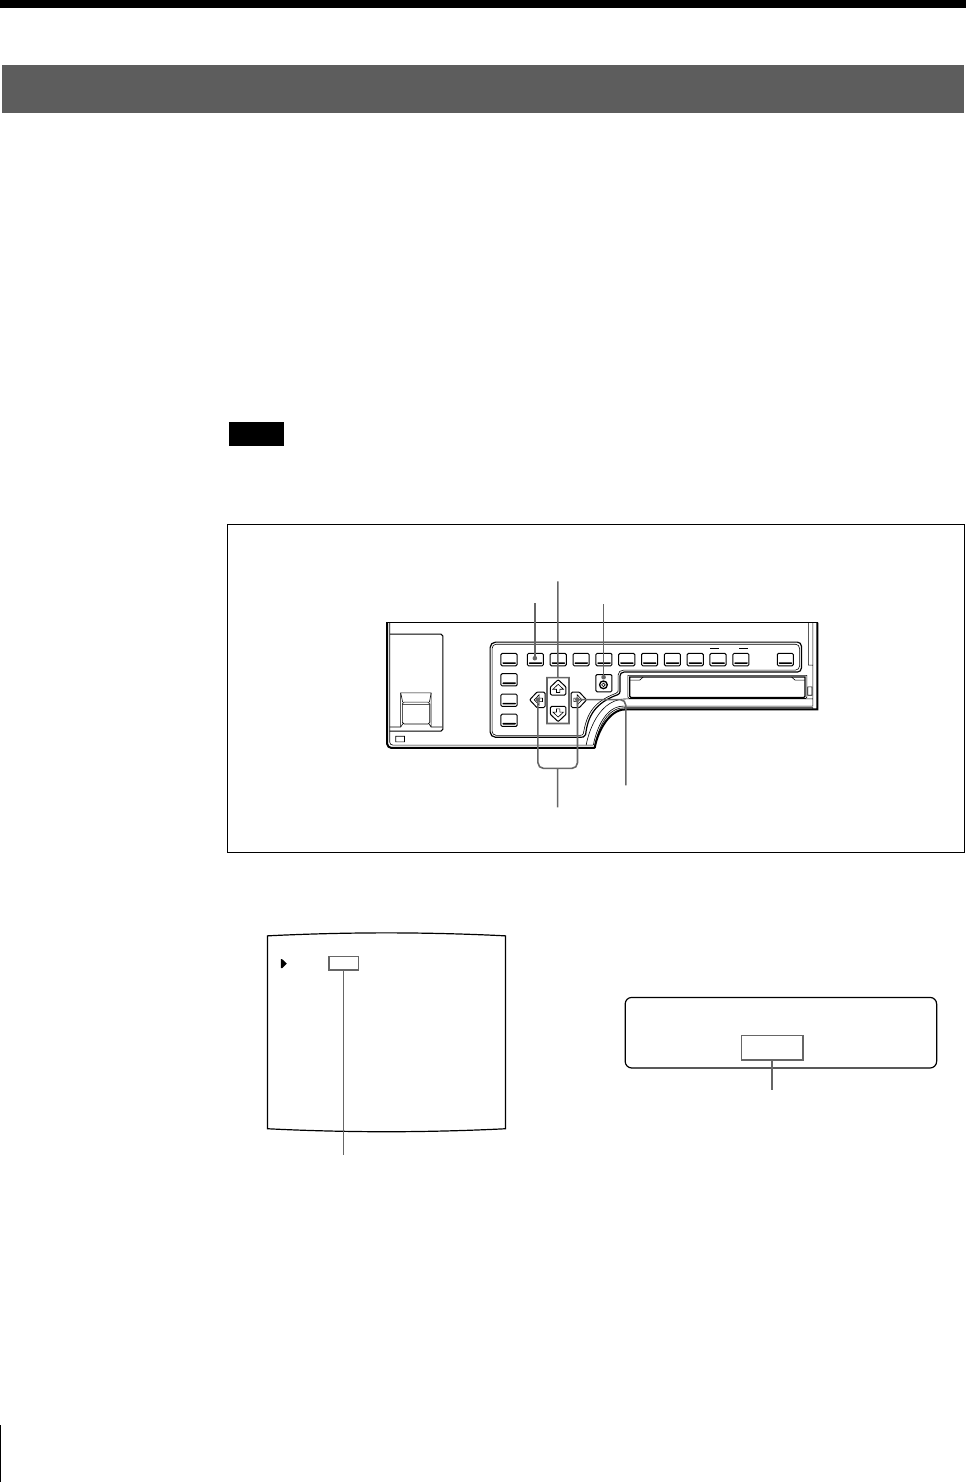
1 Press the MENU button, then select LAY by pressing the G or g button.
The LAYOUT SETUP menu appears.
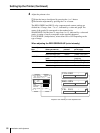
1,7
2,4,5,6
3,6
1,4
5
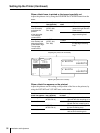
Switch LAY to green by pressing
the G or g button.
Display LAY in capital letters by
pressing the G or g button.