


49
nN
Connecting peripheral devices
Hardware Guide
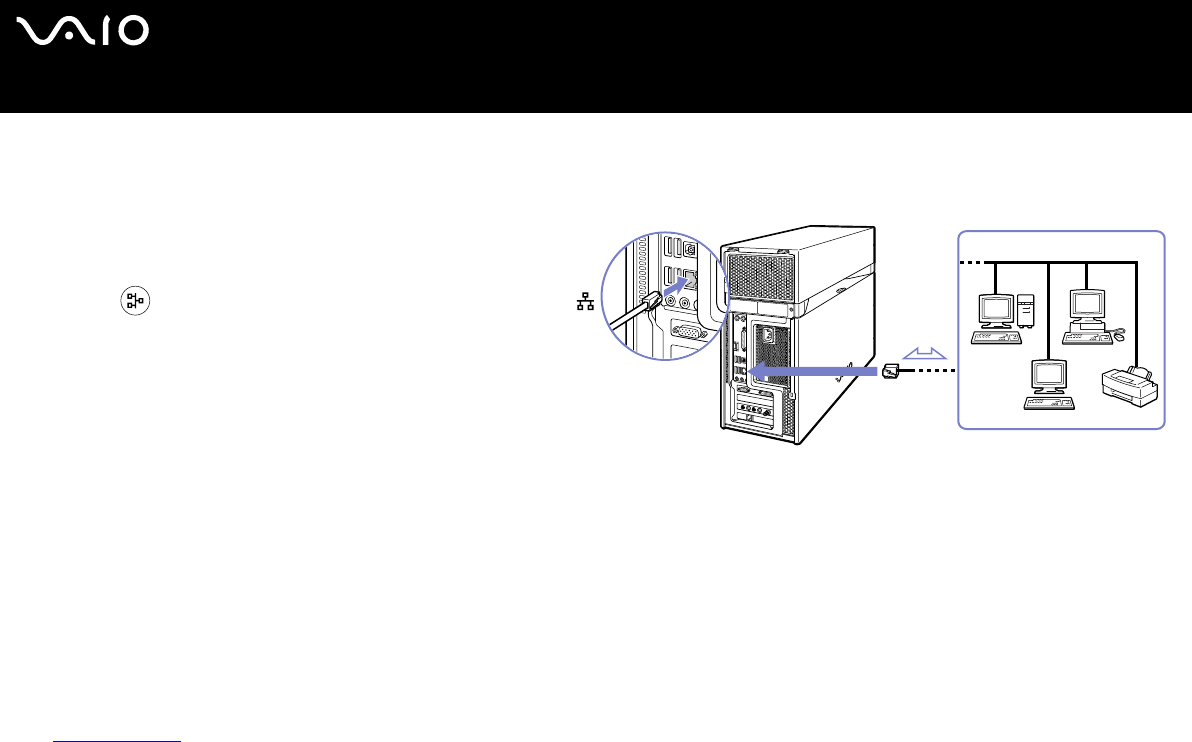
Connecting to a network
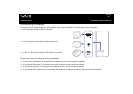
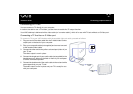
Your computer comes with a built-in Ethernet interface.
To connect to a network, proceed as follows:
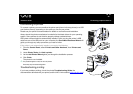
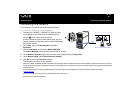
1 Connect your 10BASE-T/100BASE-TX Ethernet cable
(not supplied) to the Ethernet port, identified by the
symbol , on the back of the computer.
If there is a sticker covering the Ethernet port, this is to
remind customers in Germany not to insert an ISDN cable
(see caution below).
2 Go to Start, right-click My Computer and select
Properties.
3 Click the Hardware tab and select Device Manager.
The Device Manager screen appears with the list of devices.
4 Under Network Adapters, right-click the name of the adapter and click Properties.
5 Under Device Usage, select Use this device (enable).
6 Click OK to close the Properties window.
The Ethernet connection is now enabled.
!
Connect only 10BASE-T/100BASE-TX cables to the Ethernet port. Using other cables or a telephone cable may cause a malfunction, excessive heat or even fire in the port.
If using this computer in Germany, please make sure you do not use an ISDN cable. It is physically very similar, but its higher voltage of 12V may destroy the motherboard
inside the computer.
✍ For more information about connecting your VAIO desktop to the network, please consult the hardware troubleshooting section of the VAIO-Link website
(www.vaio-link.com
):
For help on connecting to a network, see your network administrator if you have one.
Picture may vary from actual configuration.