SY-K7VTA PRO V1.0
Quick Start Guide
11
Hardware
Installation
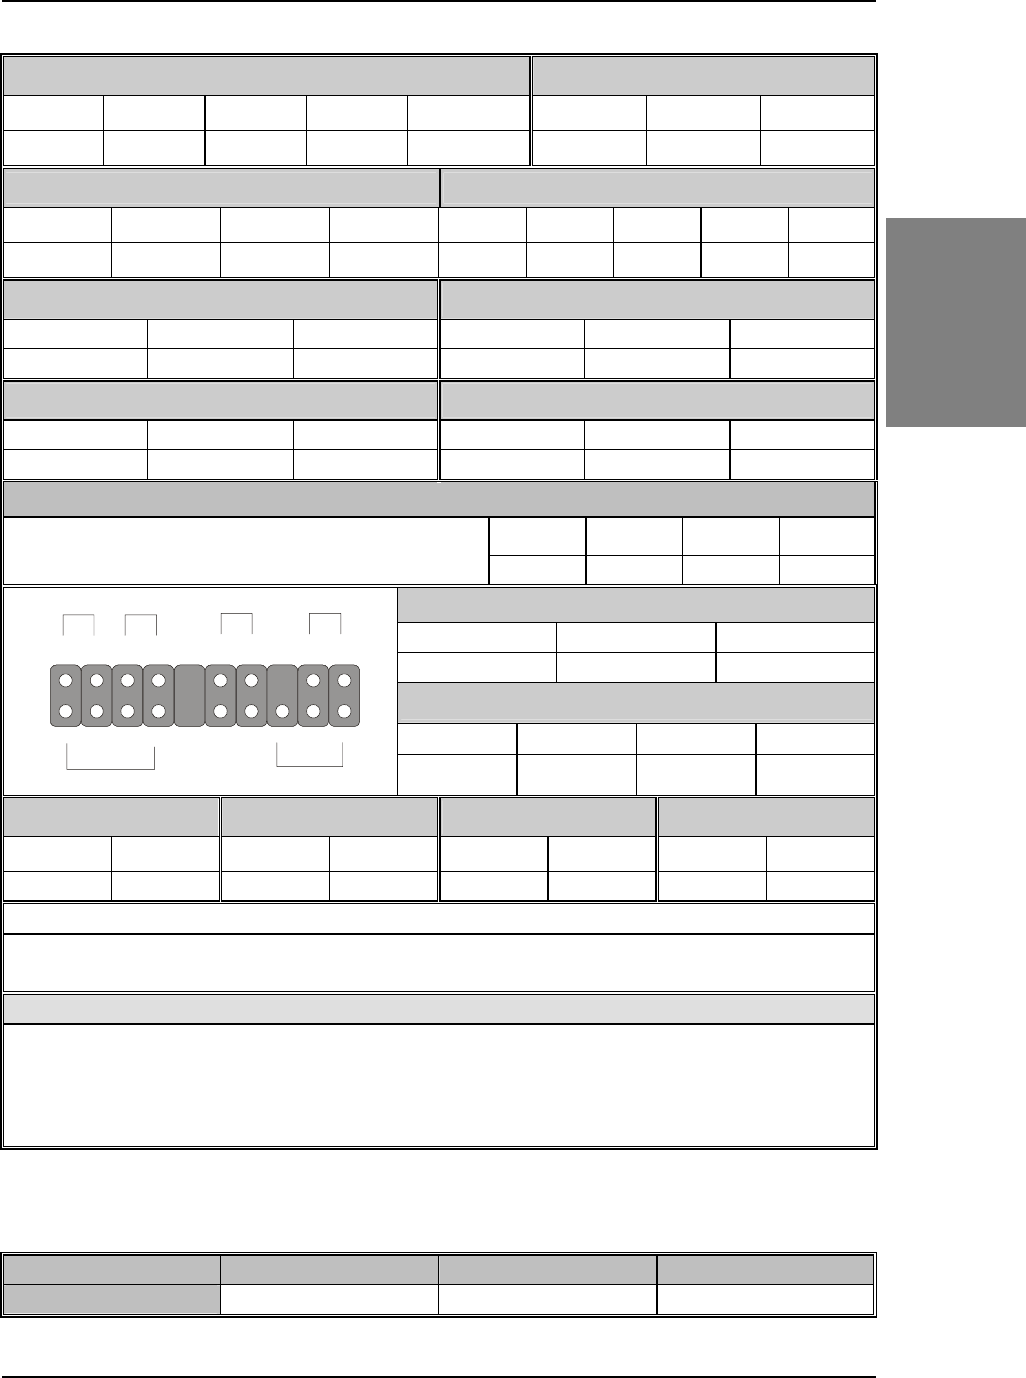
Connectors and Plug-ins
Standard IrDA (Infrared Device Header): SIRCON
Wake-On-LAN Header: J10
Pin1 Pin2 Pin3 Pin4 Pin5
Pin1 Pin2 Pin3
+5V NC IRRX GND IRTX
5VSB GND RING
USB3_4: USB3 USB3_4: USB4
Pin1 Pin3 Pin5 Pin7 Pin2 Pin4 Pin6
Pin8 Pin10
+5V Data(-) Data(+) GND +5V Data(-) Data(+)
GND GND
CPU Cooling Fan: CPUFAN1 CPU Cooling Fan: CPUFAN2
Pin1 Pin2 Pin3 Pin1 Pin2 Pin3
GND +12V SENSOR GND +12V NC
Chassis Fan: CHAFAN Chip Cooling Fan: ChipFAN
Pin1 Pin2 Pin3 Pin1 Pin2 Pin3
GND +12V SENSOR GND +12V NC
CD Line-in: CDIN1
Pin 1 Pin 2 Pin 3 Pin 4 Connect the CD Line-in cord from the CD-ROM device to the
matching header CDIN1
L G G R
Power LED
Pin1 Pin2 Pin3
LED NC GND
Speaker
Pin1 Pin2 Pin3 Pin4
VCC NC NC Speaker out
HDD LED PWRBT RESET
STR LED
※
Pin1 Pin2 Pin1 Pin2 Pin1 Pin2 Pin1 Pin2
LED GND PW-BT GND Power RST GND LED Anode GND
ATX POWER On/Off : PWRBT
Connect your power switch to this header (momentary switch type).
To turn off the system, please press this switch and hold down for longer than 4 seconds.
ATX Power Supply: ATX PW
Attach the ATX Power cable to this connector. (This motherboard requires an ATX power supply, an AT power supply can
NOT be used.)
When using the Power-On by PS/2 Keyboard function, please make sure the ATX power supply is able to provide at least
720mA on the 5V Standby lead (5VSB) in order to meet the standard ATX specifications.
※
Note: The STR LED is connected to the Voltage that feeds the DIMM sockets. Therefore the
following table applies:
Suspend to RAM Normal Operation Power Off
STR LED Blinking ON OFF
Power LEDSpeaker
ResetPWRBT
STR LED
HDD LED
++
+
+
_
_
_
_
11


