Instruction Manual
DE: Bedienungsanleitung - de.startech.com
FR: Guide de l'utilisateur - fr.startech.com
ES: Guía del usuario - es.startech.com
IT: Guida per l'uso - it.startech.com
NL: Gebruiksaanwijzing - nl.startech.com
PT: Guia do usuário - pt.startech.com
Manual Revision: 07/05/2013
For the most up-to-date information, please visit: www.startech.com
Packaging Contents
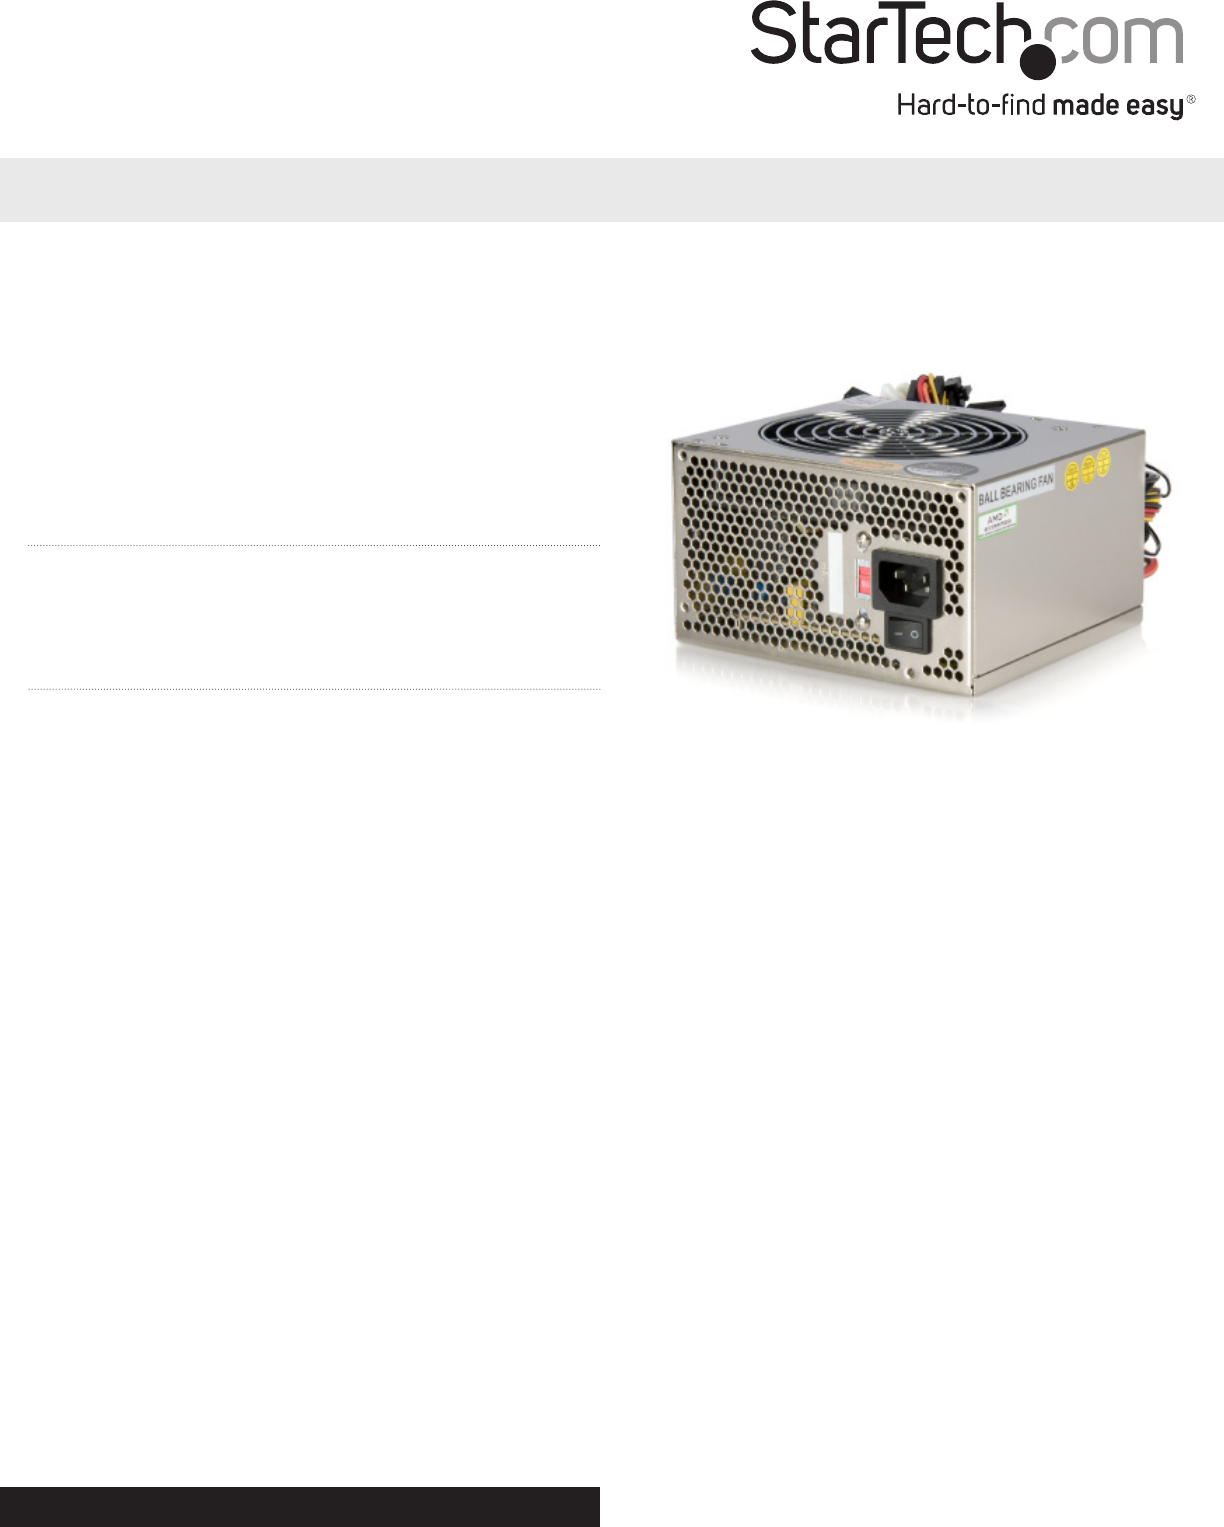
• 1x400WATXPowerSupply
• 1xPowerCord(NA)
• 1xInstructionManual
Installation
NOTE: Computerscontainsensitiveelectroniccomponentsthat
areeasilydamagedbystaticelectricityandexcessiveshock.When
handlingthepowersupplyandothercomponents,ensureyouare
properlygroundedusingananti-staticmatorsimilardevice.Ifanti-
staticequipmentisnotavailable,groundyourselfbytouchingthe
exteriorofthecomputercaseoranotherlargemetalsurfacebefore
handlinganyperipherals.
1. Installationofapowersupplyrequiressomemechanicalskill
andrequiresthatyouopenyourcomputercasetodisconnect
andreconnectwires.Ifyouareunfamiliarwiththiskindofwork,
considerbringingyourcomputerandnewStarTech.compower
supplytoyourlocalcomputerstoreforhelp.
2. Checktheredswitchontherearofthepowersupply,nextto
thepowercordplug.Besureitissettothecorrectvoltagefor
yourcountry.InNorthAmerica,itshouldread“115”.InEurope
andAustraliaitshouldread“230”.Tochangetheswitch,use
ascrewdriverinthenotchoftheswitchandslideittothe
oppositeside.Ifyouareunsureofthevoltageusedinyour
country,contactyourelectricityproviderbeforeproceeding.
3. Ifyouarereplacinganoldpowersupplyinyourcomputer,
ensurethecomputerisshutdownanddisconnectthepower
cordfromthebackoftheoldsupply.
4. Openyourcomputercase.Inmostdesigns,thecaseisopened
byremovingtwoorthreescrewsattherearofthecaseandthen
slidingthecoveringpanelbackwarduntilitcomesfree.Ifyour
caseisatowerstyle,ensurethatyouremovethepanelthatwill
exposethetopofthecomputer’smotherboard.Thisisgenerally
theleft-sidepanel.Therearemanydierentcasedesigns,
however,soifyouareunsureofhowtoopenyourparticular
case,consulttheusermanualforyourcaseorcontactyourlocal
computerstoreforhelp.
5. Withthecomputercaseopen,reviewtheconnectorsbeingused
fromyouroldpowersupply.Ifyouarebuildinganewcomputer,
reviewtheconnectorsthatyouwillneedtouse.Checkthetype
ofconnectoronyourmotherboardanduseeitherthe24or20
pinATXpowerconnectoronthepowersupplyasappropriate.
6. Disconnecttheoldpowersupplyconnectionsfrominside
yourcomputer.Harddiskdrive,CDdriveandoppydisk
driveconnectorsdisconnectbypullingontheconnector.The
motherboardconnector(s)haveaclipthatmustbepressed
whilepullingontheconnectortoreleasethem.Arocking
motionwhilepullingwillaidingettingtheconnectorsloose.
Neverpullonthewiresofaconnectortounplugit.
7. Checkthatallthewiresfromyouroldpowersupplyarefree.
Removethefourscrewsontherearofyouroldpowersupplyto
freeitfromthecomputercase.Supportthepowersupplywith
onehandifitcouldfallwhileremovingthelastscrew.(Suchasin
atowerstylecase.)Removethepowersupplybyslidingitback
andthenoutthroughthesideofyourcase.
8. Installyournewpowersupplybypositioningitthroughthe
sideortopofyourcase(dependingonyourcasestyle)andthen
backontothepowersupplymounts.Checkthattheorientation
withthescrewholesinyourcaseiscorrect;allfourholesmust
bealigned.Supportthepowersupplywithonehandwhile
threadingamountingscrewthroughthebackofthecaseand
ATX2POW400HS
400 Watt 20/24-pin Silent ATX 2.01 Computer Power Supply
*actual product may vary from photos
