


Printing Guide — Printing from Windows 257
• “Upper Left” and “Upper Right” can be selected only when the Single-staple Fin-
isher, Multi-staple Finisher, or Saddle-stitch Finisher is installed and configured on
the Configuration tab.
• “Center Top” and “Middle Left” can be selected only when the Multi-staple Finisher
or Saddle-stitch Finisher is installed and configured on the Configuration tab.
2. Set other print options you require and click [OK].
3. Click [OK] or [Print] to send a print job.
• The output is stapled for each copy.
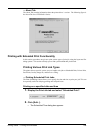
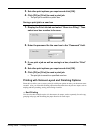
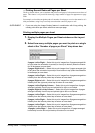
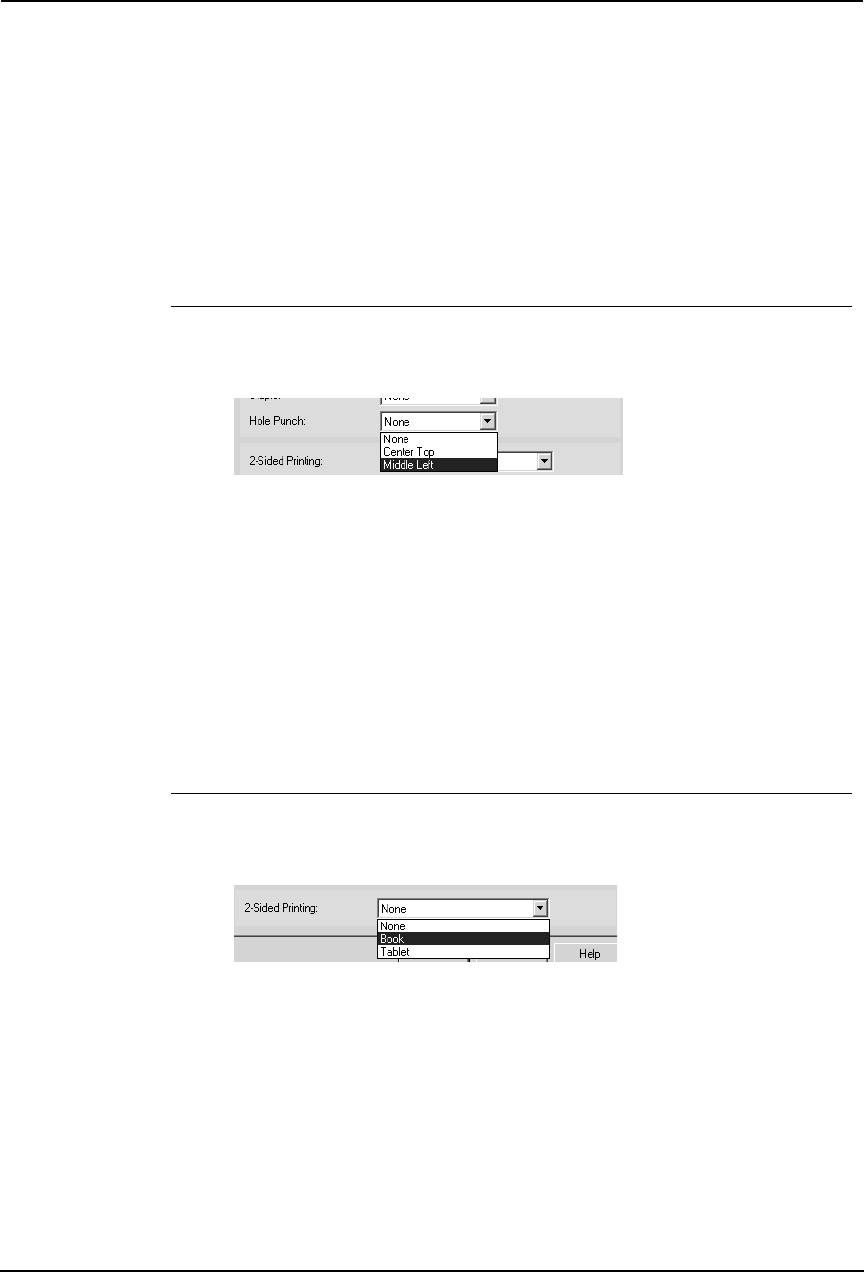
Punching holes
1. Display the Setup tab and select how to punch holes at the
“Hole Punch” drop down box.
Center Top — Select this to create holes on the upper side.
Middle Left — Select this to create holes on the left side.
2. Set other print options you require and click [OK].
3. Click [OK] or [Print] to send a print job.
• The output is hole punched.
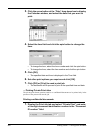
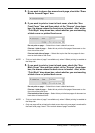
— Printing on Both Sides of a Sheet
You can print on both sides of the paper.
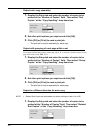
Printing both sides of paper
1. Display the Setup tab and select the direction to be printed at
the “2-Sided Printing” drop down box.
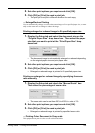
Book — Select this to print on both sides of the paper in a vertically direction, so
the pages can be bound and turned over right and left.
Tablet — Select this to print on both sides of the paper in a vertical reversal
motion, so the pages can be bound and turned over up and down.
2. Set other print options you require and click [OK].
3. Click [OK] or [Print] to send a print job.
• The print job is printed on both side of paper in the specified direction.