


1
2
3
4
5
6
7
8
9
10
11
12
8-4
NETWORK SCANNING FUNCTION (USING THE OPTIONAL PRINTER CONTROLLER)
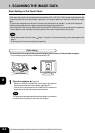
1. SCANNING THE IMAGE DATA (Cont.)
Scan Setting on the Touch Panel (Cont.)
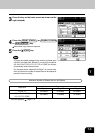
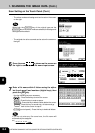
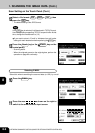
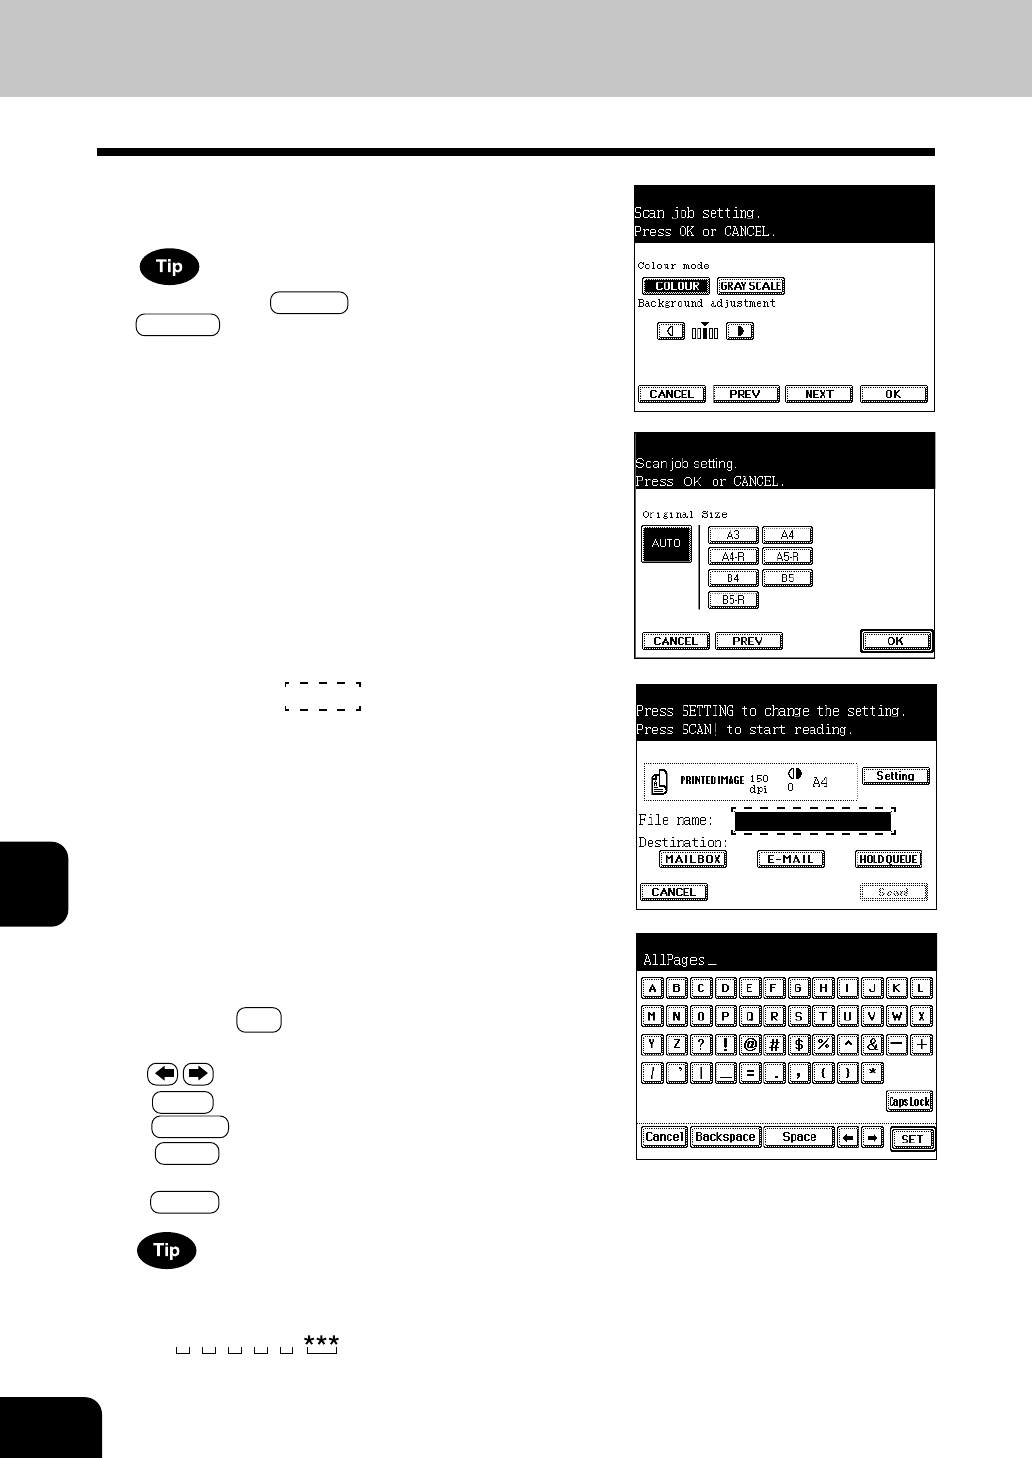
6
Press the area as shown on the screen on
the right to switch to the file name input screen.
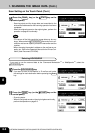
7
Enter a file name within 8 letters using the alpha-
bet (touch panel) and numbers (digital keys), then
press the SET key.
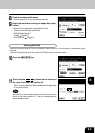
- Use the following keys as necessary.
...Press these keys to move the cursor.
Space ...Press this key to enter a space.
B Space ...Press this key to delete a letter before the cursor.
Cancel ...Press this key to cancel entry of letters and go
back to the screen in step 6.
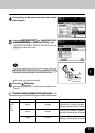
c
Clear (control panel)...Press this key to delete all letters.
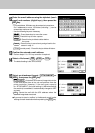
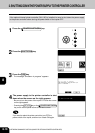
- The colour mode and background can be set on the screen
on the right.
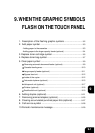
- The original size to be scanned can be set on the screen on
the right.
When both the PHOTO key of the original type and the
COLOUR key of the colour mode are selected, the background
setting becomes default.
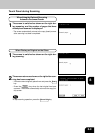
If you do not enter any file name here, the file name will
automatically be assigned.
ex)
04 07 16 21 35.
MM DD HH MM SS extension