


302 Printing Guide — Printing from Macintosh
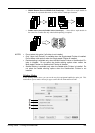
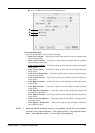
Finishing
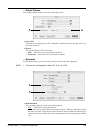
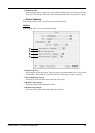
In the Finishing menu, you can set destination, hole punching and stapling.
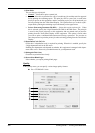
1) Destination
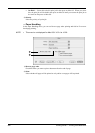
This selects the destination tray.
• Inner Tray — Select this to route the output to the inner tray.
• Job Separator Upper — Select this to route the output to the upper tray of the Job Sep-
arator. (e-STUDIO450 Series and e-STUDIO280 Series Only)
• Job Separator Lower — Select this to route the output to the lower tray of the Job Sep-
arator. (e-STUDIO450 Series and e-STUDIO280 Series Only)
• Tray 1 — Select this to route the output to the upper tray of the Finisher.
• Tray 2 — Select this to route the output to the lower tray of the Finisher.
NOTE:
• “Tray 1” and “Tray 2” are only available when the Single-staple Finisher, Multi-staple
Finisher, or Saddle-stitch Finisher are installed.
• When the optional Job Separator is installed and configured on the Configuration
tab, you can select “Job Separator Upper” and “Job Separator Lower” instead of
“Inner Tray”.
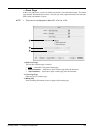
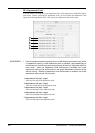
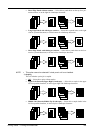
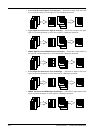
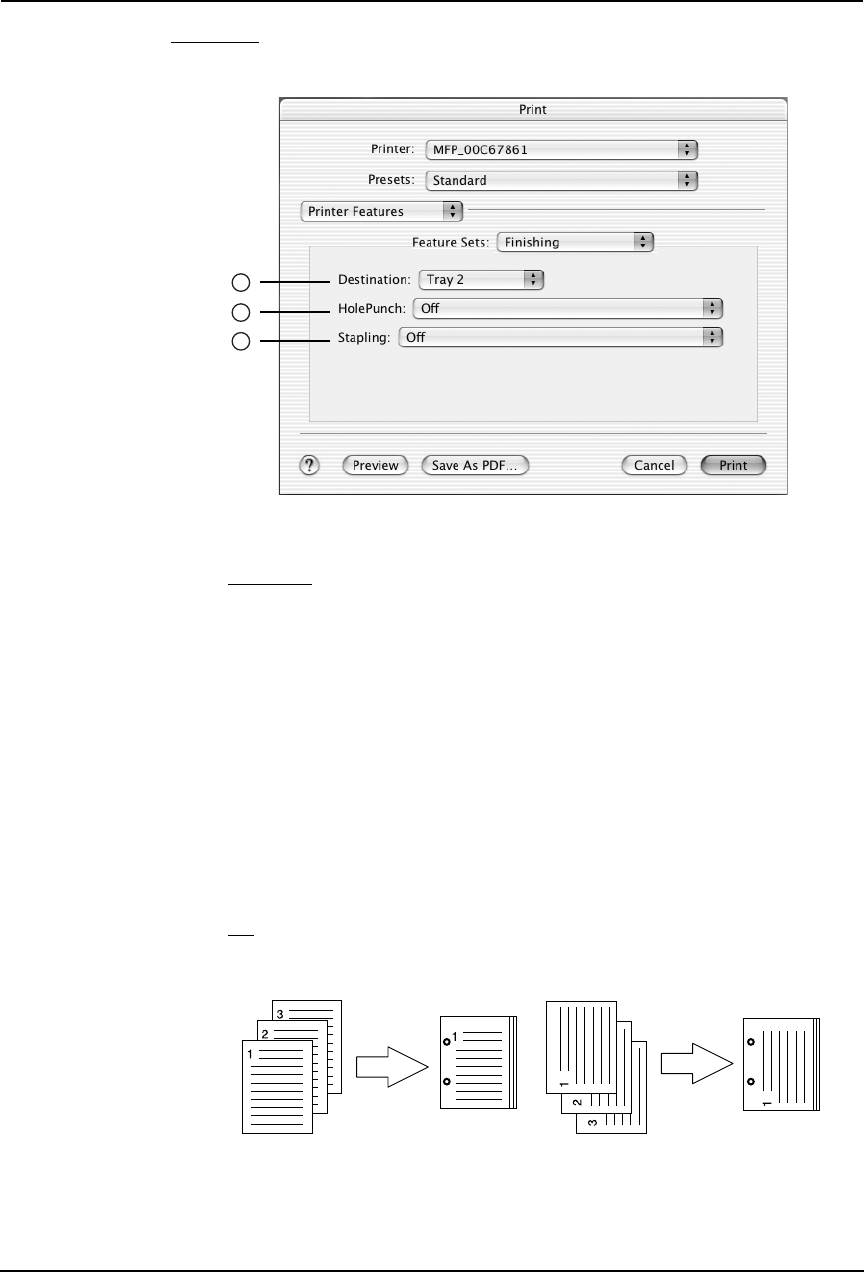
2) Hole Punch
This sets whether a print job is hole punched.
• Off — Select this to print without hole punches.
• Long Edge Punch without rotation — Select this to punch holes on the left side for a
portrait document, or on the top for a landscape document.
1
2
3