


3 USEFUL FUNCTIONS
76 Encrypting PDF Files
3
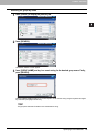
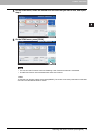
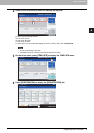
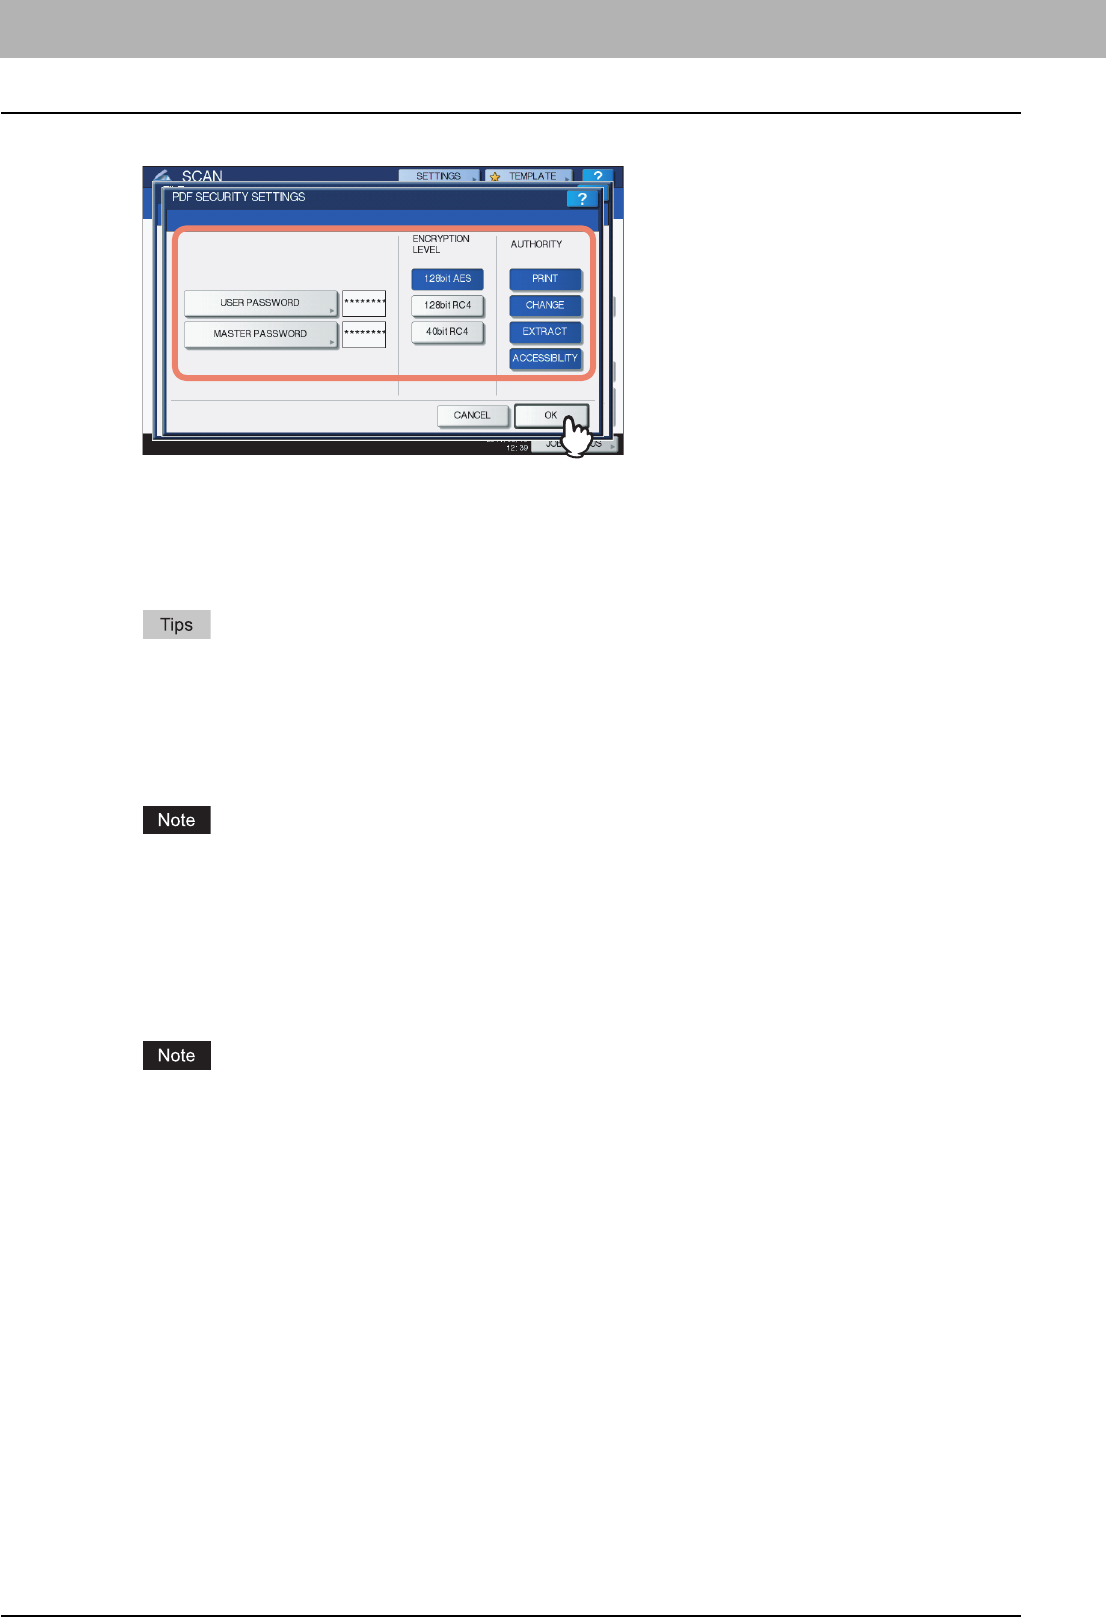
Key in or select the following items, and then press [OK].
y [USER PASSWORD]
Press this button to set a password for the encrypted PDF file(s). The password is asked for when you open the
file.
y [MASTER PASSWORD]
Press this button to set a password for changing the encryption level and authority settings.
y The user password and the master password are not set at the factory shipment. If the master password is
to be set, ask your network administrator.
y Pressing each button displays an on-screen keyboard. Enter a password using the keyboard and digital
keys, and then press [OK] to set the entry.
y Passwords can consist of between 1 and 20 one-byte characters, including “#” and “*.”
y You cannot set the same password for the user and master passwords.
Depending on the Security Setting by the Administrator, the user and master passwords can be changed. If you
are unauthorized to change the master password, you cannot change the encryption level or authorization
settings described below. To reset these passwords, ask your network administrator.
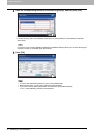
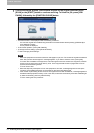
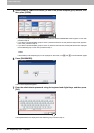
y Encryption Level
[128bit AES] — Press this button to set to an encryption level compatible with Acrobat 7.0 (PDF Version 1.6).
[128bit RC4] — Press this button to set to an encryption level compatible with Acrobat 5.0 (PDF Version 1.4).
[40bit RC4] — Press this button to set to an encryption level compatible with Acrobat 3.0 (PDF Version 1.1).
When [128bit AES] is selected, the created PDF files cannot be printed using USB Direct Printing. In this case,
print these files from a client computer. To learn more about USB Direct Printing, refer to the Printing Guide.
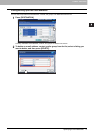
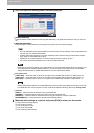
y Authority
[PRINT] — Press this button to authorize users to print PDF files.
[CHANGE] — Press this button to authorize users to edit and convert PDF files.
[EXTRACT] — Press this button to authorize users to copy and extract the contents of PDF files.
[ACCESSIBILITY] — Press this button to enable the accessibility feature.
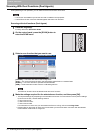
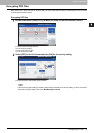
4
Make the other settings as required, and press [SCAN] to scan your documents.
For help, see the following sections:
P.18 “Scanning to files”
P.26 “Scanning to e-mail”
P.33 “Scanning to USB”
P.46 “Changing Scan Settings”