103
Learning the Basics
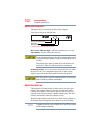
Using the optical drive
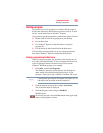
Setting the Optical Drive Auto Lock
Right-click the Optical Drive Power icon in the Taskbar to change
the Optical Drive Auto Lock settings.
Enabling and Disabling Optical Drive Auto Lock:
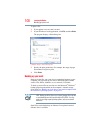
1 Right-click on the Optical Drive Power icon on the Taskbar.
2 Click Optical Drive Auto Lock, and then Enable or Disable.
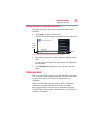
(Sample Illustration) Optical Drive Auto Lock Enable or Disable
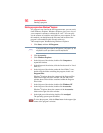
Lock Time Settings for Optical Drive Auto Lock:
This will set the amount of time required before the optical disc
drive eject button will unlock after the computer detects a vibration
or other shock.
1 Right-click on the Optical Drive Power icon on the Taskbar.
2 Click Unlock time settings, and then 1s or 3s or 5s.
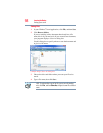
(Sample Illustration) Optical Drive Auto Lock Time Settings
When the Optical Drive Auto Lock is engaged, the FN+Tab key
combination and Eject Buttons on application screens are disabled.
Optical Drive Auto Lock is not enabled immediately after the
computer is started, the Disc tray is closed, or the optical disc drive
is switched from OFF to ON using the FN+Tab keys.


