2 Troubleshooting Procedures 2.5 FDD Troubleshooting
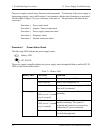
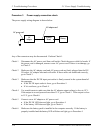
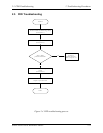
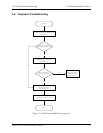
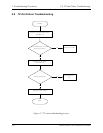
This section describes how to determine if the FDD is functioning properly. Perform the steps
below starting with Procedure 1 and continuing as required. Figure 2-4 gives an outline of the
process.
Procedure 1: FDD head cleaning check
Procedure 2: Diagnostic check
Procedure 3: Connector check and replacement check
Procedure 1 FDD head cleaning check
The FDD heads can become dirty over time, affecting their performance. Use an FDD cleaning
kit to clean the heads. If the FDD still does not function properly after cleaning, go to Procedure
2.
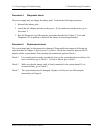
Procedure 2 Diagnostic check
Insert the Diagnostics Disk in the FDD, turn on the computer and run the test. Refer to Chapter
3, Tests and Diagnostics, for more information about the diagnostics test procedures.
If no FDD problem is detected by the diagnostic test, the FDD is functioning normally. If an
error occurs, go to Procedure 3.
Procedure 3 Connector check and replacement check
The 3.5-inch FDD is connected to the system board. Refer to Chapter 4, Replacement
Procedures, for instructions on how to disassemble the computer and then perform the following
checks:
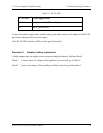
Check 1 Make sure the FDD flexible cable is firmly connected to the FDD and system board.
If any of the connections are loose, reconnect firmly and repeat Procedure 2. If any
of the connections is damaged, or there is still an error, go to Check 2.
Check 2 The FDD unit or FDD flexible cable may be defective or damaged. Replace each
with a new one following the steps in Chapter 4. If the FDD is still not functioning
properly, perform Check 3.
Check 3 Replace the system board with a new one following the steps in Chapter 4.
2-16 Satellite P30/P35 Series Maintenance Manual


