


42 43
Operations
<Logo registration>
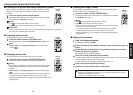
How to register user logo
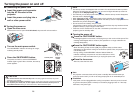
1
Project a picture to register.
2
Select [User logo] in the Display setting menu, and press the oror
button.
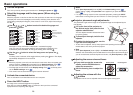
3
Select <Logo registration> from the displayed menu list and press
the button.button.
4
The registration area is displayed for confirmation. Select [OK]
and press the button.button.
If the registered picture does not fall within the display area, operate the
computer to scroll the screen.
5
Registration starts.
To stop the registration, press the RETURN button.
Notes
You can register a logo when the input is set to Computer, Network and USB
memory.
For the Network-input, a logo can be registered only when the image is displayed.
For the USB memory-input, a logo cannot be registered when a thumbnail list is
displayed.
If you register a logo after keystone distortion or digital zoom has been adjusted,
those adjustments will be reset to their factory settings. However, when the logo
registration is complete, they will return to the adjustments that you made.
The area that can be registered is 512 × 384 dots at the center of the screen. To
register a company logo, prepare the image within the limit.
Only one logo can be registered. When a new image is registered, the old one is
erased.
The time needed to register or display the image varies depending on the data size.
If you use this function on commercial video software, broadcast or cable-
broadcasting except for the purpose of your private viewing and listening, it may
infringe the copyright protected by the copyright laws.
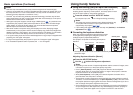
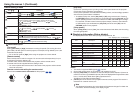
<Display style>
Select the size of the registered logo.
: Displays the registered image in original size at center of the screen.
: Displays the registered image by enlarging fully in the screen.
(As processed digitally, the image quality is degraded.)
<Logo confirmation>
You can preview the registered logo.
<Reset logo>
You can reset the registered logo and display style to the factory setting. (The logo
set for the start-up screen and background is reset.)
•
•
•
•
•
•
•
•
•
•
Using the menus 1 (Continued)
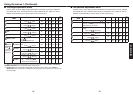
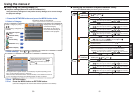
The Default setting menu
This menu shows placement status and other settings.
Default setting 1 menu
Item
Description
Keystone Screen shrinking at bottom
Screen shrinking at top
Auto keystone Always correct keystone distortion automatically. On Off
Blackboard
mode
When projecting on a non-screen surface, select a color in accordance with
the projecting surface.
Press
and switch with and . Off/Green/Black/Brown/Blue/Beige
No signal
power off
Set the time to wait for the power to be turned off after the last operation is
made with no input signal. On (not turned off)
30 min.
Auto input
search
Set whether the input with signals is only selected or not. On Off
Beep Beep when operation is made. On Off
Power on Sets whether to turn on the power when the ON/STANDBY button is pressed
(Manual), or when the main power switch is turned on (Auto).
Manual
Auto
Detailed description
[Blackboard mode]
Projects the image in colors more like projecting on a screen.
Precaution
The projected image may differ depending on the type, color, and material of the
blackboard and wall even if the selected color is the same as the projected screen.
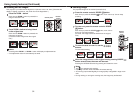
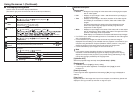
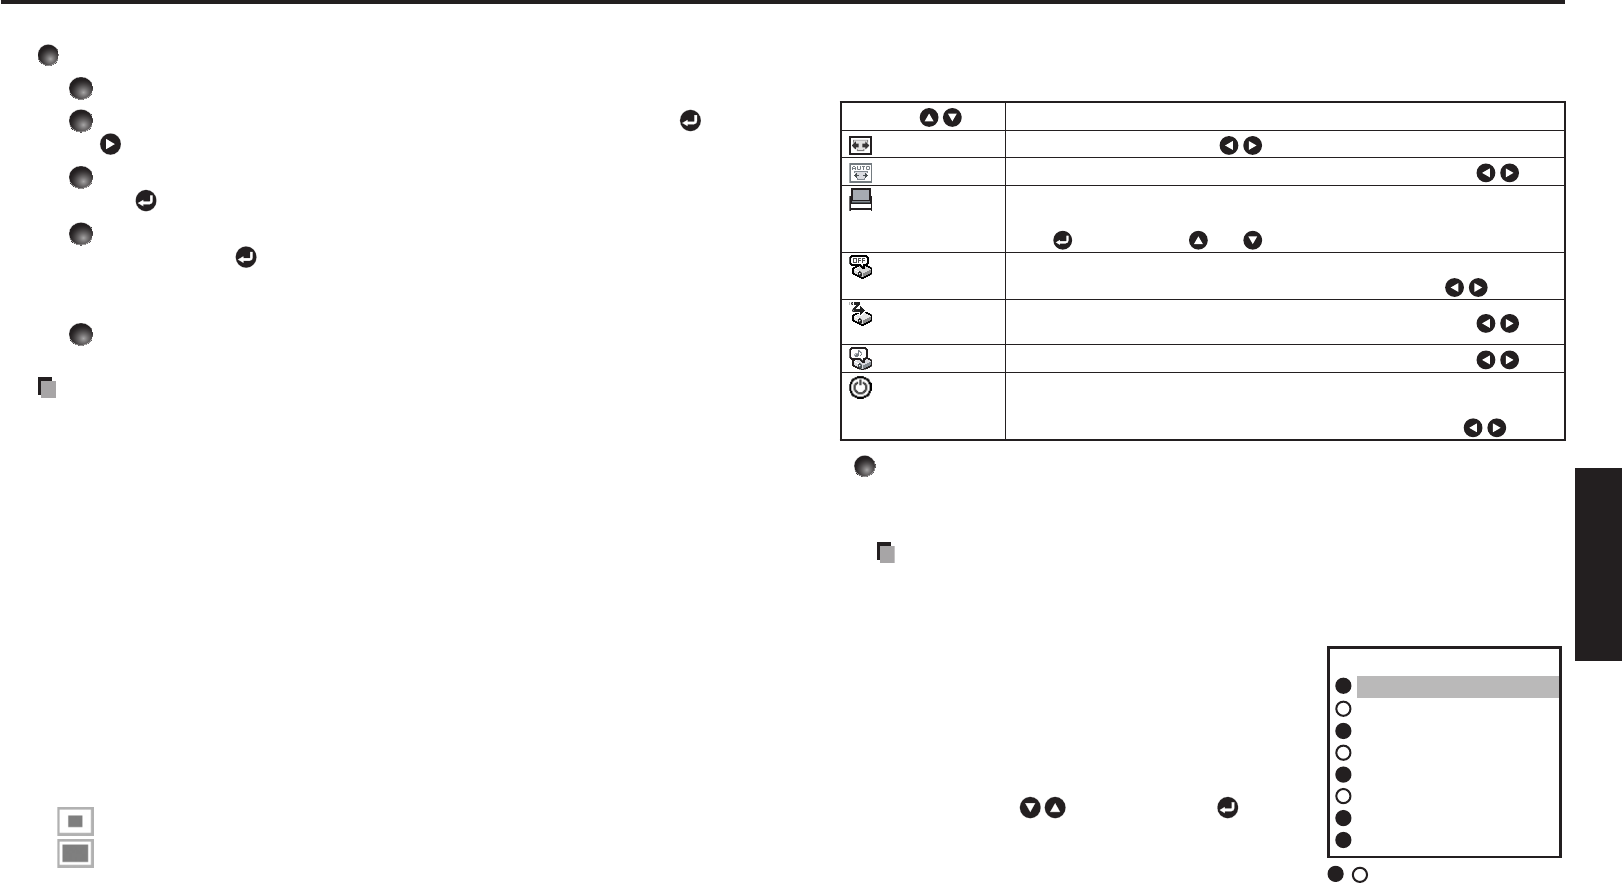
[Auto input search]
[On]: Automatically searches the signals that can
be projected, and switches input from the
connected device that outputs the video
signals each time the INPUT button is
pressed. The input from the connected device
that outputs no video signals is skipped.
[Off]: Displays the Input select menu.
Toggle with
buttons and press
button.
(The input without signals can be selected.)
[Power on]
Note that if [Power on] is set to [Auto], then if the power is supplied when restored
after a power outage, the projector will come on.
N
•
Computer 1
Y/PB/PR 1
Computer 2
Y/PB/PR 2
Video
S-video
Network
USB memory
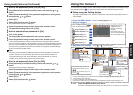
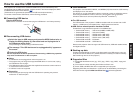
Input select
/shows whether signal is
input or not.
Input select menu