


SY-6ICA Quick Start Guide
10
Hardware
Installation
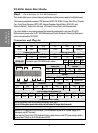
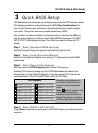
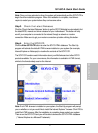
Step 4. Set the CPU Frequency
This Motherboard does not use any jumpers to set the CPU frequency; the CPU settings
can be changed through the BIOS [SOYO COMBO SETUP]. Please refer to Chapter 3
“Quick BIOS Setup” for details on setting the Coppermine
TM
processor frequency.
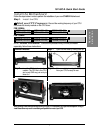
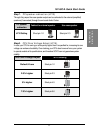
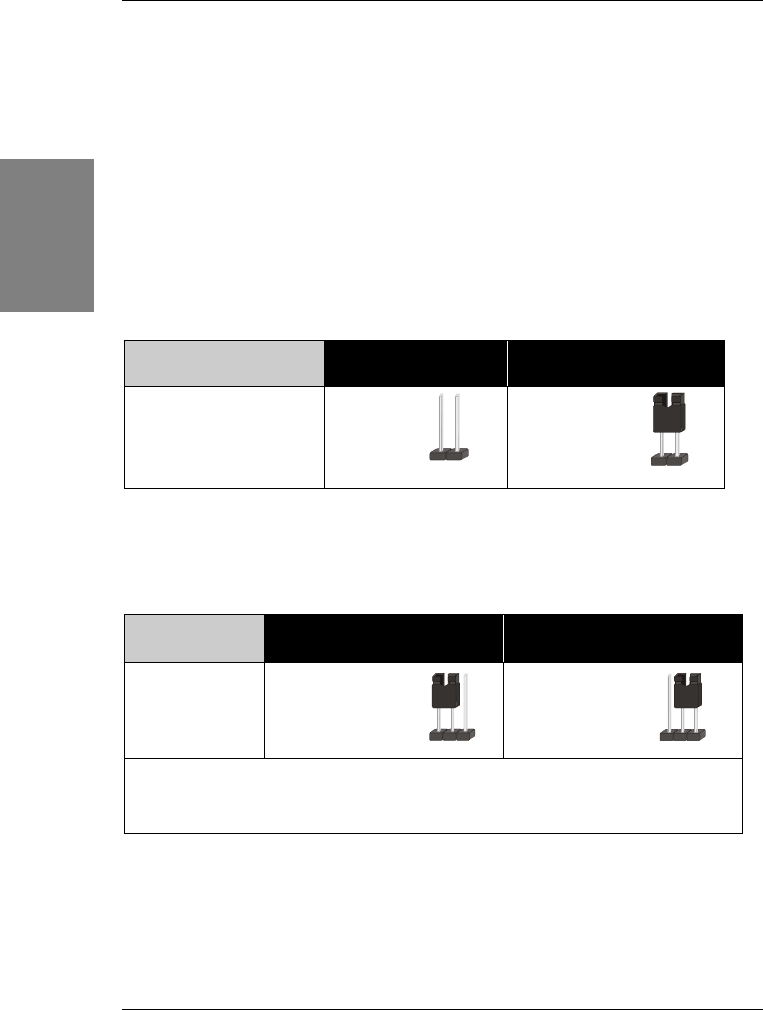
Step 5. Set JP9 for FWH Boot Block Write-Protect
Setting this jumper to open will prevent the boot block area of the FWH (FirmWare Hub) chip
from being written data into, such that it is write-protected from unwanted or abnormal write
activity.
Note
: In some rare cases, the boot block area will need to be flashed to complete the BIOS
upgrade procedure. Setting JP9 to open will cause incomplete BIOS update in that case.
The FWH Boot Block
Write-Protect
Locked Unlocked
JP9 Setting open JP9 short JP9
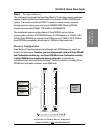
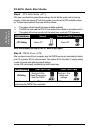
Step 6. Enable/Disable Power-On by Keyboard (JP1)
You may choose to enable the Power-On through Keyboard function by shorting pin 1-2 on
jumper JP1; or short pin 2-3 to disable this function.
Power-On by
Keyboard
Enable Disable
JP1 Setting
Short pin 1-2 to
enable the Power-
On by Keyboard
function.
Short pin 2-3 and
the Power-On by
Keyboard function is
disabled.
Important: When using the Power-On by Keyboard function, please make sure the
ATX power supply is able to provide at least 720mA on the 5V Standby lead (5VSB)
in order to meet the standard ATX specification.
1
2
3
1
2
3
1
2
1
2