4-43
CHAPTER 4 Adjustment
6 Affixing Stickers for Movement Directions and
Axis Names
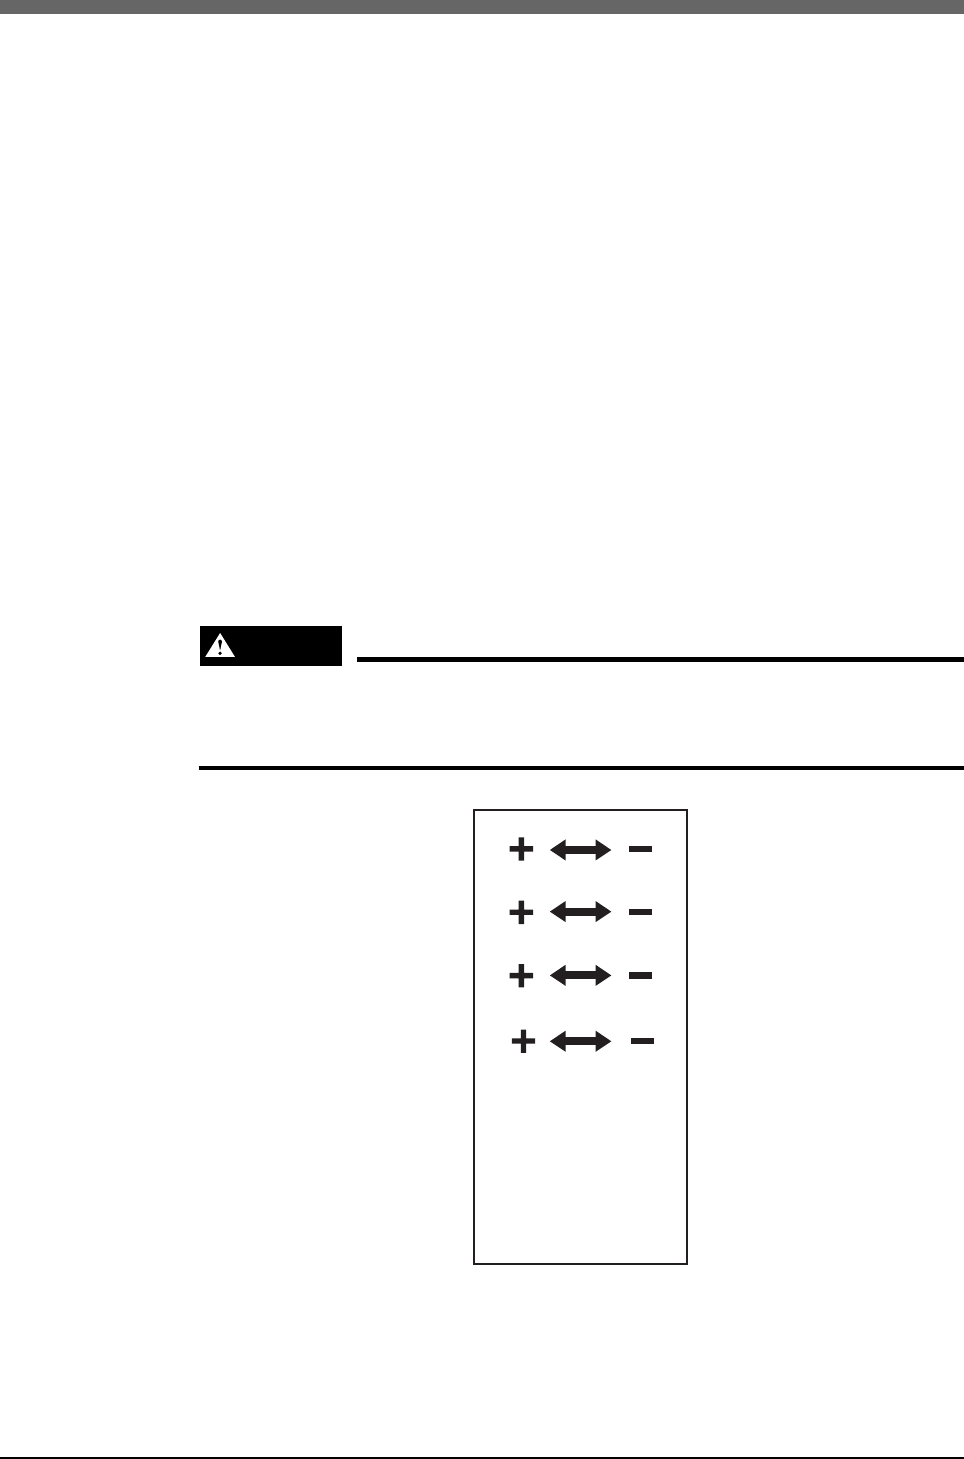
The movement direction and axis name label shown in Fig. 4-16 is supplied with
the robot. After installing the peripheral devices, attach these labels at an easy-to-
see position on the robot.
1) Turn off the controller.
2) Place a sign indicating the robot is being adjusted, to keep others from oper-
ating the controller switch.
3) Enter the safeguard enclosure.
4) Attach the movement direction and axis name labels at an easy-to-see posi-
tion on the robot arm, base and end effector, etc., of each axis which moves
relatively. Wipe the surface with alcohol, etc., and allow to dry completely
before attaching the labels. (See Fig. 4-17)
WARNING
Attach the movement direction label according to the jog movement direction,
and the axis name label according to the axis. Incorrect label positions could
result in incorrect operations.
A B
X Y
Z R
Direction of movement and
axis name stickers
Fig. 4-16


