


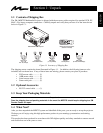

© 3M 1999 3M
™
Multimedia Projector MP8725
ENGLISH
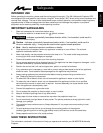
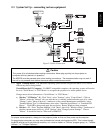
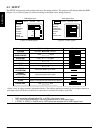
AC IN
1
2
AUDIO
OUT
AUDIO IN
1
2
RGB IN
CONTROL
RGB OUT
VIDEO
S-VIDEO IN
(L)
MONO
(R)
AUDIO IN
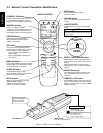
STANDBY/ON
INPUT
MUTE
MENU
RESET
LAMP
TEMP
OI
EPS-07A
STANDBY/ON
INPUT
MUTE
MENU
RESET
LAMP
TEMP
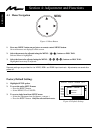
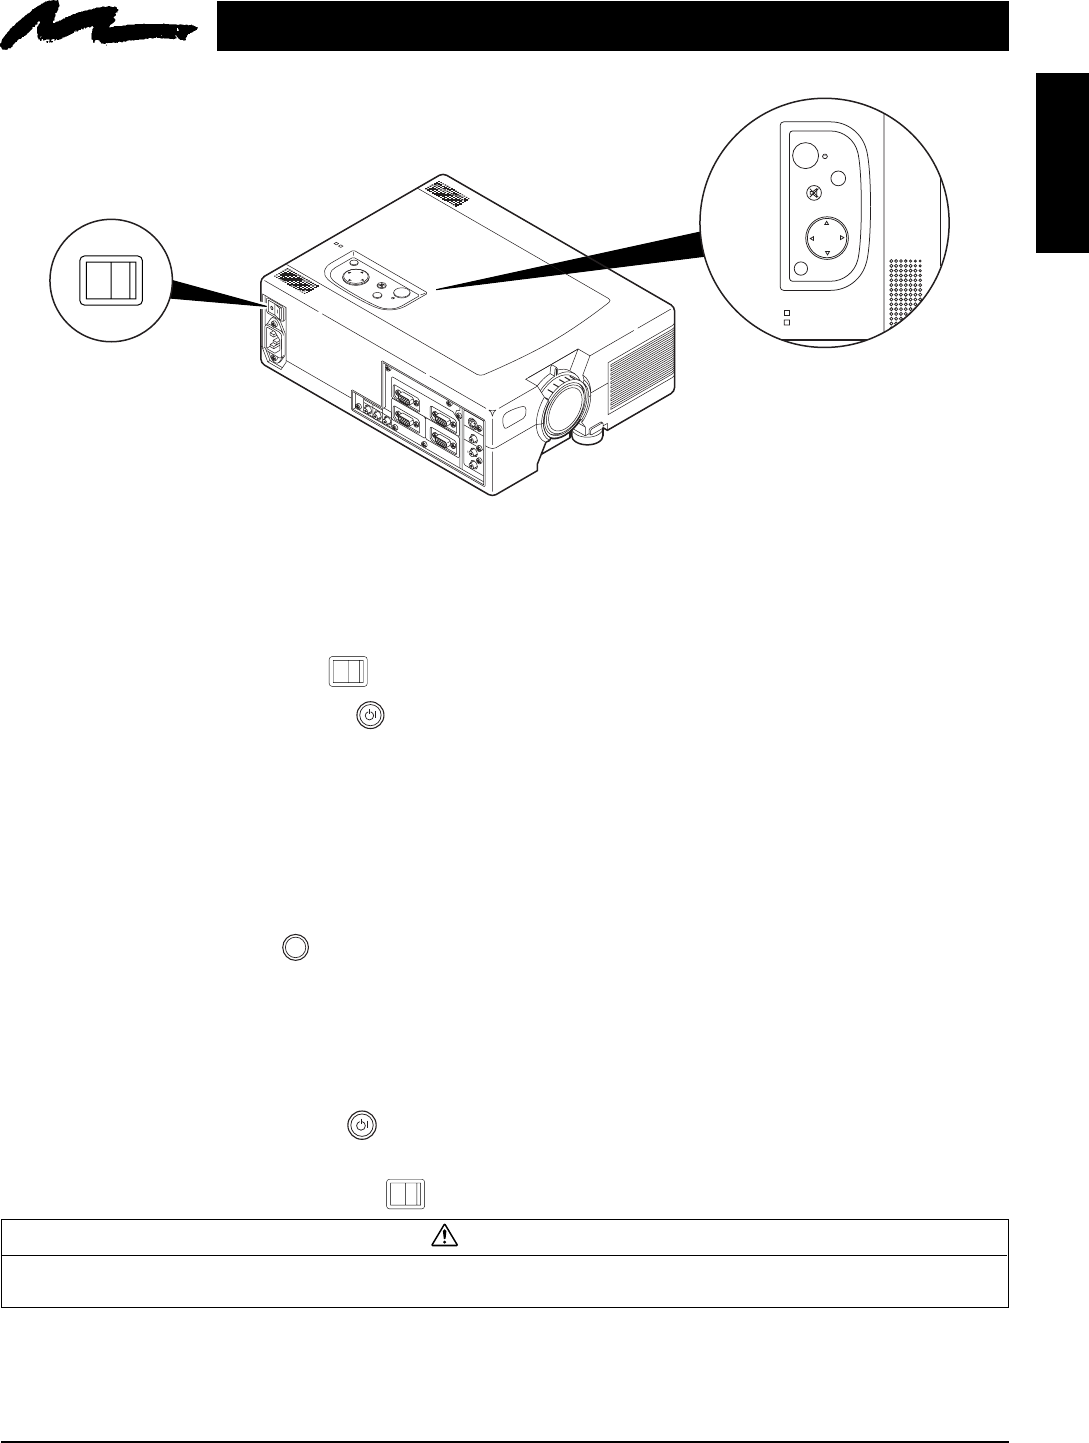
3.1 Projector Startup
Section 3: Basic Operations
7
Figure 3.1 Projector Controls
1. Make all cable connections and line hookups with the power off.
2. Turn the POWER SWITCH of the projector on. The ON indicator will light up orange.
3. Press the STANDBY/ON button . The ON indicator blinks (green) and then lights (green).
The ON indicator will blink green during warm-up and lamp ignition. When power is turned off,
there is a 60 second reset period before the STANDBY/ON button will function again.
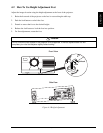
4. Adjust the screen size by rotating the ZOOM CONTROL.
5. Adjust the focus by rotating the projection lens.
6. Turn on all connected equipment. The method of connecting various equipment, see section 2.3.
7. Press the INPUT button on the projector or the INPUT SELECT (VIDEO or RGB) button on the
remote to select the source of the signal to be projected on the screen. The selected signal input is
displayed at the bottom right of the screen. The display will show the last selected input source before
power was turned off.
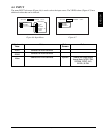
3.2 Projector Shutdown
1. Hold the STANDBY/ON button for 3-5 seconds. The ON indicator blinks orange and the lamp
turns off. After approximately 1 minute, the fan stops and the indicator stays orange.
2. Turn the MAIN POWER SWITCH of the projector off.
3. Disconnect cables.
Caution
Do not turn off the POWER SWITCH before pressing the STANDBY/ON button. After the STANDBY/ON button is
pressed, the fan rotates for about 1 minute to cool the projector.
OI
OI