802.11b/g MIMO
Wireless LAN PCI Card
Quick Install
Caution
This Quick Installation is meant to help you install the product quickly and
easily. For detailed instructions on installation, configuration, and further
setup options please consult the User Manual.
STEP
11
STEP
22
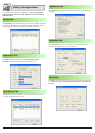
Software Installation
Hardware Installation
Exit all Windows programs. Insert the CD-ROM into the
CD-ROM drive of your computer. If the CD-ROM is not
launched automatically, go to your CD-ROM drive (e.g.
drive D) and double-click on Setup.exe
1
1
2
3
STEP
33
Installation Verification
Make sure the computer is turned off. Remove the
expansion slot cover from the computer.
Carefully slide the Wireless PCI Card into the PCI slot.
Push evenly and slowly and ensure it is properly seated,
you may have to use the mounting screw to have the card
screwed securely in place.
After the device has been installed to your computer, turn
on your computer. Windows will automatically detect the
new hardware.
3
2
4
5
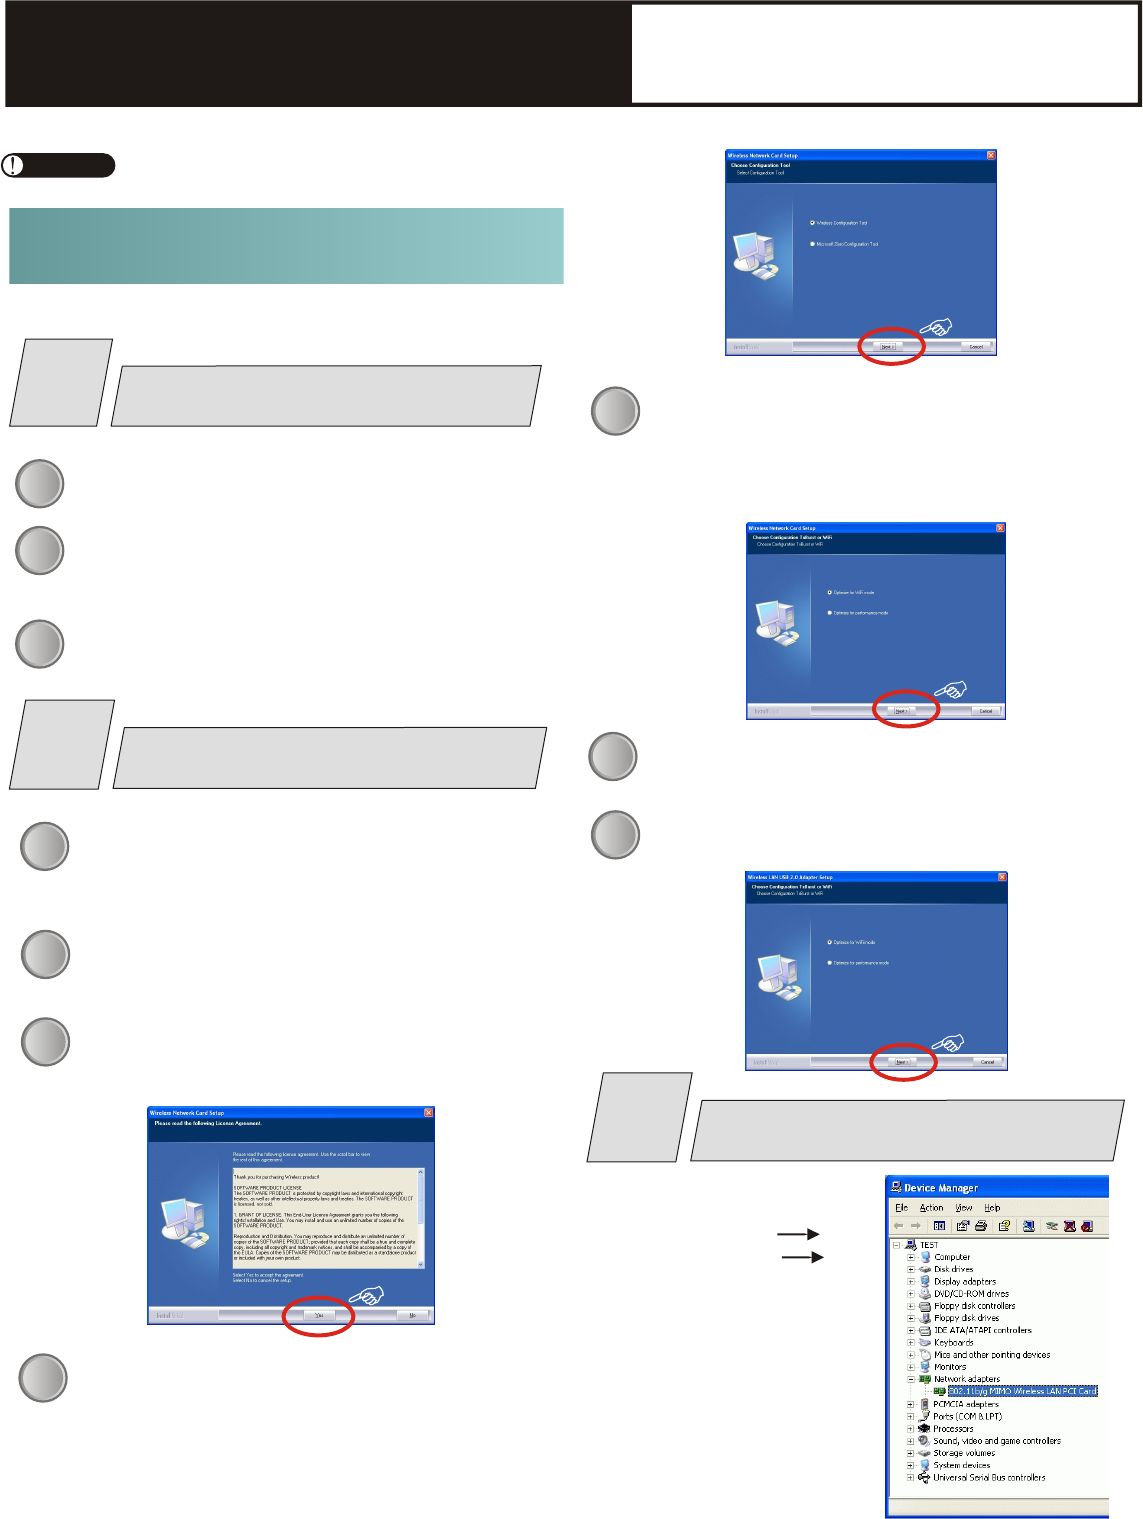
When the main screen appears, click Driver &
Utility installation to continue.
When the License Agreement screen appears, please
read the contents and then click Yes to continue.
Select the check box to choose a configuration Tool
from the listed two choices.
Wireless Configuration Tool: Choose to use our
configuration Utility.
Microsoft Zero Configuration Utility (ZCU).
Click Next to continue.
When the following screen appears, click Finish to
complete the software installation.
To verify if the device exists
in your computer and is
enabled, go to Start
System (Hardware)
Device Manager. Expand
the Network Adapter
category. If the 802.11b/g
MIMO Wireless LAN PCI
Card is listed here, it means
that your device is properly
installed and enabled.
There are two modes for you to choose in this screen,
either choose WiFi mode or Performance mode (Tx
Burst mode). This mode selection screen is set for the
default mode shown in the utility screen. You can still
change its mode later in the utility screen. Click Next to
continue.
6
7
Click Continue Anyway to proceed with the Installation.