


65 Chapter 3
3. See “Removing the LCD Module” on page 55.
4. See “Removing the Keyboard” on page 61.
5. See “Removing the Upper Case Assemly” on page 63.
6. See “Removing the Touchpad Board” on page 64.
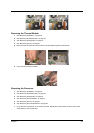
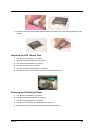
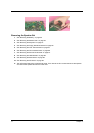
7. Remove the touchpad scroll key then remove the touchpad cable.
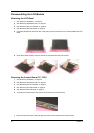
Removing the Floppy Disk Drive Module
NOTE: This portion is prepared for the models with floppy disk drive. If you get the machine without floppy disk
drive module, please skip this part.
1. See “Removing the Middle Cover” on page 54.
2. See “Removing the LCD Module” on page 55.
3. See “Removing the Keyboard” on page 61.
4. See “Removing the Upper Case Assemly” on page 63.
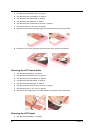
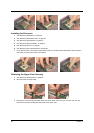
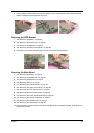
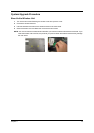
5. Disconnect the FDD cable from the main board.
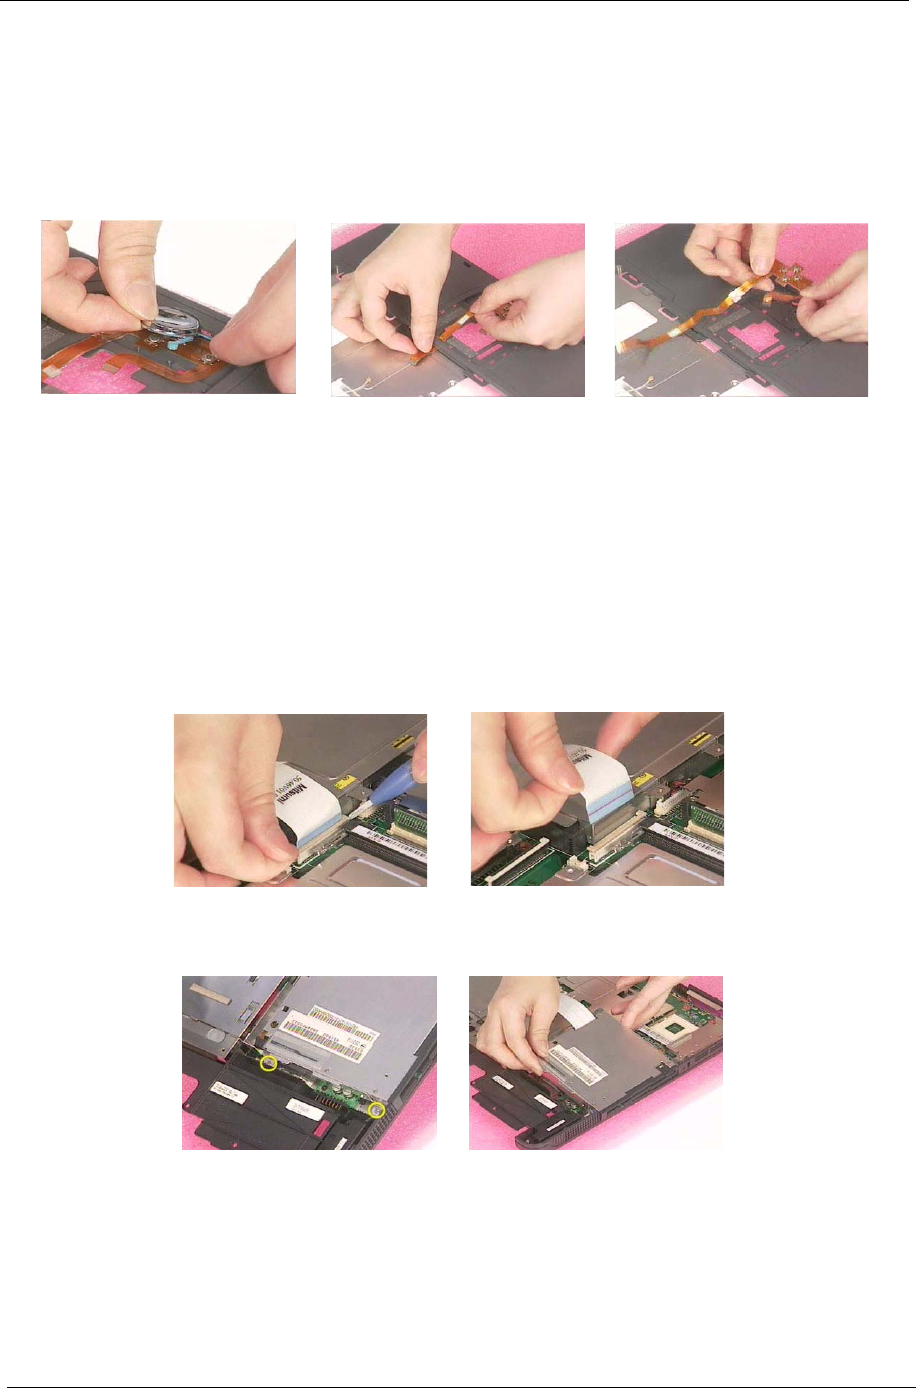
6. Remove the two screws hastening the FDD module. Detach the FDD module from the lower case.
Dissembling the Floppy Disk Drive Module
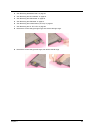
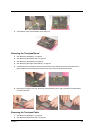
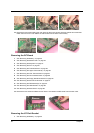
1. Disconnect the FDD cable.
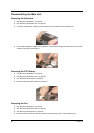
2. Remove the two screws that fasten the FDD bracket on one side.