


82 Chapter 3
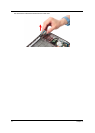
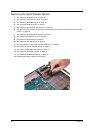
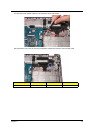
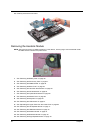
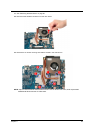
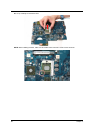
19. Carefully remove the main board.
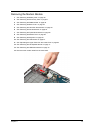
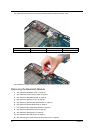
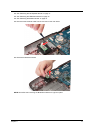
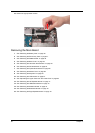
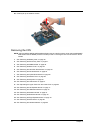
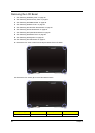
Removing the Heatsink Module
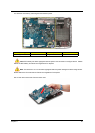
NOTE: There are two version of heatsink module. For this section, we are going to use the discrete model.
The UMA version looks like the picture below:
1. See “Removing the Battery Pack” on page 46.
2. See “Removing the SD Dummy Card” on page 47.
3. See “Removing the DIMM Module” on page 48.
4. See “Removing the Back Cover” on page 49.
5. See “Removing the Hard Disk Drive Module” on page 50.
6. See “Removing the WLAN Modules” on page 53.
7. See “Removing the Optical Drive Module” on page 55.
8. See “Removing the Middle Cover” on page 58.
9. See “Removing the Keyboard” on page 60.
10. See “Removing the LCD Module” on page 61.
11. See “Separating the Upper Case from the Lower Case” on page 64.
12. See “Removing the Left Speaker Module” on page 71.
13. See “Removing the USB Board Module” on page 72.
14. See “Removing the Modem Module” on page 75.
15. See “Removing the Bluetooth Module” on page 76.
16. See “Removing the Right Speaker Module” on page 78.