


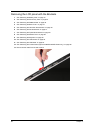
Chapter 3 89
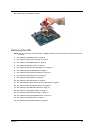
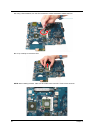
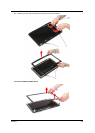
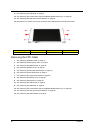
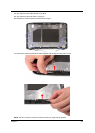
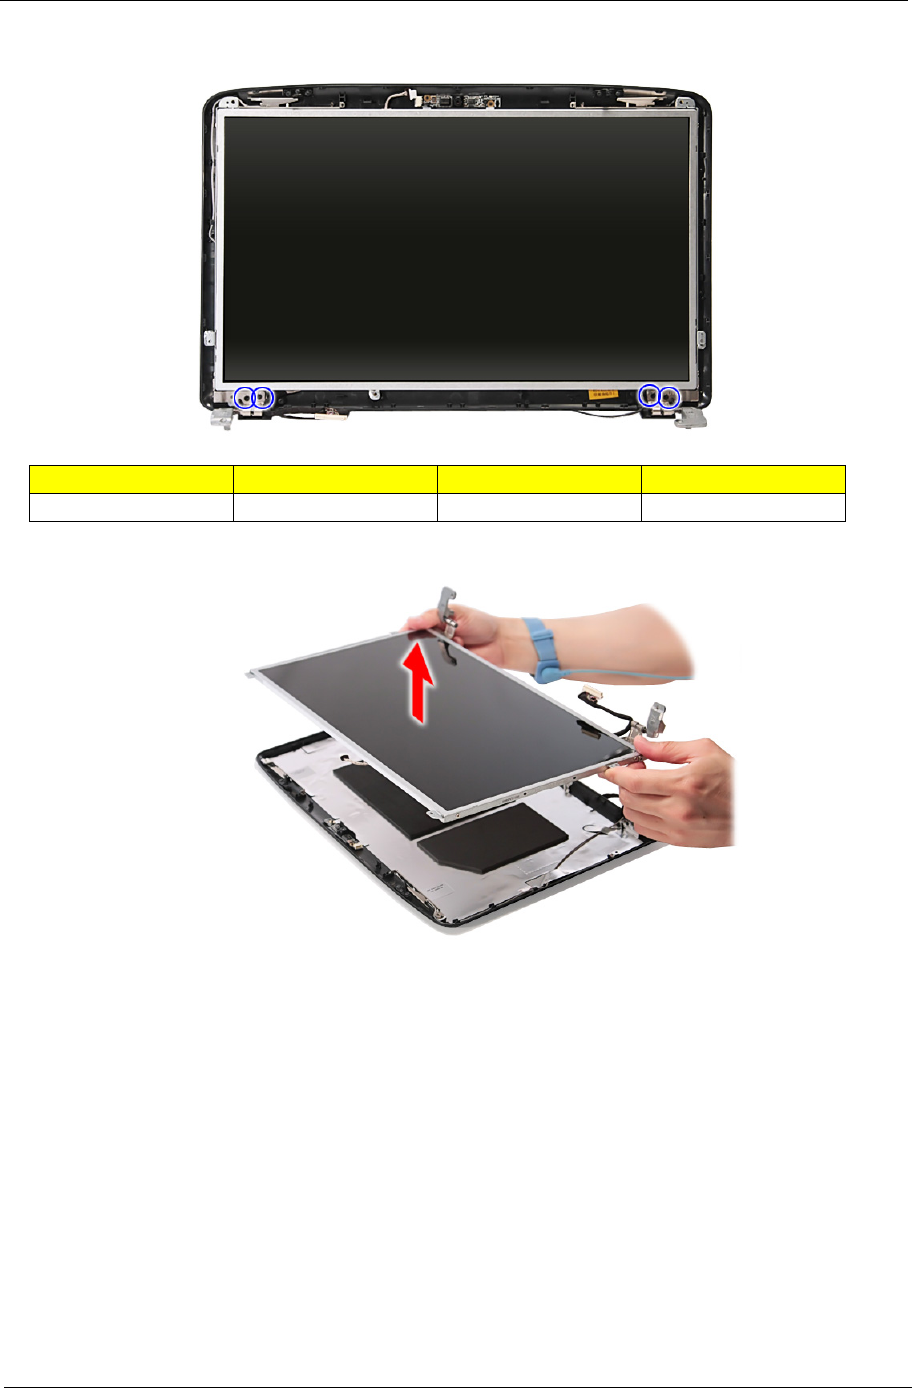
14. Remove the four screws (B) securing the LCD assembly.
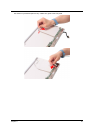
15. Remove the LCD with the brackets from the back cover.
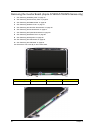
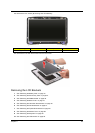
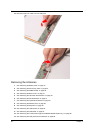
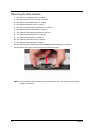
Removing the LCD Brackets
1. See “Removing the Battery Pack” on page 44.
2. See “Removing the SD Dummy Card” on page 45.
3. See “Removing the DIMM Module” on page 46.
4. See “Removing the Back Cover” on page 47.
5. See “Removing the Hard Disk Drive Module” on page 48.
6. See “Removing the WLAN Modules” on page 51.
7. See “Removing the Optical Drive Module” on page 53.
8. See “Removing the Middle Cover” on page 56.
9. See “Removing the Keyboard” on page 58.
10. See “Removing the LCD Module” on page 59.
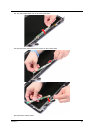
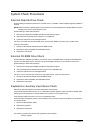
Size (Quantity) Color Torque Part No.
M2.5 x L6 (4) Black 3.0 kgf-cm 86.00E12.536