


Chapter 3 37
Removing the Hard Disk Drive
1. See “Removing the Side Panel” on page 28.
2. See “Removing the Front Bezel” on page 29.
3. See “Removing the Heat Sink Fan Assembly” on page 30.
4. See “Removing the Processor” on page 32.
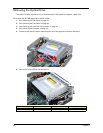
5. See “Removing the Optical Drive” on page 34.
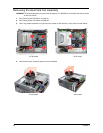
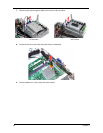
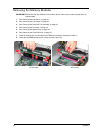
6. Remove the HDD-ODD bracket.
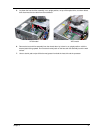
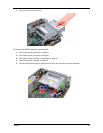
a. Remove the screw (C) that secures the HDD bracket to the chassis.
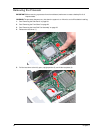
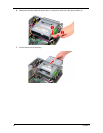
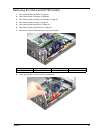
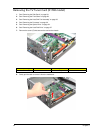
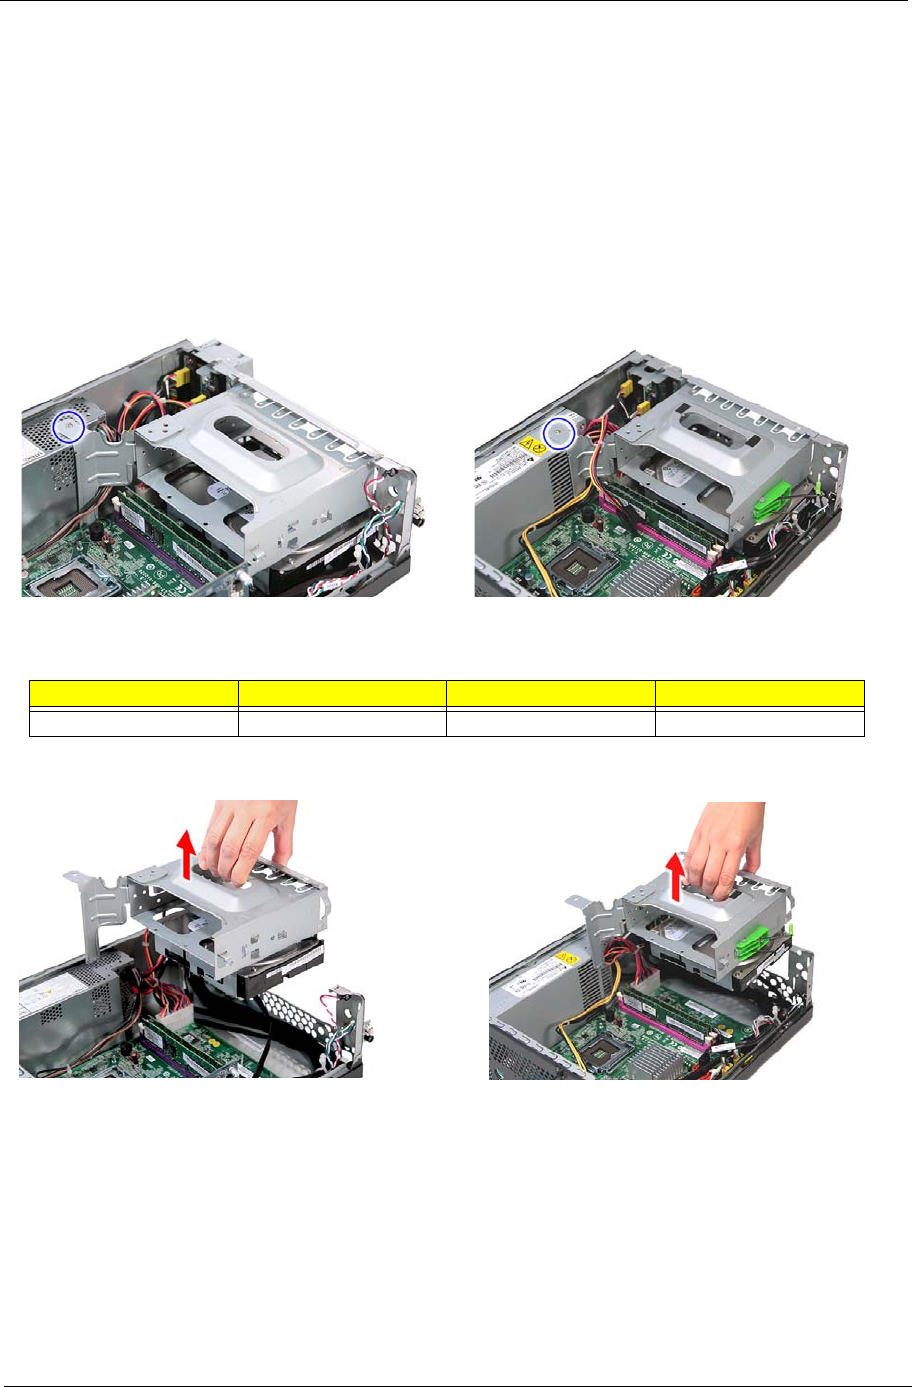
b. Lift the bracket up and turn it over.
Screw (Quantity) Color Torque Part No.
#6-32 L6 BZN (1) Silver 5.5 to 6.5 kgf-cm 86.00J44.C60
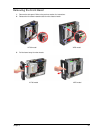
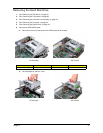
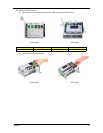
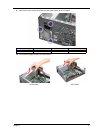
X270 modelX1700 model
X270 modelX1700 model