


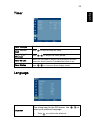


29
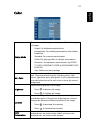
English
Reset
Press after choosing "Yes" to return the display
parameters on all menus to the factory default settings.
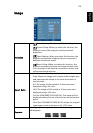
LAN Setting
(for P5206/
N216/PN-X14/
S5201/T111/PS-
X11)
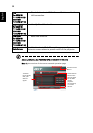
To connect your projector to the network:
1 Take a RJ45 cable and connect one end to the LAN input
jack of the projector and the other end to the RJ45 port.
2 Enter the LAN Setting menu. The "Enter Administrator
Password" dialogue box is displayed.
3 Enter "Administrator Password". The next level menu
is displayed.
The factory default of "Administrator Password" is
"1234". You can change it in the Setting > Security >
Administrator Password menu.
4 Select LAN in this menu and press to select "On".
5 Make sure DHCP is on, and press to select Apply and
press .
6 Re-enter the menu and note down the IP address
displayed in the row of Projector IP Address.
If your are not in a DHCP environment, set DHCP to "Off" and
contact your ITS administrator for information on Projector IP
Address, Subnet Mask, Default Gateway, and DNS Server.
1 Press to select Projector IP Address and press .
2 Press to move the cursor and press to
enter the digits.
3 When you finish, press MENU to save and exit the menu.
4 Repeat steps 1-3 to input addresses for Subnet Mask,
Default Gateway, DNS server.
5 Press to highlight Apply and press .
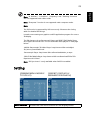
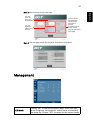
To control the projector remotely:
1 Enter the Projector IP address in the address bar of the
web browser on your computer.
2 The remote network operation page is displayed.You can
control the projector by using this page. For details, see
the notes following this table.
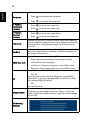
LAN Reset
(for P5206/
N216/PN-X14/
S5201/T111/PS-
X11)
Press after choosing "Yes" to return all items on the Tools
page to the default settings.