


38 Chapter 3
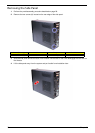
Removing the Power Supply
1. See “Removing the Side Panel” on page 30.
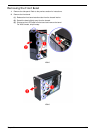
2. See “Removing the Front Bezel” on page 31.
3. See “Removing the Heat Sink Fan Assembly” on page 32.
4. See “Removing the Processor” on page 33.
5. See “Removing the Optical Drive” on page 34.
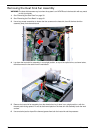
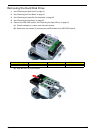
6. See “Removing the Hard Disk Drive” on page 37.
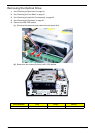
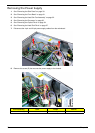
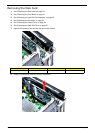
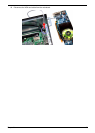
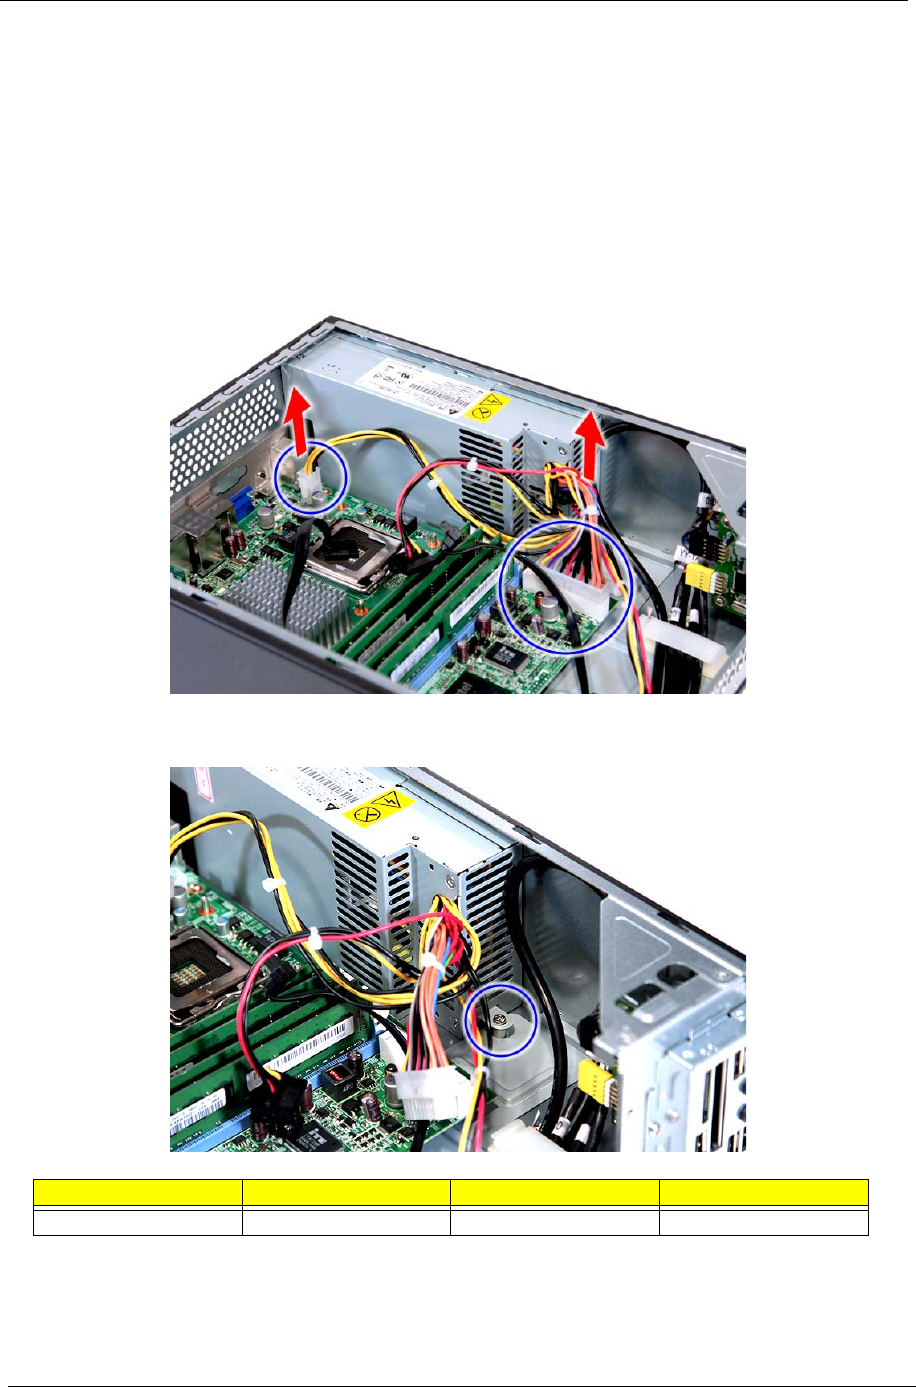
7. Disconnect the 4-pin and 24-pin power supply cables from the mainboard.
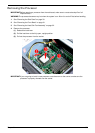
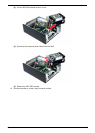
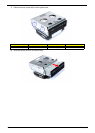
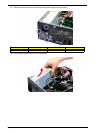
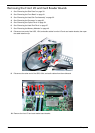
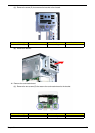
8. Remove the screw (D) that secures the power supply to the chassis.
Screw (Quantity) Color Torque Part No.
#6-32 L6 BZN (1) Silver 5.7 to 6.3 kgf-cm 86.00J44.C60