


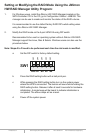
www.addonics.com Technical Support (M-F 8:30am - 6:00pm PST) Phone: 408-453-6212 Email: www.addonics.com/support/query/
Note: You need to verify that the eSATA port you are connecting the tower is port
multiplier compatible. If it is connected to a non-port multiplier compatible host
controller, the operating system will only see one drive out of the five connected
and that is the drive connected to port 1.
For example, when the tower is connected to a SATA Host controller with SiI3124
or SiI3132 chip which is port multiplier compatible, in the RAID BIOS of the host
controller, you will only see one drive and that is the drive connected to port 1 on
the hardware PM.
All the SATA drives connected to the tower will show in the SATARAID5 Array
Manager of the SATA Host controller with SiI3124 or SiI3132 chip.
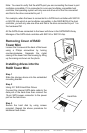
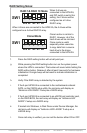
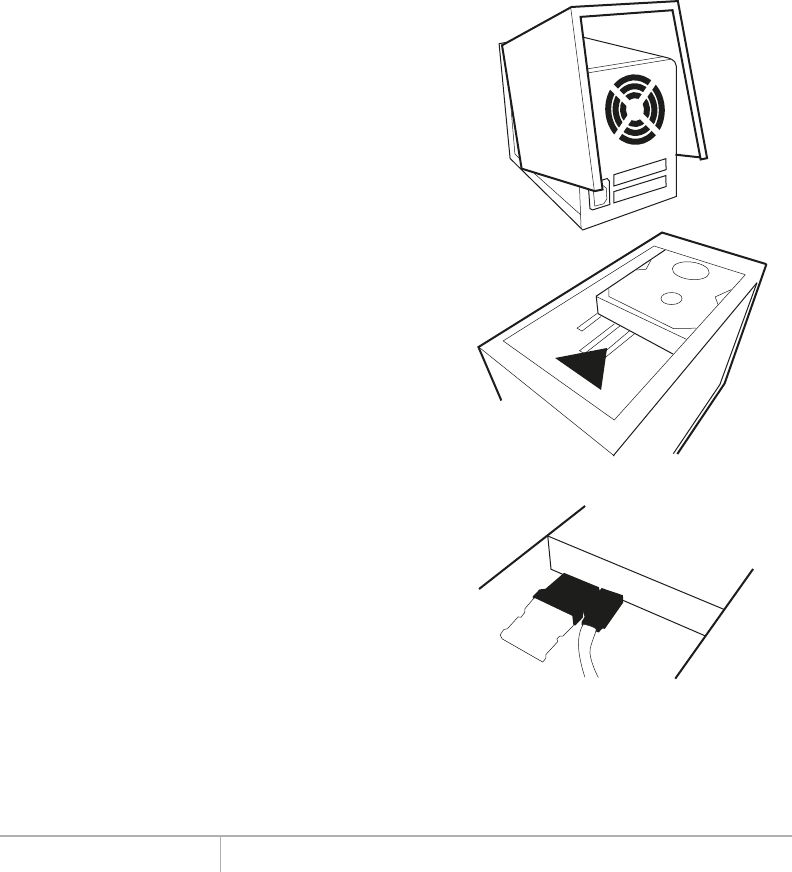
Removing Cover of RAID
Tower Mini
Loosen the 3 screws at the back of the tower
using a Philips screwdriver by turning
counter-clockwise. Separate the metal
casing of the tower from the housing by lifting
up the casing as shown on the photo.
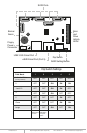
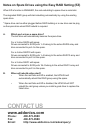
Installing drives into the
RAID Tower Mini
Step 1
Slide the storage device into the embedded
mounting bracket.
Step 2
Using 3.5” SATA Hard Disk Drives
Connect the internal SATA data cable to the
data port of the hard drive then connect the
15-pin SATA power connector to the power
port on the hard drive.
Step 3
Secure the hard disk by using screws
provided. Repeat the above procedure for
additional hard drives.
Hard Disk