Ver. 1A
1
Model # AKVM-U22
Section 1
Introduction
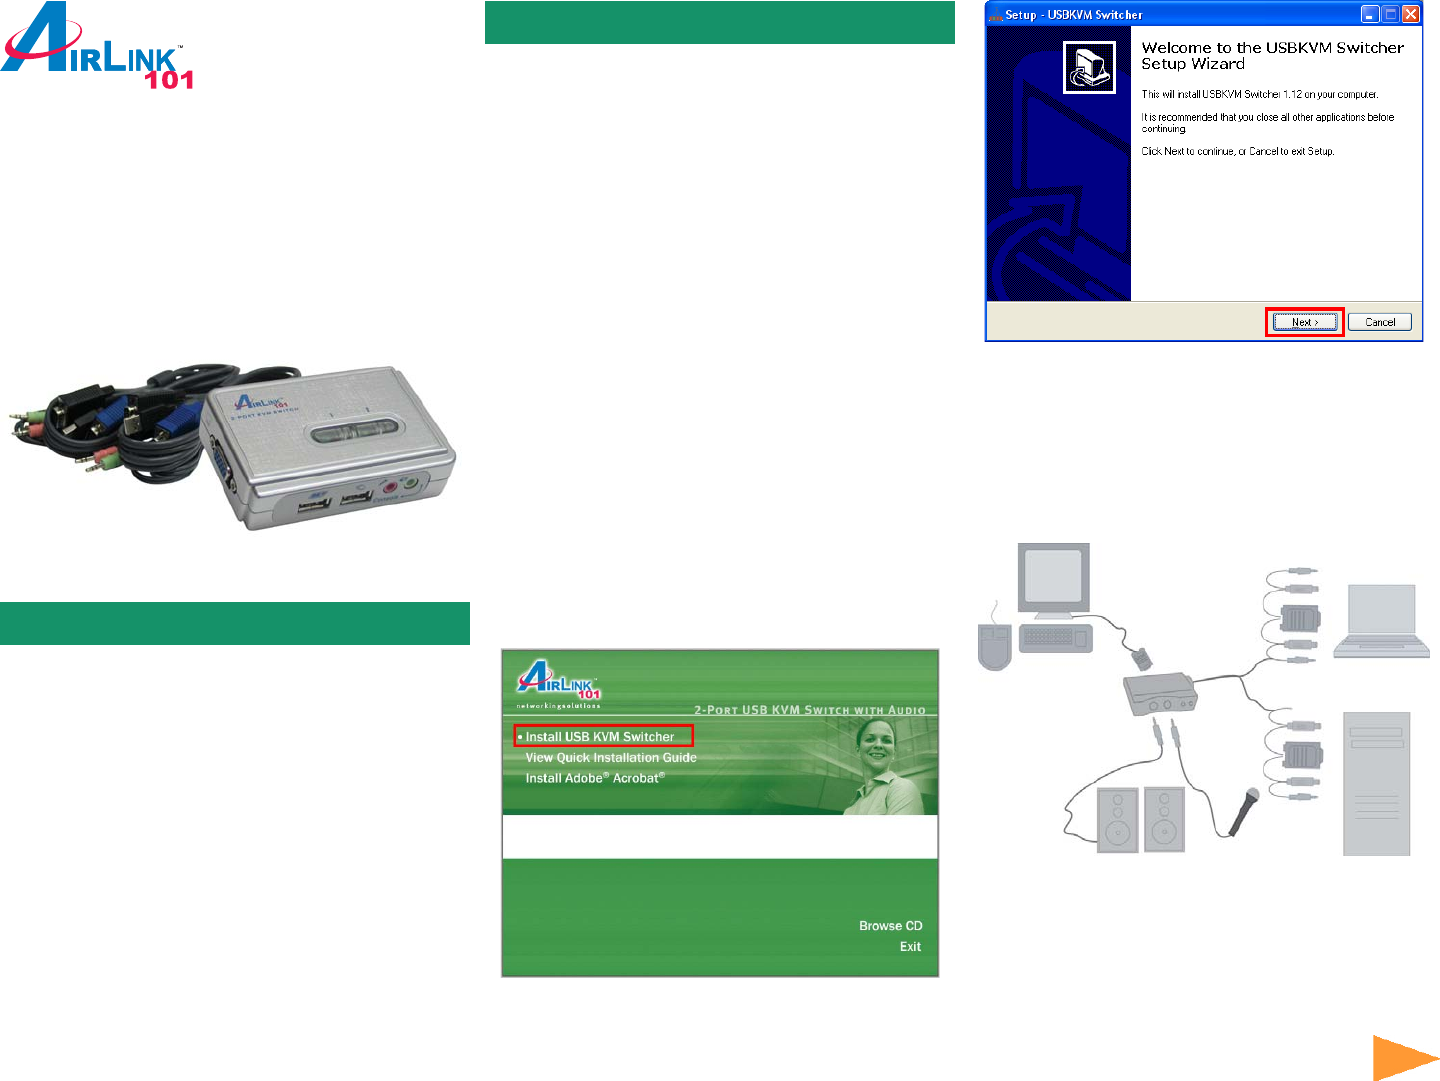
Step 5 Connect the shared keyboard, monitor, and
mouse to the KVM switch. You may also connect
speakers and microphone to the KVM switch.
Continue on Back
Quick Installation Guide
2-Port USB KVM Switch
with Audio
Step 6 Connect each of the detachable KVM cables
to the KVM switch and a computer’s video and usb
ports. You can also connect the cables to the
computer’s audio and microphone ports.
Note: If you use Windows 95/98/SE and have not yet
installed a USB mouse on your computer, it is
recommended that you install the USB mouse on
your computer first before connecting it to the KVM
Switch.
You may also need to enable the USB option in the
BIOS on some older computers. If your USB interface
does not work, please check the USB option status in
the computer’s BIOS.
Step 1 Insert the provided Software CD into the CD
drive and wait for the autorun page to display.
Note: If the autorun page does not appear go to Start,
Run, and type D:\autorun.exe (where D is the letter
of your CD drive) and click OK.
Step 2 Click Install USB KVM Switcher on the
autorun page.
Step 3 Follow the on-screen instructions to complete
the software installation.
Step 4 Install the KVM Switcher software on all the
computers that will be connected to the KVM.
Section 2
Installation
The 2-Port USB KVM Switch with audio enables you
to access, control, and reboot multiple USB-enabled
multimedia computers using only one USB keyboard,
USB mouse, and monitor. Its audio and microphone ports
also allows you to share one set of speakers and micro-
phone.
With detachable KVM cables and features such as Plug-
and-Play and hot-pluggability, you can enjoy maximum
flexibility and convenience with its compact and ad-
vanced design.


