14
2.8 Internal 3.5” Device Installation
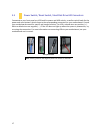
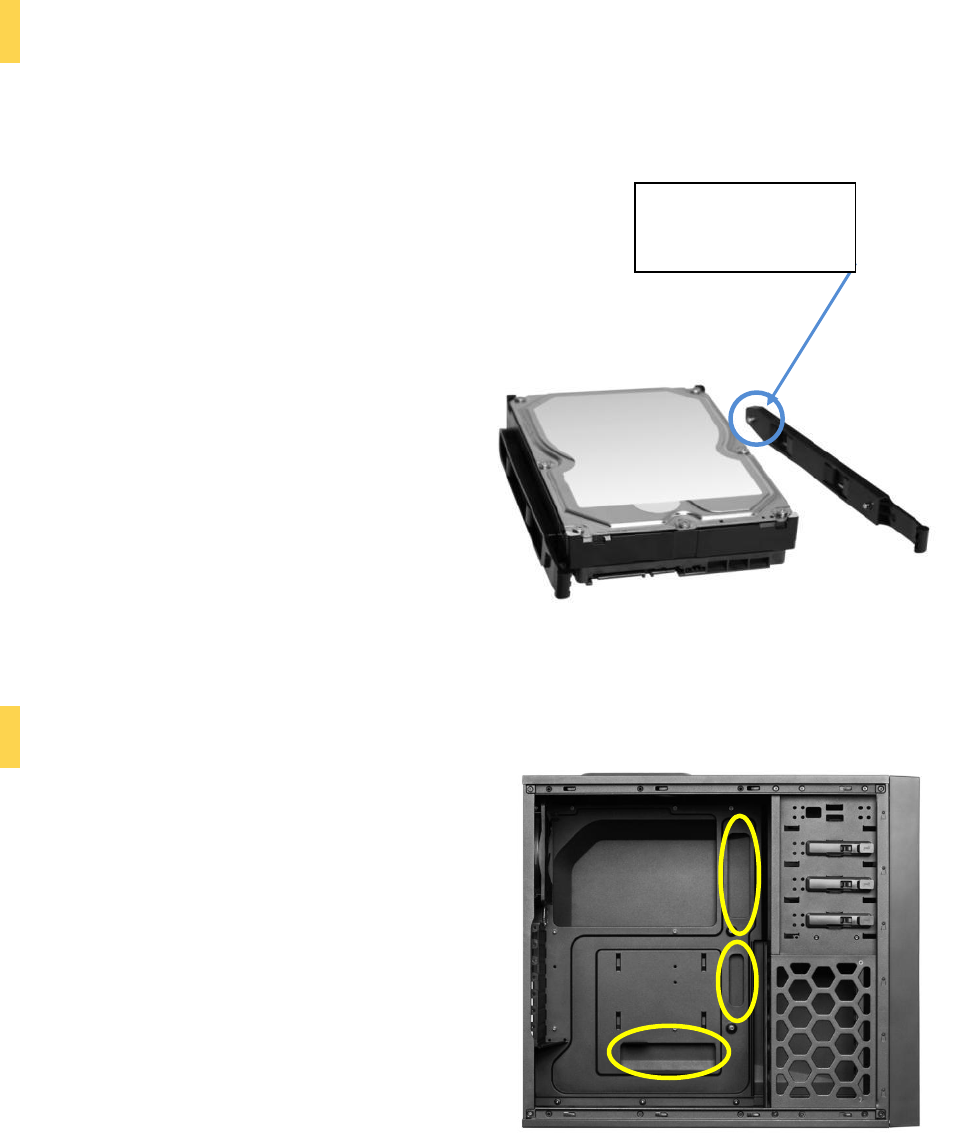
The One / One S / One S3 includes 5 pairs of 3.5” drive rails. You will need 1 pair per 3.5” drive.
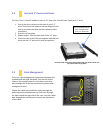
1. Line up the drive rail pins to the sides of your 3.5”
drive. Ensure that the squeeze-tabs are aligned on the
side of your drive that does not have power or data
connectors.
2. Snap the rail into place.
3. Repeat steps 1-2 for the other side of the 3.5” drive.
4. Pinch the ends of the drive rails together and slide the
drive into the 3.5” bay until it locks into position.
2.9 Cable Management
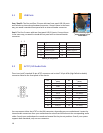
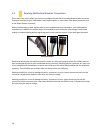
There is a cable management compartment between the
motherboard and right side panel. You can tuck excess
cables in this compartment or route them to the drive
bays through one of the four conveniently-placed cable
management holes.
Choose the cables you would like to pass through the
holes behind the motherboard tray. Pull them through
the hole toward the right side of the case. Feed the cables
back through the insertion point nearest the destination
of the cable.
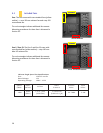
This is the drive rail pin
that is inserted into
your 3.5” drive hole
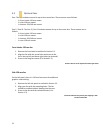
Pinch the ends of the drive rails and then slide your drive into the 3.5”
bay until it locks into position.


