15150/175kw Modular PDU Installation
6
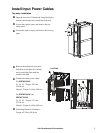
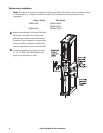
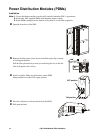
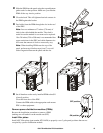
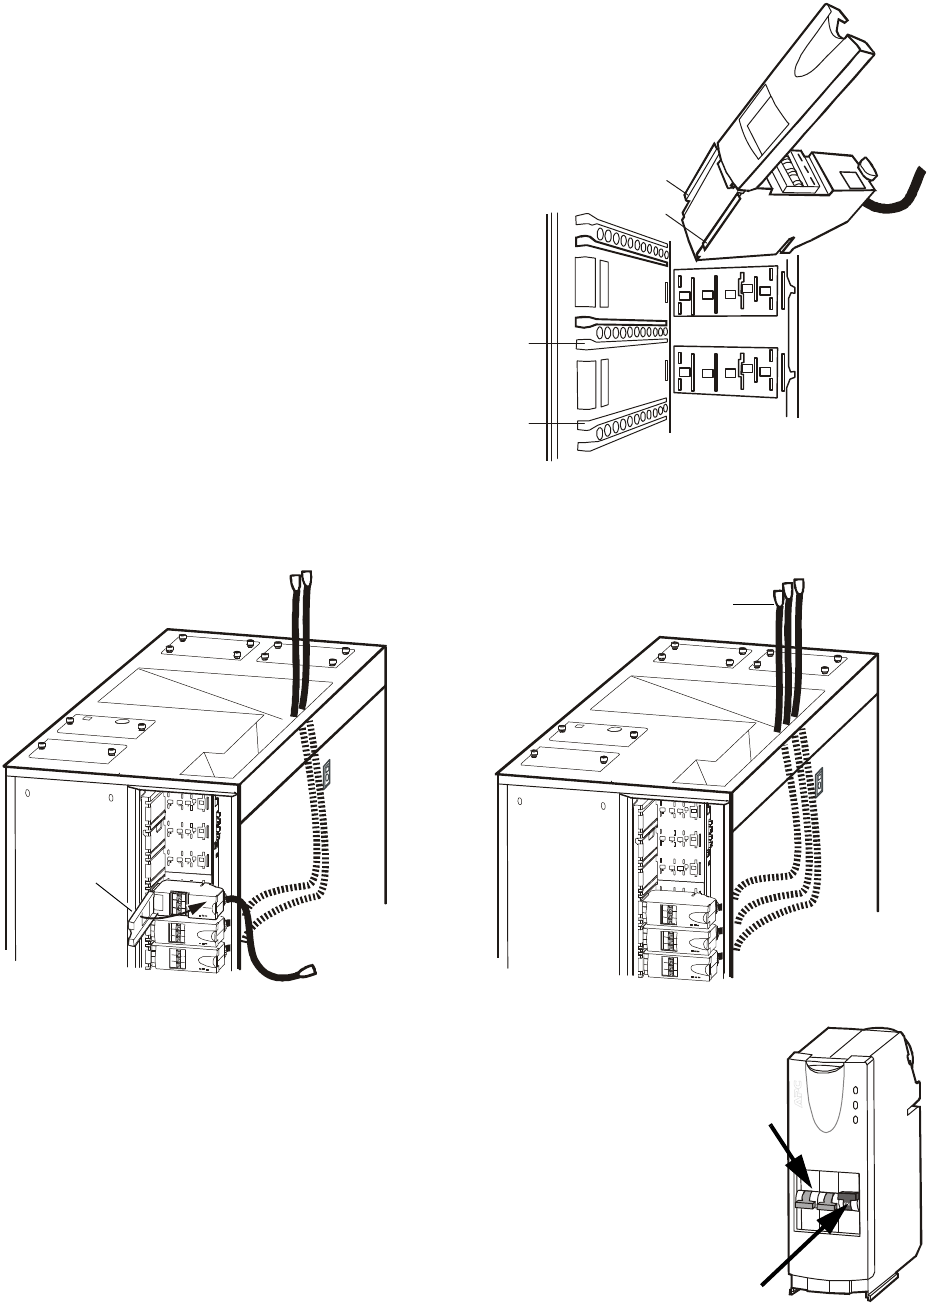
Slide the PDM into the panel using the top and bottom
guide tracks for that position. Make sure you slide the
PDM all the way into its position.
7
Close the latch. This will tighten electrical contacts in
the PDM against the busbar.
8
Feed cable from the PDM through the slot in the roof
of the PDU.
Note: Leave a minimum of 7 inches (178 mm) of
slack in the cable behind the module. The slack is
useful in case the module is ever removed or replaced.
10 to 20 inches (254 to 508 mm) is recommended but
space restrictions in the PDU and cable diameter size
will cause the amount of slack to necessarily vary.
Note: When installing PDMs near the top of the
panel, perform step 8 before steps 6 and 7 to avoid
cable congestion between the panel and the slot.
9
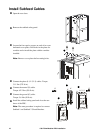
Set all breakers on the newly installed PDM to the ON
(closed) position.
Close the front door of the PDU.
Connect the PDM cable to the appropriate rack-mount
PDU or other equipment
Remove power distribution modules (PDMs)
Reverse the installation procedure to remove a PDM
(making sure all breakers on the module are OFF).
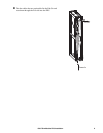
Install filler plates
Install APC filler plates (part number 870-14628) to properly cover 3-pole panel positions that are not
occupied by a power distribution module.
j
pdx0298b
6
6
6
6
pdx0840a
pdx0839a
7
8
OFF position
ON position
9


