


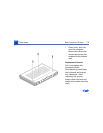

Take Apart Rear Cover & I/O Door - 119
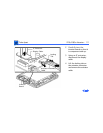
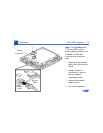
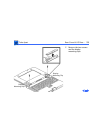
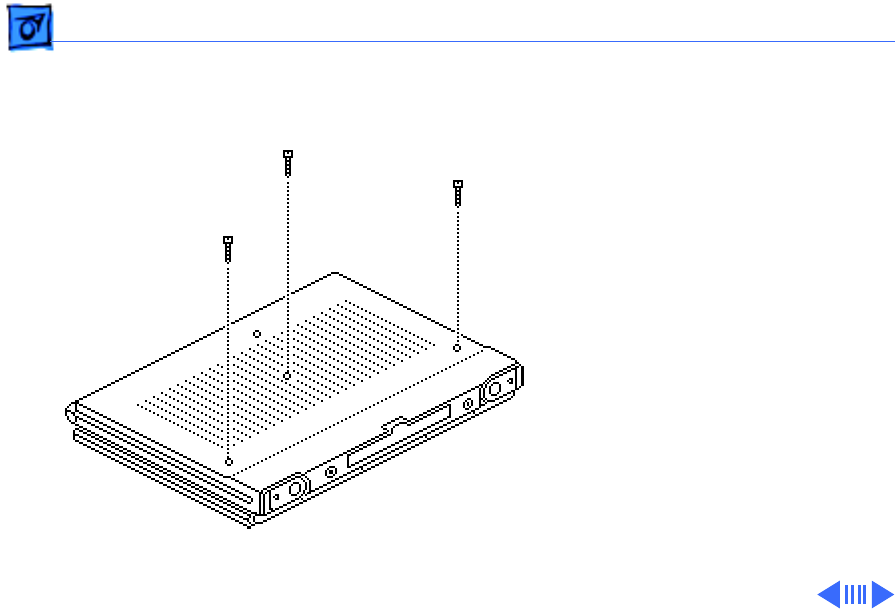
1 Close, latch, and turn
over the computer.
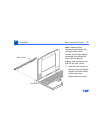
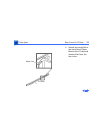
Remove the three case
screws that secure the
keyboard to the bottom
case.
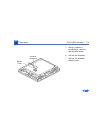
Replacement Caution:
Don’t overtighten the
keyboard screws.
Overtightening could warp
the keyboard and restrict
key movement. After
replacing the screws,
always check the keys and
space bar to make sure they
work.