Taking Photos and Recording Videos
Taking photos and recording videos with iPad is as easy as pointing and tapping. Make
sure the Camera/Video switch is set to .
Take a photo: Aim iPad and tap .
When you take a photo or start a video recording, iPad makes a shutter sound. You can
use the volume buttons to control the volume of the shutter sound. You don’t hear a
sound if you set the Side Switch to silent. See “Buttons” on page 10.
Note: In some regions, the sound eects for Camera are played even if the Side Switch
is set to silent.
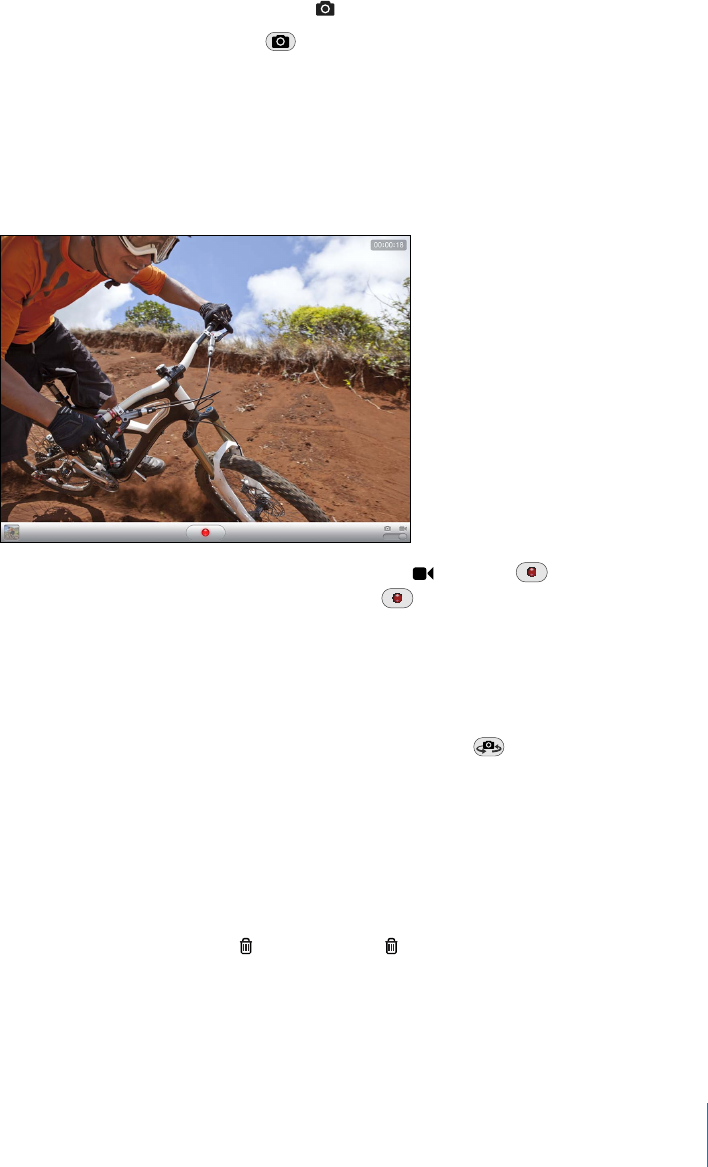
Record a video: Slide the Camera/Video switch to , then tap to start recording.
The record button blinks while you record. Tap again to stop recording.
Change the focus area and set the exposure: Tap where you want to focus or set the
exposure. Camera adjusts the exposure for the selected area of the image.
Zoom in or out: Tap the screen, then drag the slider at the bottom to zoom in or out
(back camera, in camera mode only).
Switch between the front camera and back camera: Tap in the upper-right
corner of the screen.
Review a photo or video you’ve just taken: Tap the thumbnail of your last shot, in the
lower-left corner of the screen.
Use the left and right arrows at the bottom of the screen to review other photos and
videos in the Camera Roll, or just ick left or right. Tap Done to return to camera or
video mode. If you don’t see the controls, tap the screen to display them.
Delete a photo or video: Tap . If you don’t see , tap the screen to display the controls.
Take a screenshot: Quickly press and release both the Sleep/Wake button and the
Home button. The screen ashes when the screenshot is taken, and the screenshot is
added to the Camera Roll album.
61
Chapter 6 Camera


