Operating Manual - neWR-5 Remote Control for NE Products
2
twisted pair CAT5 cable. If using PoE,
no further power supply is required,
otherwise connect a 15-48VDC power
supply to the neWR-5 via the labelled
euroblock connector. PoE current draw
is 38mA @48VDC.
If desired, wire the Lock Out con-
nector to an external remote or keyed
switch.
Upon connecting and powering
up the system, the WR-5 will have a
“heartbeat”, meaning an internal small
green LED on the PCB (behind the
display bezel) will be fl ashing. After
power up, the LED displays “- -”. If
there is a two-digit number showing in
the display, that means the WR-5 has
been previously programmed to control
a zone and that number is the gain level
for that zone.
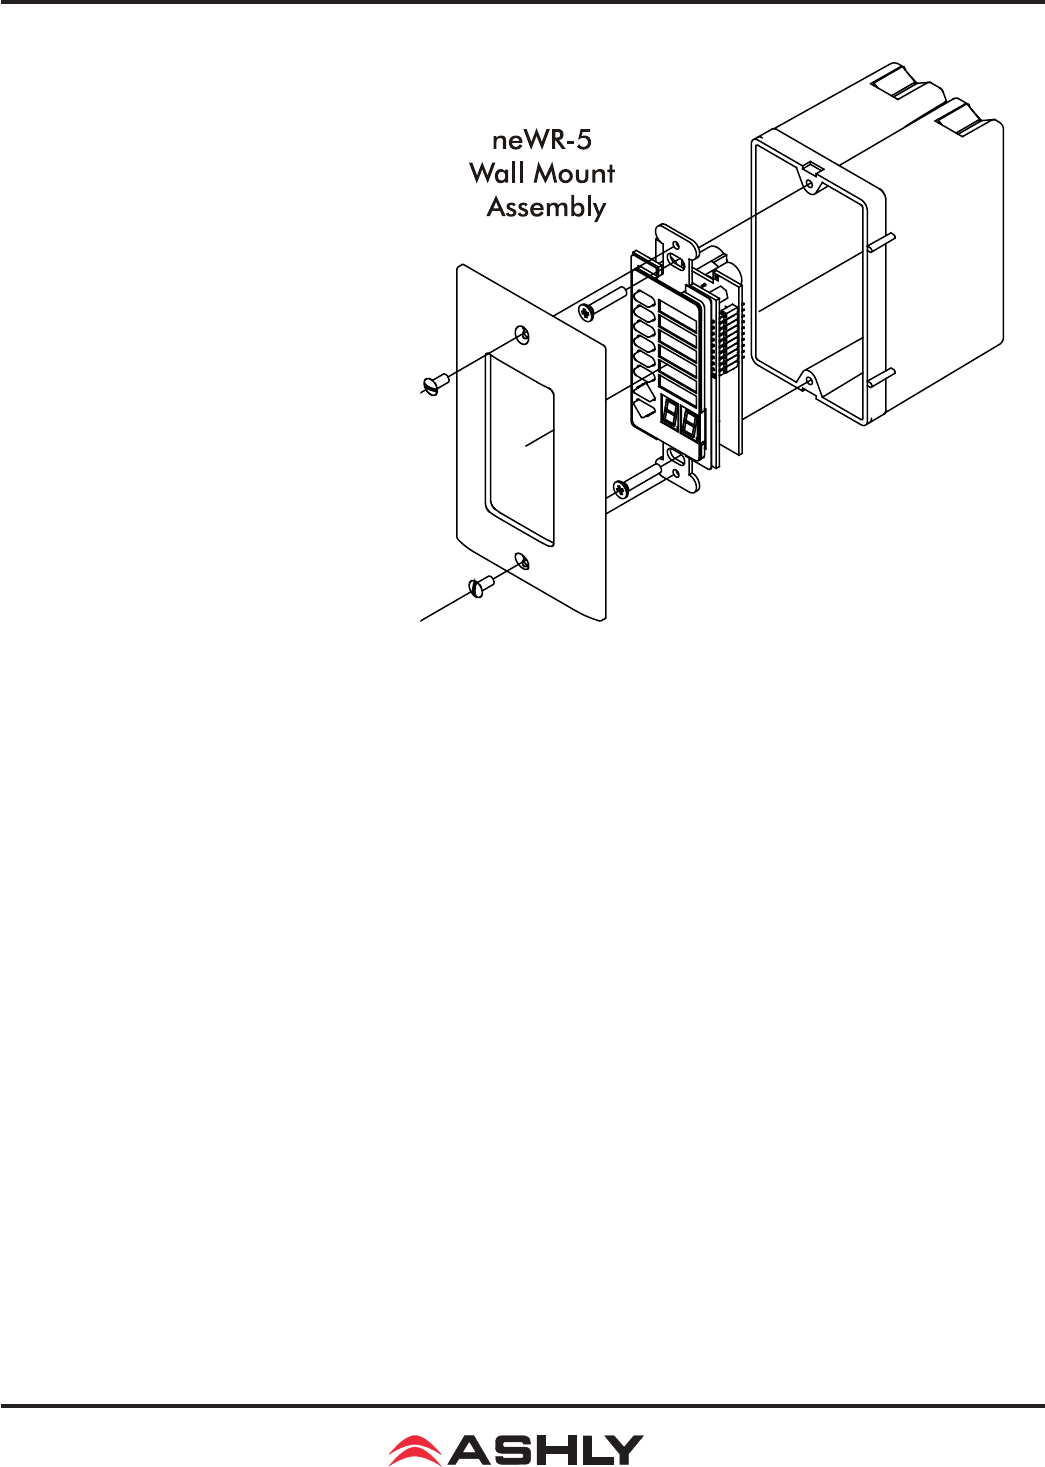
Mount the neWR-5 to a wall box as shown (decora plate and wall box not included).
Protea NE Software
Ashly NE products installed on the network will be automatically detected and displayed in
the active device menu tree on the left side of the Protea NE software startup screen. The software
scans for active NE devices every time it loads, but the user can manually scan at any time as well
with <Scan For Devices> at the bottom of the network NE device listing. All NE devices continu-
ously broadcast their availability to the software. All currently connected and active NE products are
highlighted in green, while NE products which have been formerly installed but are currently off-line
or unavailable show up in red.
Individual NE products can be dragged onto the project canvas to simulate physical installation
groups, but editing each product can be done from either the menu tree or the project canvas. Lines,
rectangles, text, and image fi les can be added to create a custom virtual control screen along with NE
products and individual control objects. To see all available canvas tools, right click anywhere over
open canvas. Projects, including all device settings and canvas drawings, can be saved as a fi le.
Checking <Design Mode> (right-click on canvas) allows placed objects to be moved around,
while unchecking <Design Mode> locks objects in place. Once an image has been placed on the
canvas, it must be deleted by hand if that device is no longer available to the software. Scanning for
devices does not automatically remove images which may have been installed at one time but are
now off line. To clear the canvas of all devices and drawn elements click <File - New>. Further
neWR-5 help is available in Protea NE software by navigating through the online help menu.


