


2-4
Chapter 2: BIOS information
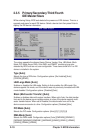
4. Insert the floppy disk that contains the BIOS file. If the P4P8MXAS.ROM file is
found in the floppy disk, EZ Flash performs the BIOS update process and
automatically reboots the system when done.
DO NOT shutdown or reset the system while updating the BIOS! Doing so may
cause system boot failure!
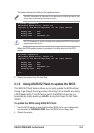
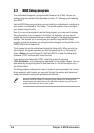
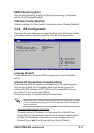
User recovery requested. Starting BIOS recovery...
Checking for floppy...
Floppy found!
Reading file “p4p8mxas.rom”. Completed.
Start flashing...
Flashed successfully. Rebooting.
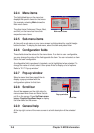
User recovery requested. Starting BIOS recovery...
Checking for floppy...
If there is no floppy disk found in the drive, the error message “Floppy not
found!” appears.
If the correct BIOS file is not found in the floppy disk, the error message
“P4P8MXAS.ROM not found!”
2.1.4 Recovering the BIOS with CrashFree BIOS 2
The CrashFree BIOS 2 auto recovery tool allows you to restore BIOS from the
motherboard support CD, or from a floppy disk that contains the BIOS file, in case
the current BIOS on the motherboard fails or gets corrupted.
1. Prepare the support CD that came with the motherboard or a floppy disk
that contains the motherboard BIOS (P4P8MXAS.ROM) before
proceeding with the BIOS update process.
2. If you have saved a copy of the original motherboard BIOS to a bootable
floppy disk, you may also use this disk to restore the BIOS. See section
“2.1.1 Creating a bootable floppy disk.”
To recover the BIOS from a floppy disk:
1. Boot the system.
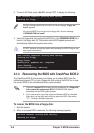
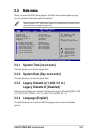
2. When a corrupted BIOS is detected, the following message appears.
Bad BIOS checksum. Starting BIOS recovery...
Checking for floppy...
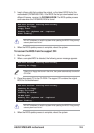
3. To launch EZ Flash, press <Alt+F2> during POST to display the following.