


ASUS Z7S WS 2-13
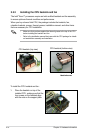
4. Repeat steps 1 to 3 to install the other heatsink if you have installed a second
CPU, then connect the fan cable to the 4-pin connector labeled CPU1_FAN.
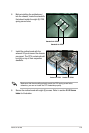
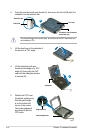
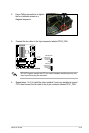
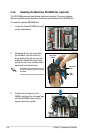
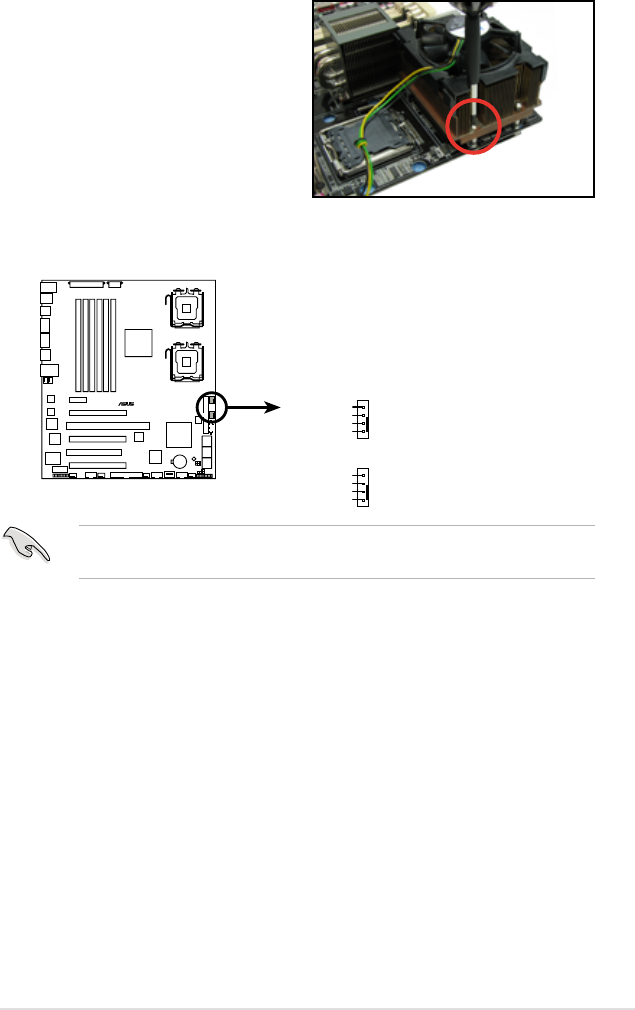
2. Use a Phillips screwdriver to tighten
the four heatsink screws in a
diagonal sequence.
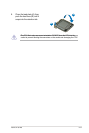
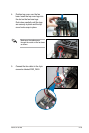
DO NOT forget to connect the CPU fan cable! Hardware monitoring errors may
occur if you fail to plug this connector.
3. Connect the fan cable to the 4-pin connector labeled CPU0_FAN.
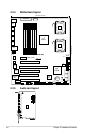
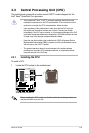
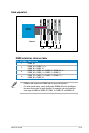
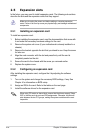
Z7S WS
®
Z7S WS CPU fan connectors
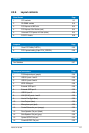
CPU0_FAN
CPU1_FAN
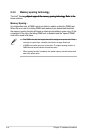
GND
FAN Power
FAN Speed
PWM Control
CPU0_FAN
GND
FAN Power
FAN Speed
PWM Control
CPU1_FAN