


6-12
Chapter 6: Intel
®
technologies
Chapter 6
Installing the Intel
®
Smart Connect Technology
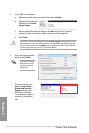
To install the Intel
®
Smart Connect Technology:
1. Place the support DVD to the optical drive. If Autorun is enabled in your computer, the
DVD automatically displays the installation wizard.
2. Click
Utilities then click Intel
®
Smart Connect Technology.
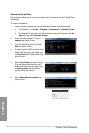
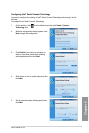
3. When the setup wizard appears, click
Next to begin the setup.
4. Tick
I accept the terms in the License Agreement then click Next.
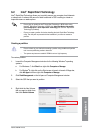
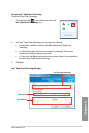
6.3 Intel
®
Smart Connect Technology
Intel
®
Smart Connect Technology allows your system to automatically connect and update
your cloud-based programs and applications by waking up your computer to a low power
state. After the updates are done, your system goes back to sleep mode, thus helps reduce
power consumption.
• Intel
®
Smart Connect Technology supports Windows
®
Live Mail, Microsoft Outlook and
Seesmic applications.
• Ensure to enable Intel
®
Rapid Smart Connect Technology in BIOS before installing
Intel
®
Smart Connect Technology. To do this from the BIOS, go to Advanced Mode
> Advanced > PCH Conguration > Intel(R) Smart Connect Technology then set
ISCT Support to [Enabled].
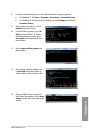
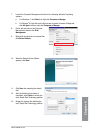
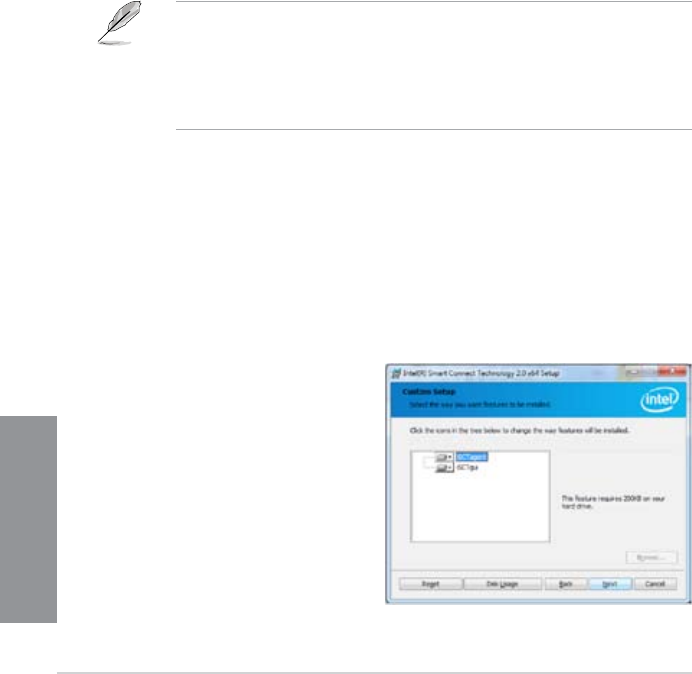
5. In Custom Setup, select all features
then click Next.
6. Click
Install to start the installation.
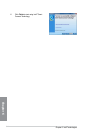
7. Click
Yes to restart your system.
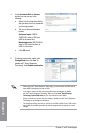
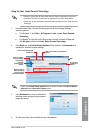
14. To remove the Intel
®
Rapid Start Manager from the following Windows
®
operating
systems:
a. For Windows 7, click
Start > Control Panel > Programs > Programs and
Features. Click Intel
®
Rapid Start Technology then click Uninstall.
b. For Window
®
8, right-click on the Start screen to launch to launch All Apps
bar, click All Apps icon then click Control Panel Programs > Programs and
Features. Click Intel
®
Rapid Start Technology then click Uninstall.
15. Reboot your system.