


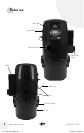
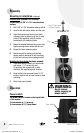

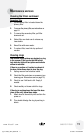
Mounting & installation continued
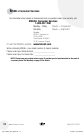
Concrete Wall (fasteners not included)
You will need; (4) 3/8” x 2-1/4” concrete sleeve
anchors.
1. Drill a 3/8” x 1-3/4” hole with a masonry drill bit.
2. Insert a bolt and anchor sleeve into the hole.
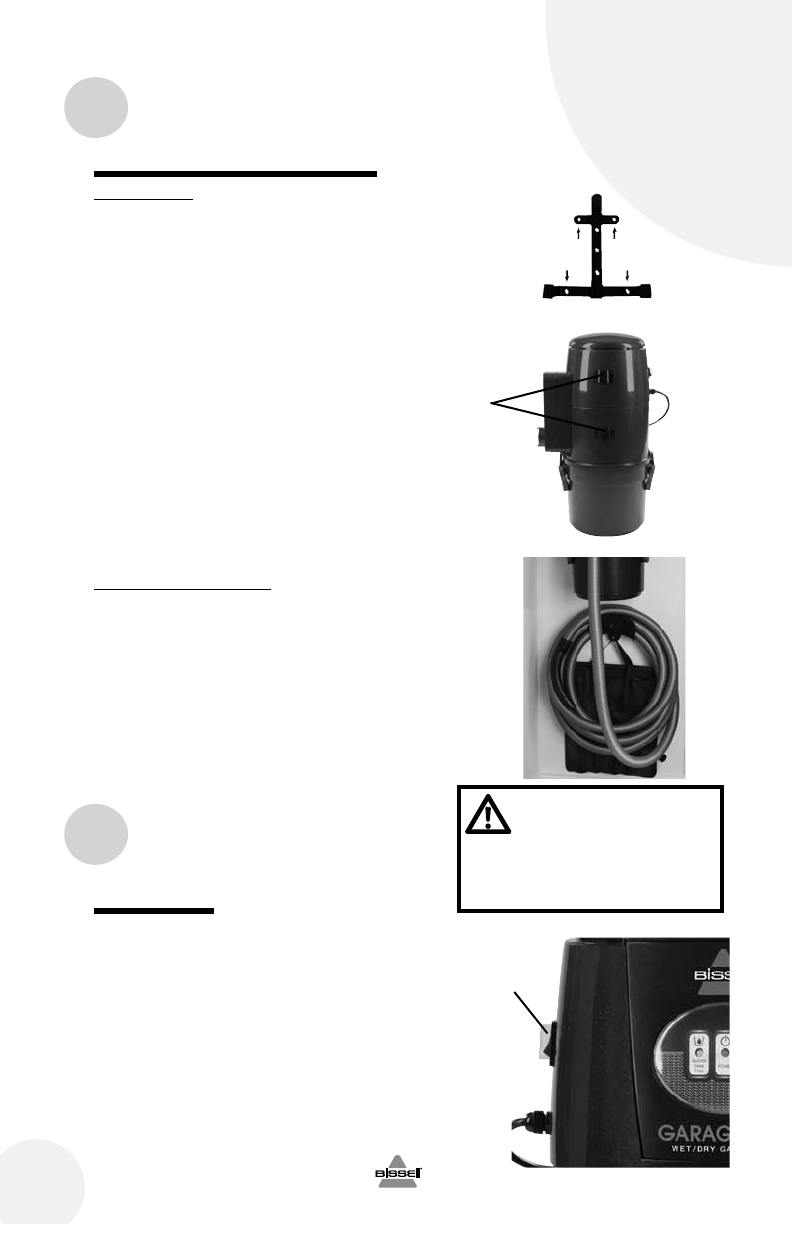
3. Align the bracket over the hole and mark
remaining hole locations using the (4) outer
holes of the mounting bracket; remove
bracket and drill remaining holes.
4. Mount the bracket starting at top corner hole,
tightly securing sleeve anchor with hex nut.
5. Repeat for three remaining holes.
6. Mount the unit by making sure the two
square slots on backside of unit are sitting
on the two hooks on the mounting bracket.
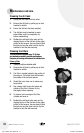
Mounting the Hose Holder (fasteners included)
1. Determine desired location for hose holder
and screw 1-1/4” screw into stud.
(If mounting into drywall with no stud
available, use supplied drywall anchors)
2. Hang holder from screw and insert 2-1/2”
screw in bottom hole of hose holder to finish
mounting.
3. Wrap hose around holder.
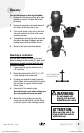
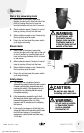
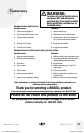
Power switch
The power switch is located on the top left side
of the vacuum.
To turn vacuum on, ( I ) press up.
To turn vacuum off, ( O ) press down.
Assembly
Operation
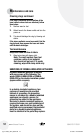
6
www.bissell.com 800.237.7691
WARNING:
Do not remove
plastic covering on
power switch.
Slots
Use (4) Outer Holes
To Mount Bracket
Power Switch
ug110-4053_18P0_608.indd 6 6/13/08 12:35:29 PM