21
Basic Operation
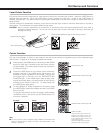
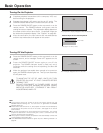
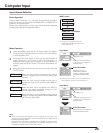
Press the FREEZE button on the remote control to freeze the picture
on the screen. To cancel the FREEZE function, press the FREEZE
button again or press any other button.
Picture Freeze Function
MUTEPAGE
FREEZED.ZOOM NO SHOW
ONRESET ALL OFF
COMPUTER 1LASER
FOCUS
KEYSTONE
ZOOM
COMPUTER 2
VIDEO
MENU
R
-
CLICK
SELECT
IMAGE
AUTO SET
P
-
TIMER
AUTO PC ON
-
OFF
V
O
L
U
M
E
-
V
O
L
U
M
E
+
FREEZE button
1
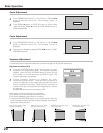
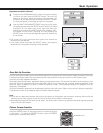
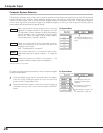
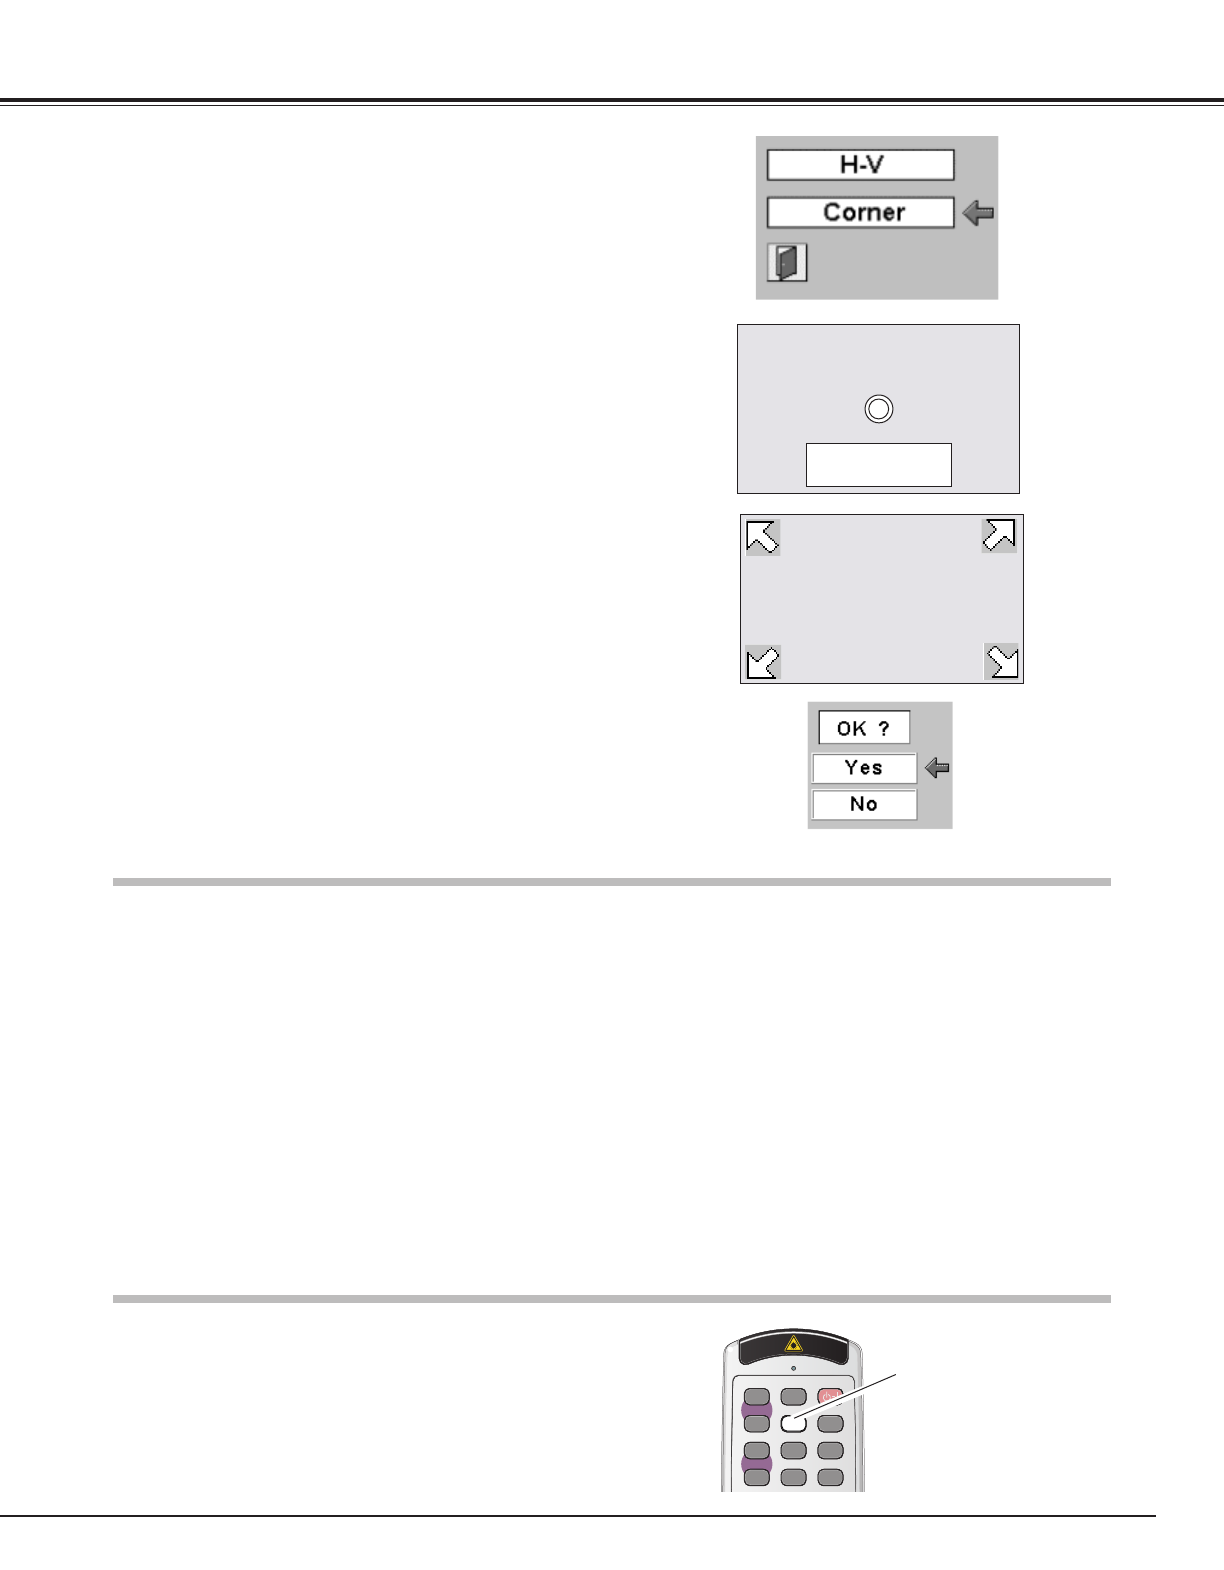
Press the Point UP/DOWN button to move the red arrow pointer
to Corner and then press the SELECT button. The mark will
appear on the screen. Move the projector, align the mark with
the center of the desired screen and press the SELECT button.
An arrow will appear on the upper left corner of the screen.
2
Keystone correction (Corner)
Please set the projector
to take a lead in a screen
and push select.
•The screen will not be corrected when points that exceed the
correction limit are selected.
•If you select Corner and press the SELECT button, the keystone
adjustment by H-V keystone correction will be canceled.
Auto Set Up Function
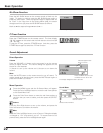
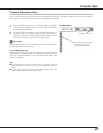
Use the POINT UP/DOWN/LEFT/RIGHT button to set the upper
left positioning and press the SELECT button. Perform the same
procedure for the upper right, lower right and lower left
positioning and press the SELECT button. The message “OK?”
will appear on the screen. Selecting YES and pressing the
SELECT button will correct the alignment as per the 4 points set
on the screen.
Note:
• Do not put any obstruction between the Auto Set Up sensor on the projector and the screen, otherwise the Auto Set Up
function may not work properly. Do not dirt face of the Auto Set Up sensor on the projector.
• When adjusting Keystone with Auto Set Up button, set screen zoom maximum as Keystone cannot be properly corrected
under minimum zoom screen.
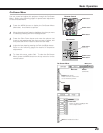
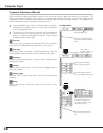
Auto Set Up function enables you to automatically adjust Focus, Keystone and the computer display parameters (Fine sync,
Total dots and Picture position) by just pressing the Auto Set Up button on the top control or on the remote control.
Auto Set Up function operates as follows:
By pressing Auto Set Up button, preparation display is projected on screen. The Auto Set Up sensor on the projector's front
panel will scan the projected image and automatically adjust Focus, Keystone and computer display parameters (when
computer signal is selected for input) to obtain an optimum screen. The preparation display will disappear after the
adjustment is completed.
Auto Set Up operation parameter can be selected in Setting of the main menu. (Refer to Auto set up in Setting on page 39.)
If the optimum screen is not obtained, adjust insufficient matters manually.


