BT500+ Bluetooth Rechargeable Super Mini Mouse
Quick Setup Guide
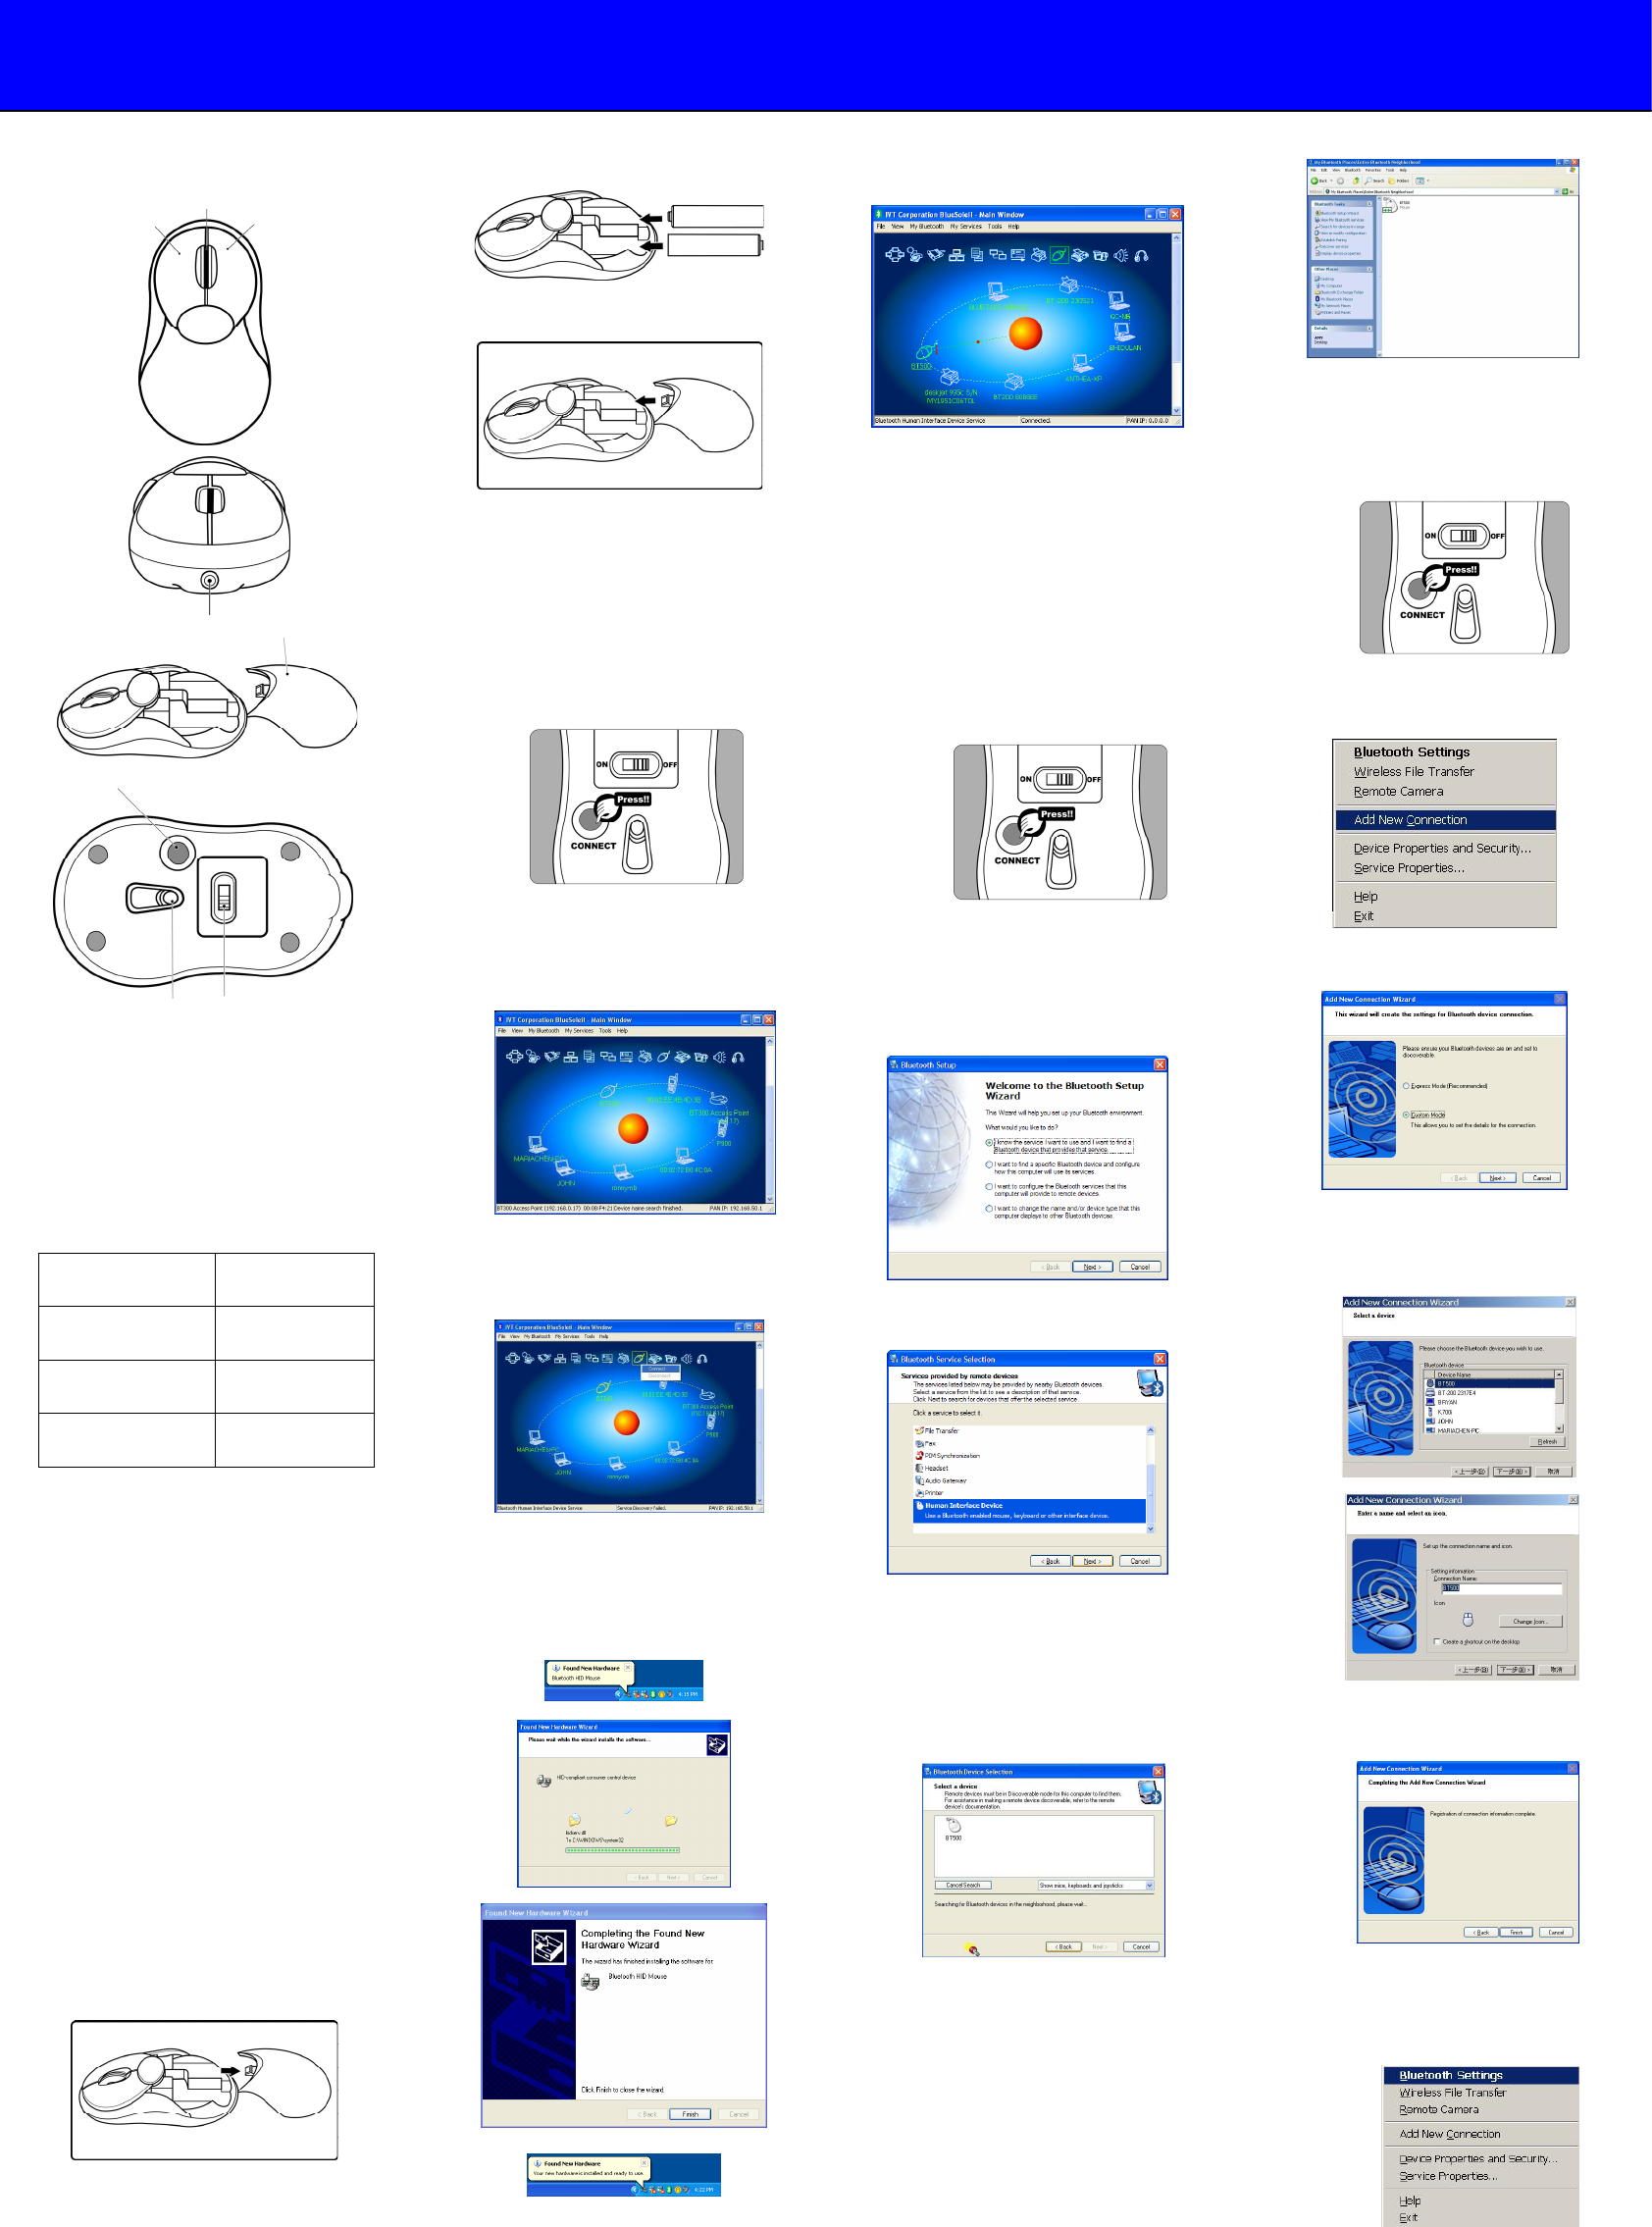
- Appearance -
1. Right Button
2. Scrolling Wheel (Pairing LED)
3. Left Button
4. Battery Recharge Port
5. Battery Cover
6. Optical Sensor
7. Power Switch
8. Pairing Button
Function LED
Charging Mode Constant Red
Fully Charged Green On
Pairing Mode Blue On
Note: For the max. power saving, please turn the
BT500+ power off when you shut-down your
computer.
- Before Using -
1. Install batteries.
2. Turn the power on.
3. Pair the BT500+ Bluetooth Super Mini
Mouse with your computer.
Note: Please make sure that your Bluetooth
software supports HID (Human Interface
Device) profile before the pairing
process.
- Install Batteries -
1. Press and Push raised area to open the battery
cover.
2. Install two bundled Ni-MH AAA batteries into the
BT500+ Bluetooth Super Mini Mouse’s battery slot.
3. Slide battery cover back into position.
- Pairing Process -
For IVT Bluesoleil
1. Press and hold the Pairing button until the scroll
wheel glows blue light to indicate the mouse is
ready for pairing.
2. Double-click on “”Bluesoleil” icon from Windows
desktop.
3. Double-click on “My Device” icon in the main
window of Bluesoleil to search new Bluetooth
device.
4. When BT500+ is searched, select “BT500” icon
and the HID profile icon will turns to yellow.
5. Right click the HID profile icon and select “Connect”
to start the connection process.
6. When connection starts, Bluesoleil will
automatically install HID driver and please wait a
moment until the “Your new hardware is installed
and ready to use” shows in your task bar, now the
connection is established.
7. When connection process completed, a
connection link will be shown on the Bluesoleil
main window.
Once the connection between BT500+ Bluetooth Super
Mini Mouse and your computer is established, the
connection will keep permanently. That means the
connection will re-establish automatically when the
Windows runs.
For WIDCOMM BTW
1. Press and hold the Pairing button until the scroll
wheel glows blue light to indicate the mouse is
ready for pairing.
2. Double-click on “”My Bluetooth Places” icon from
Windows desktop.
3. Double-click on Bluetooth Setup Wizard icon from
“My Bluetooth Places” window.
4. Select “I know the service I want to use and ...” and
press Next button to continue.
5. Select “Human Interface Device” and then press
Next button to continue.
6. The Bluetooth Setup Wizard starts to search for
Bluetooth HID device in the vicinity. The BT500+
Bluetooth Super Mini Mouse icon will be displayed
in the window when it is found.
7. Please select the BT500+ Bluetooth Super Mini
Mouse icon and then press Next button to
continue.
8. The Bluetooth Setup Wizard takes several
seconds to configure related files to your system.
Please press Finish button to complete the pairing
process after the configuration.
Once the connection between BT500+ Bluetooth Super
Mini Mouse and your computer is established, the
connection will keep permanently. That means the
connection will re-establish automatically when the
Windows runs.
2
3 1
For Toshiba Bluetooth Stack
1. Press and hold the Pairing button until the scroll
wheel glows blue light to indicate the mouse is
ready for pairing.
2. Right-click on the Bluetooth icon in the
task tray, and then click on [Add New
Connection].
5
3. Please choose [Custom Mode], and then
click on the [Next] button.
4. Select“BT500” from [Device List], and
then click on the [Next] button. Please
choice the [Human Interface Device], then
click on the [Next] button.
5. Enter the device name, and then click on
the [Next] button. Click on the [Finish]
button.
6. Right-click on the Bluetooth icon in the
task tray, and then click on [Bluetooth
Settings]. Double click on the mouse icon,
make sure BT500+ is connected with your
computer.
8
4
6 7


