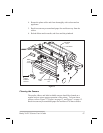
Cleaning the Cutter Module
(For printers equipped with the optional cutter.)
If labels are not being cut properly or if the cutter jams with labels, turn off
the printer power and unplug the printer. Then, clean the stationary cutter
blade with cleaning solvent. This will remove label adhesive and/or paper
debris. If further cutter cleaning is necessary, or if the cutter continues to
perform unsatisfactorily, contact an authorized service technician.
Lubrication
CAUTION! No lubricating agents of any kind should be used on
this printer! Some commercially available lubricants
will damage the finish and the mechanical parts if
used.
Fuse Replacement
The printer uses a metric-style fuse (5 X 20 mm IEC) rated at F5A, 250V.
The end caps of the fuse must bear the certification mark of a known
international safety organization (see Figure 37 on page 92). The printer
comes with two approved fuses: one in the circuit and one in the “spare
fuse” holder.
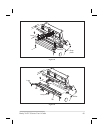
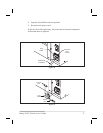
1. Turn off the printer power and unplug the power cord from the back of
the printer. See Figure 30.
2. Using a small-blade screwdriver or similar tool, remove the fuse holder
from the printer.
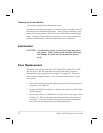
3. Remove the faulty fuse and install a new fuse of the correct type. Refer
to Figure 31. The fuse that goes into the printer first is the one that is
“in-circuit.” If you use the spare fuse, be sure to order a replacement
fuse (fuses can be ordered from your Brady distributor).
70 Brady X-PLUS Series User’s Guide


